Software
For this project, we used two software: Illustrator and Cut Master. We have used Illustrator for past projects, but Illustrator is an Adobe website. It allows you to create a 2D designs to be uploaded to other software to use. We uploaded our designs onto Cut Master. Cut Master is a software connected to the vinyl machine that allows you to cut out your design.
Research
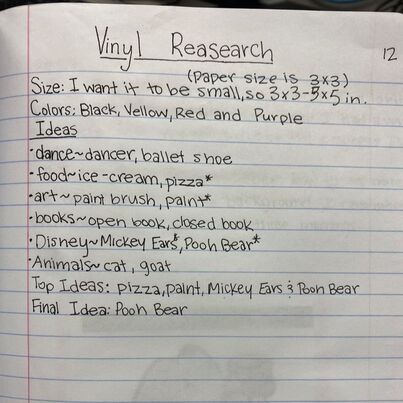
I researched for my decal design. I decided between ideas of images I wanted in my decal. I thought about the available colors for the vinyl and how that will affect what pictures I choose. I planned the sizing of my decal.
Step-By-Step Process
|
|
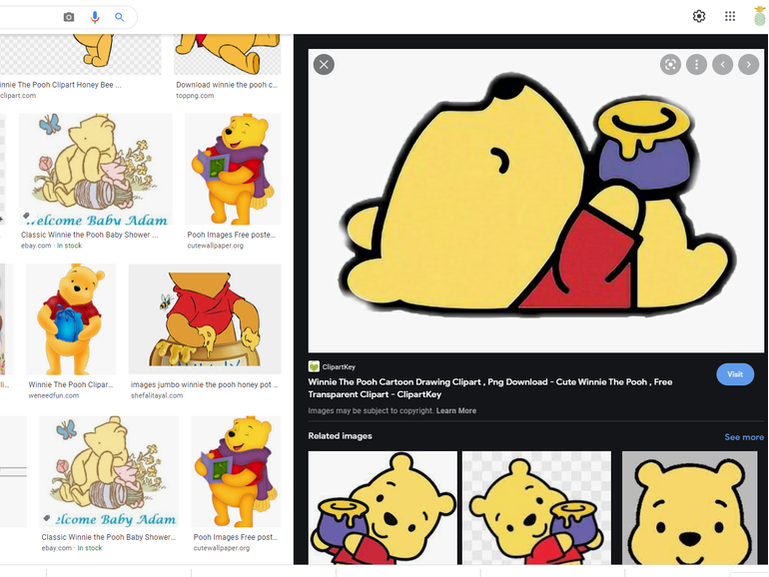
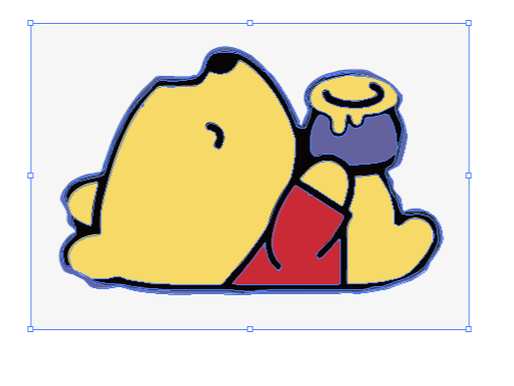
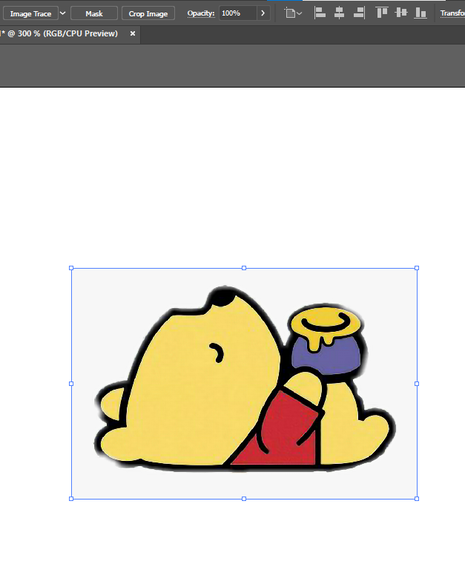
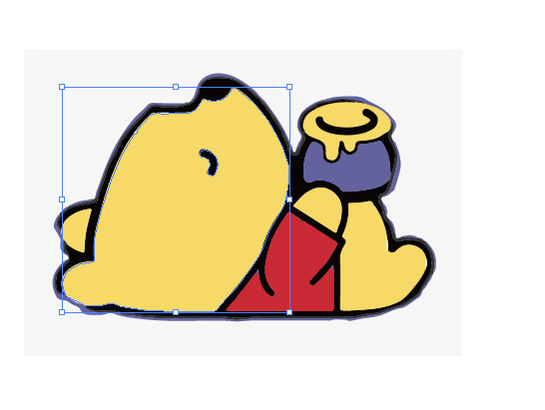
I found my design on google. It is a picture of Winnie the Pooh because Disney is a favorite family vacation spot for me and my family. I copied the image and pasted it in Illustrator. From there, I clicked Image trace. A little drop drop menu came up and I clicked 6 color image. The button you click depends on the amount of colors in your image. This made my image into a vector, Vinyl machines use vectors to print, so this step is necessary. After this, I clicked expand. I know it expanded because blue lines outlined the image.
|

|
|
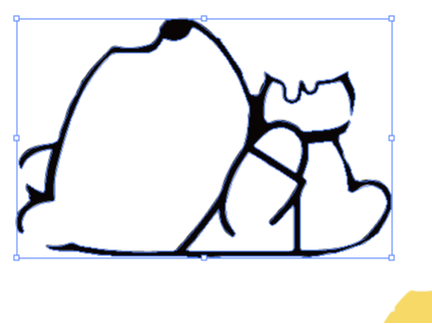
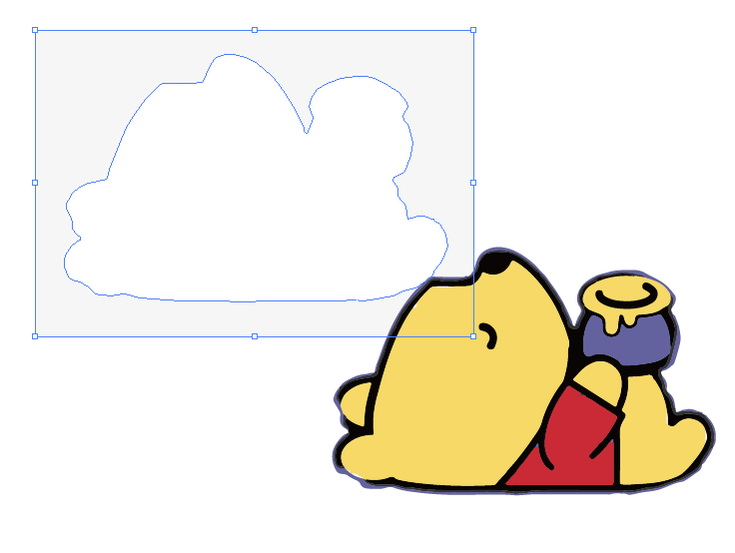
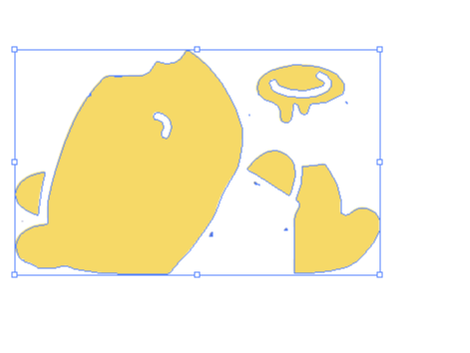
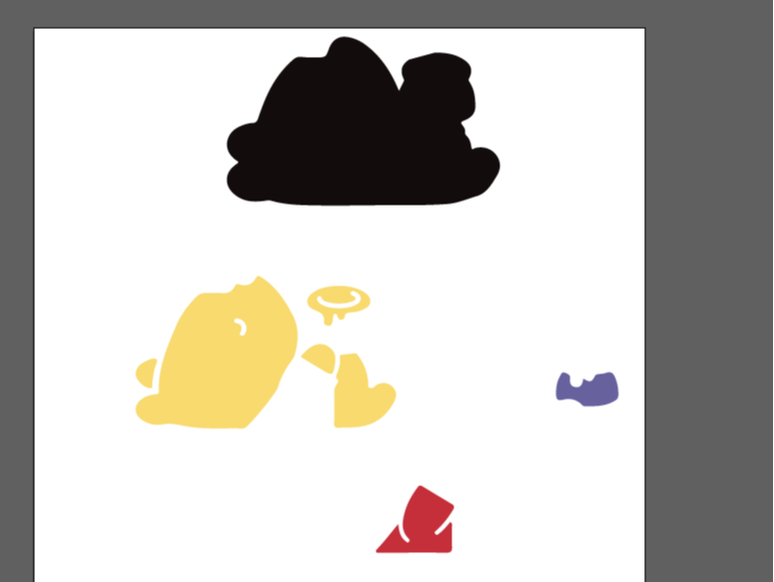
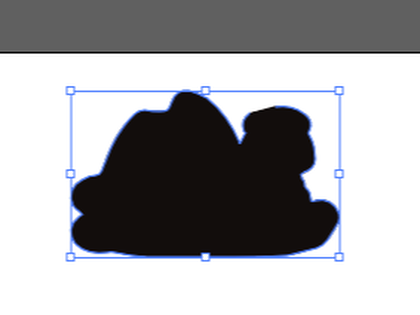
After I expanded, I right clicked on the image and clicked 'ungroup'. This allows me to separate the colors. I moved the white away from the other colors and clicked the backspace key. This deleted the white from my design as I didn't want a white area around my decal. Then, I moved all the other colors away from the yellow pieces. I selected all the pieces from where they were and clicked 'group'. This keeps the yellow parts together, so I won't have to place them each separately. I selected the black piece and got rid of all the white in the middle to just make it solid black. Since the black is by background, it is easier to place the other pieces onto a plain background and not in the white spaces. I kept all my colors separate and uploaded it to my flash drive.
|
|
|
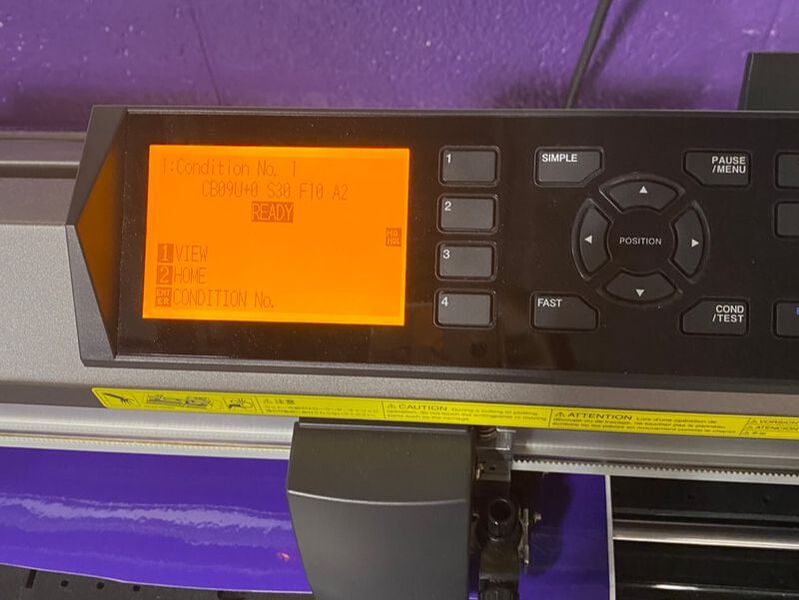
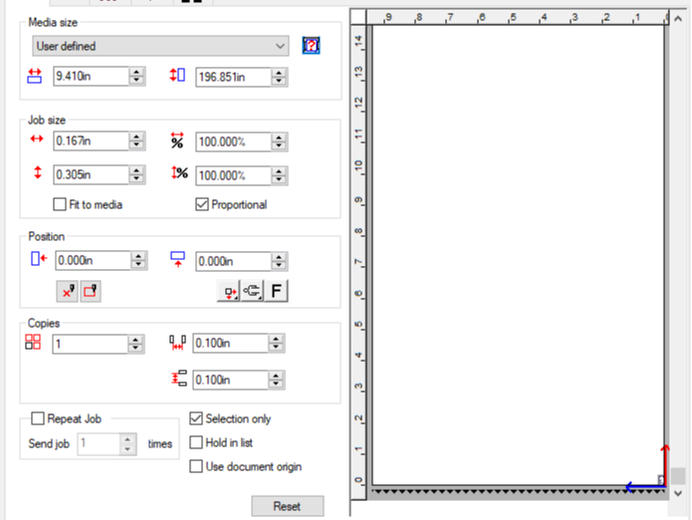
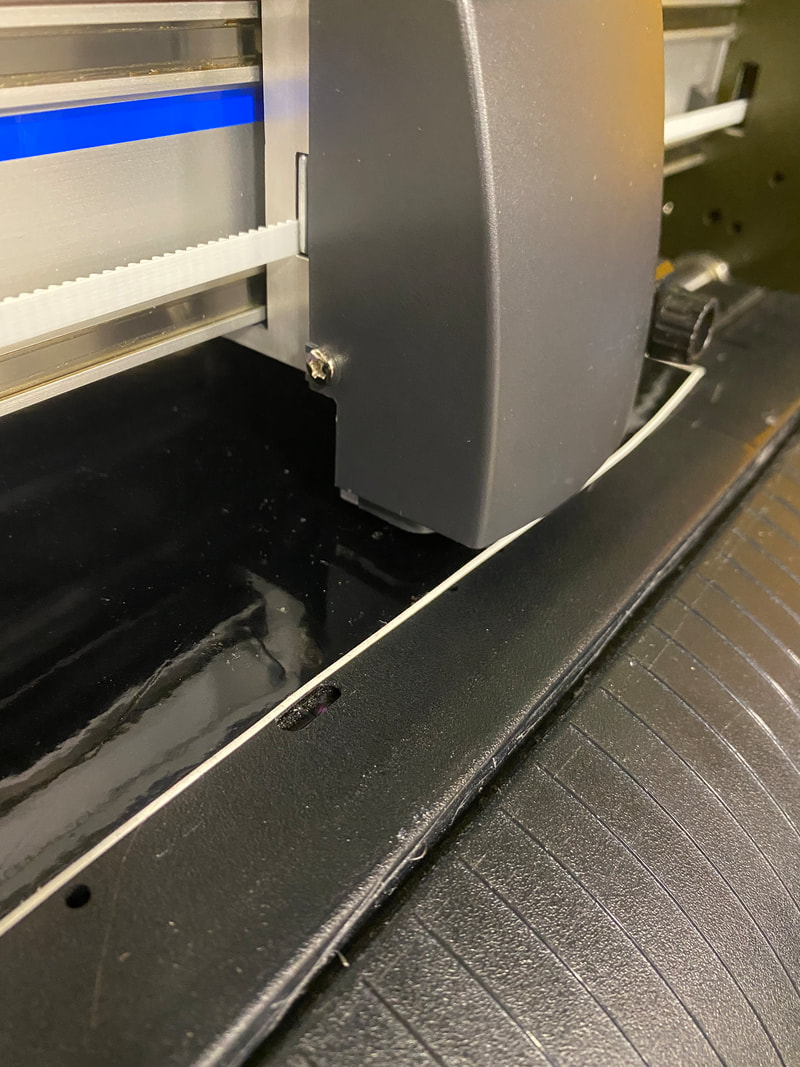
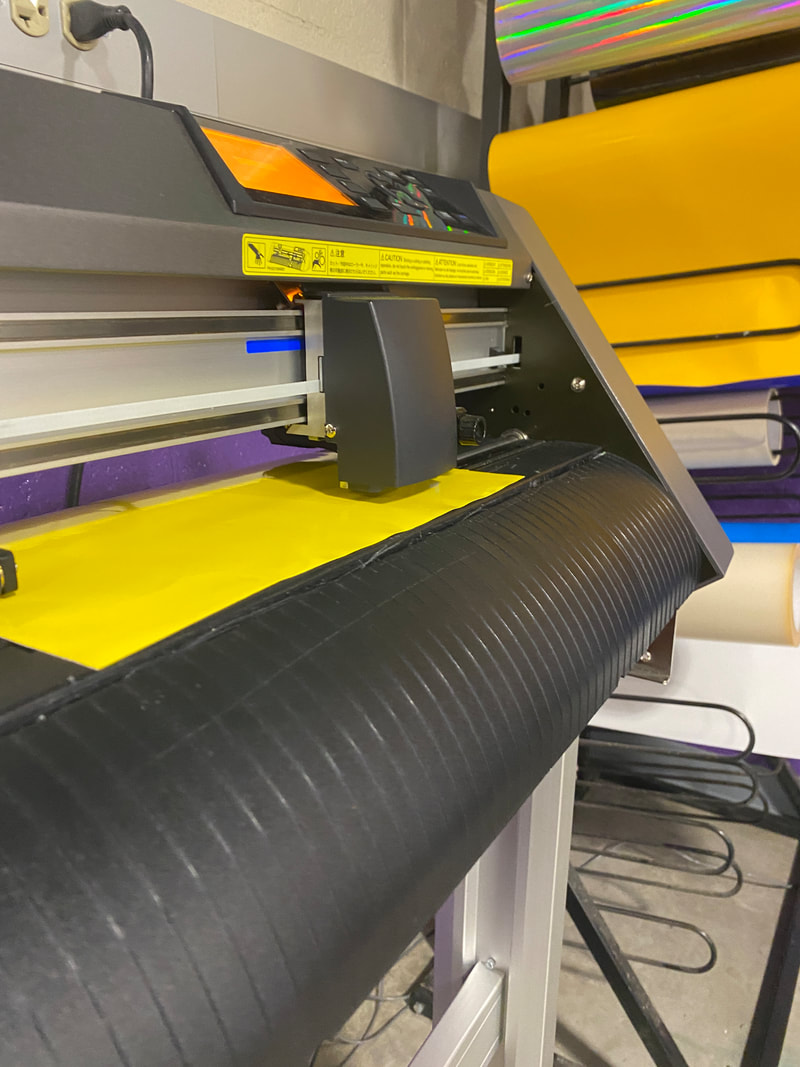
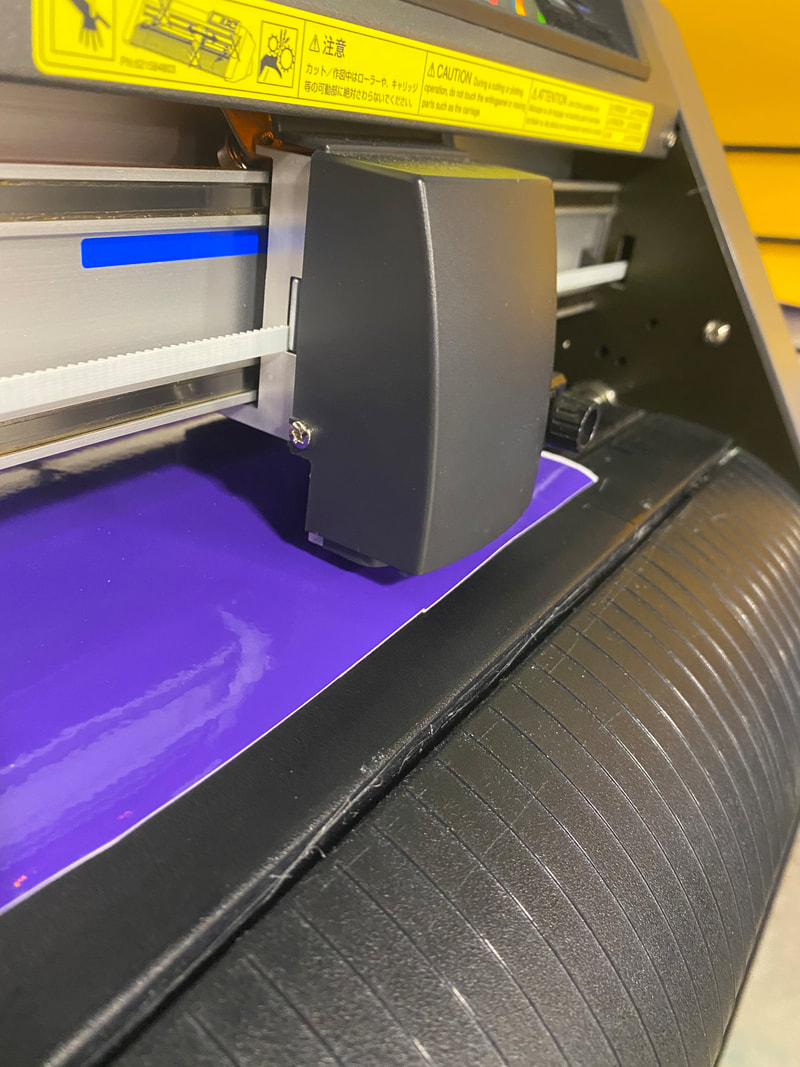
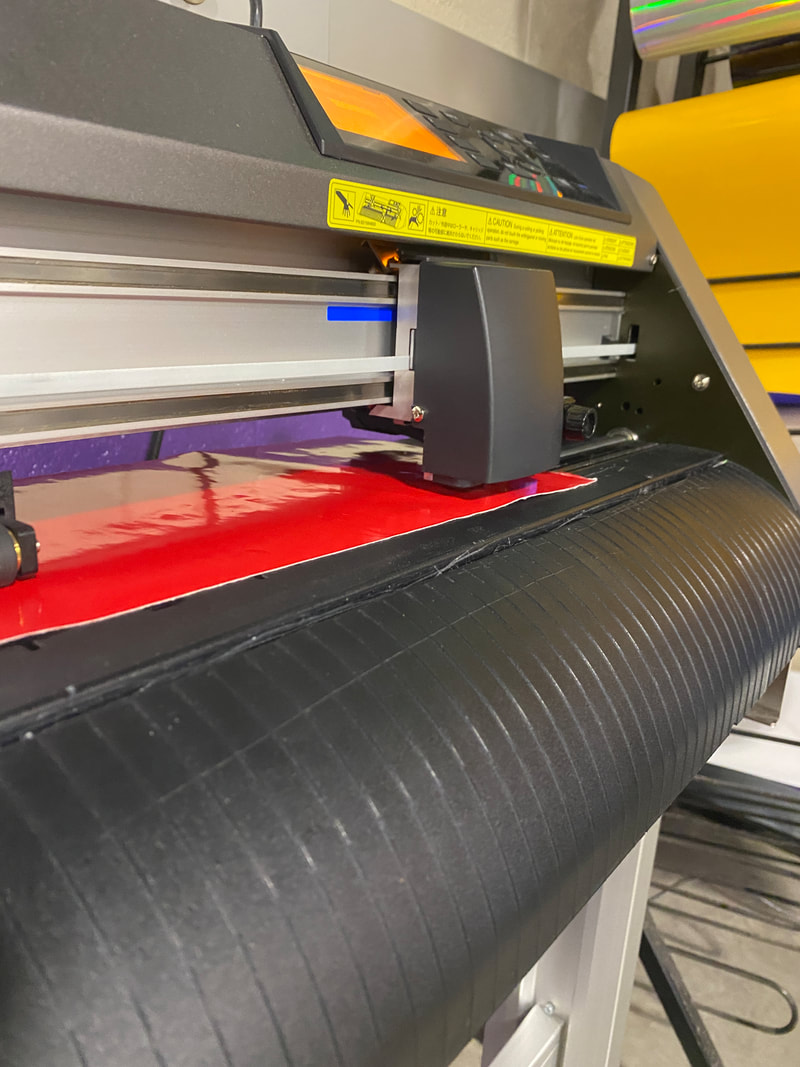
I plugged my flash drive in at the vinyl computer and selected my file. I found each color I wanted to cut out of the vinyl. I placed one color into the machine. I clicked button number 2. This had the vinyl machine measure the space to cut out. I found the piece that corresponded to the color and selected it. I right clicked and selected Cut Master 4. this opened up Cut Master. Cut Master is the software that works with the vinyl machine to cut out designs. Once in there I clicked the question mark button my media size user defined. This makes sure that the white area on your screen matches how big your space is. Then at the bottom, I worked with the positioning to make sure there is as little waste as possible. Lastly, I clicked print. I repeated this process for each color I used.
|
|
|
|
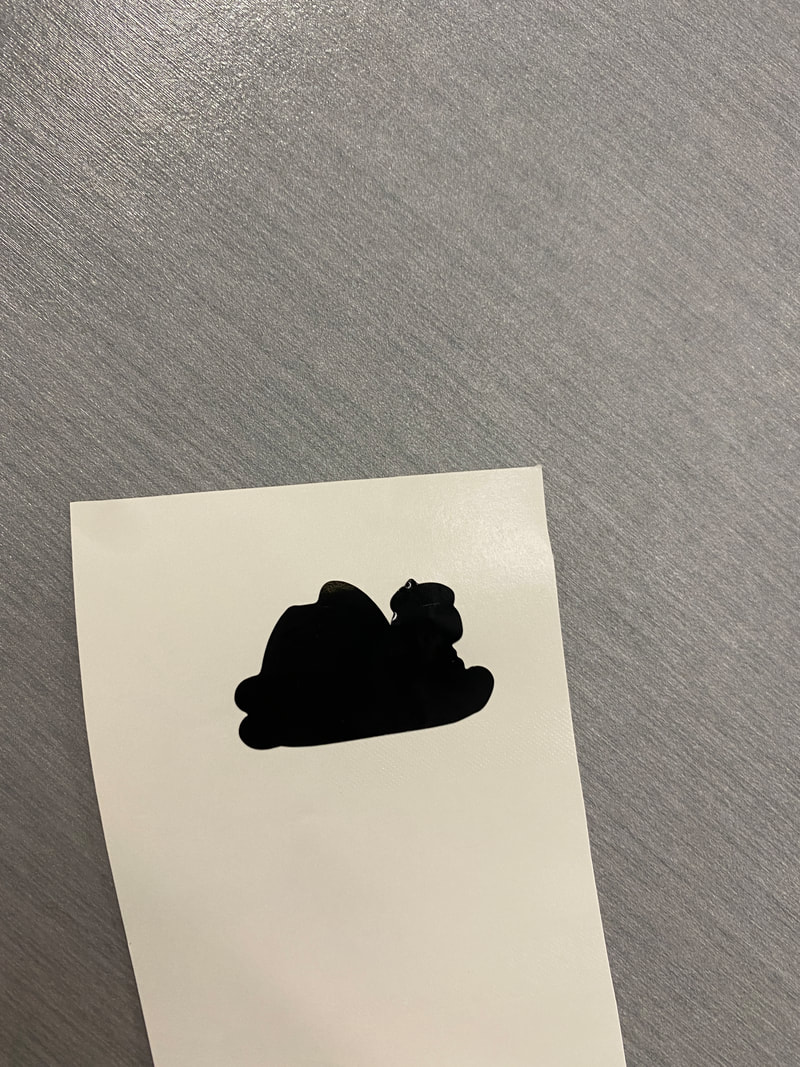
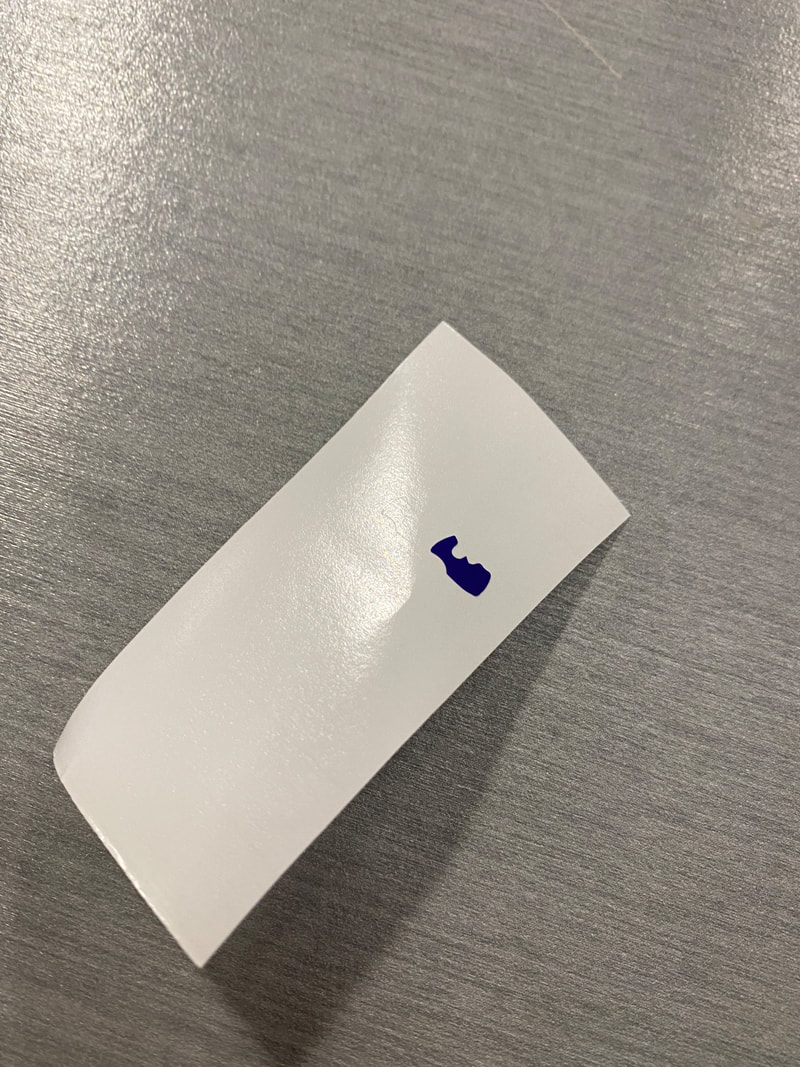
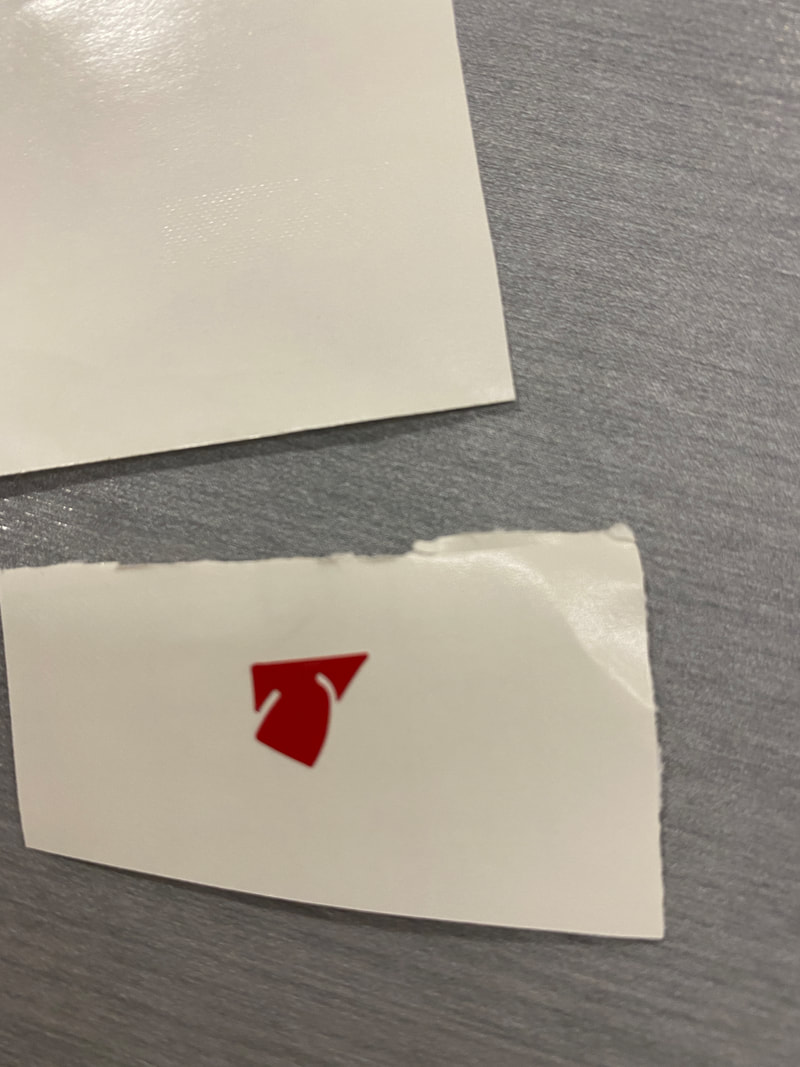
These are pictures of each color being cut out.
|
|
|
|
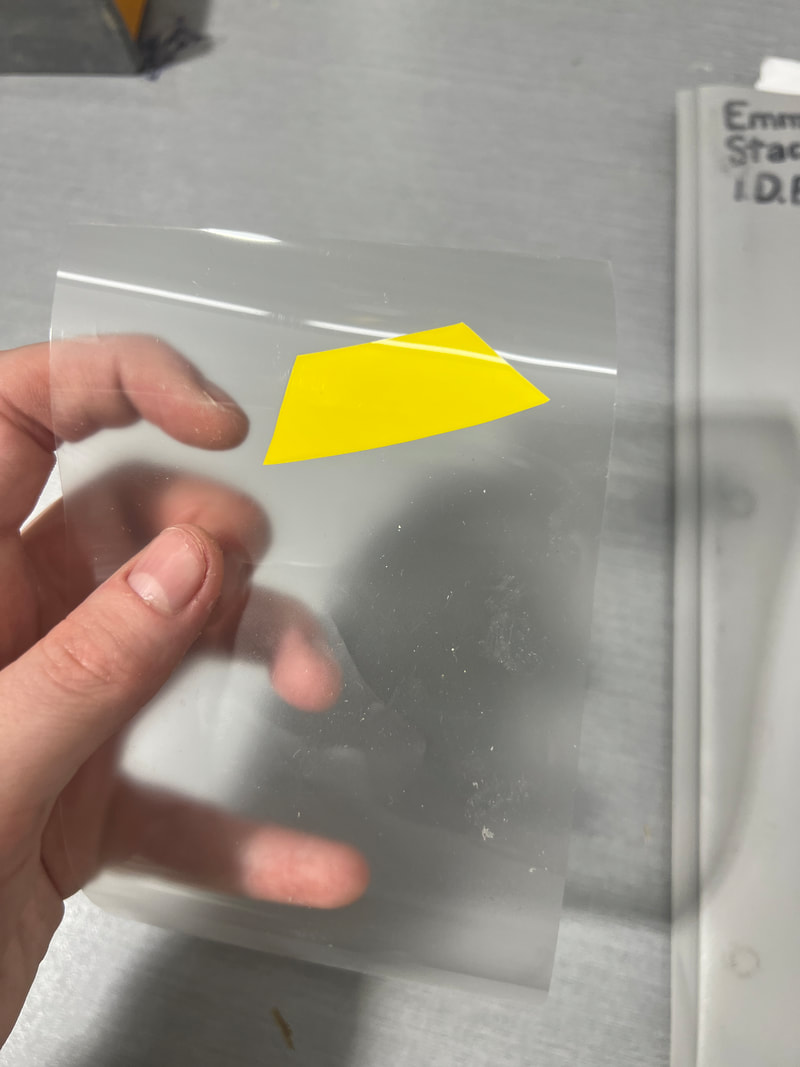
I left some space around the cut out lines and cut the decals from the vinyl. I found the corner and peeled off the excess vinyl from the sheet. If there were holes inside the decal like the yellow one I used a dentist tool to weed it out. This process is called weeding.
|
|
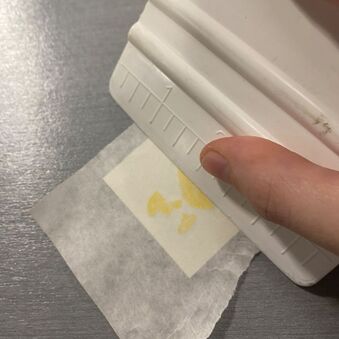
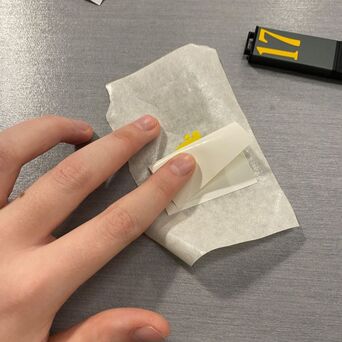
I placed a piece pf transfer tape on top of the yellow decal and used a squeegee to firmly press my decal onto the tape. I peeled the backing off and made sure the yellow was left on the tape. I used the same tape and repeated the process with red and purple. It is important that when you place those other two decals on that you align them with how your design is supposed to look. I did this process lastly with black. It is very important to put the black on last because it is the background, so it needs to be in the back. I aligned the black with my design and placed it on. I did not remove the backing this time though because I was going to put it on my index card box at my house. Since the index card box was not with me, I needed to safely take my decal home.
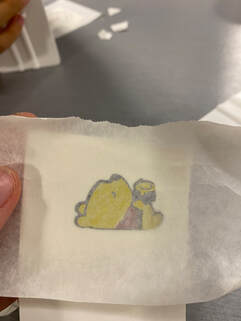
This is what my final decal looked like on my transfer tape.
|

|
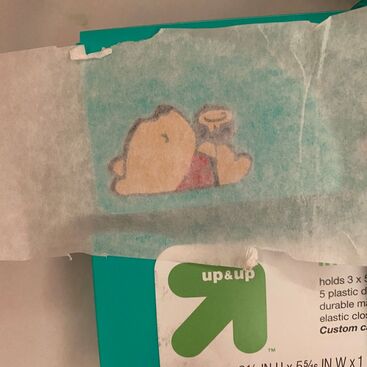
I removed the backing from my decal on the transfer tape and placed it on the index card box. I didn't have a squeegee at home, so I used a credit card to help firmly press and stick the decal on the index card box. Once I knew it was stuck nicely on, I peeled the tape off.
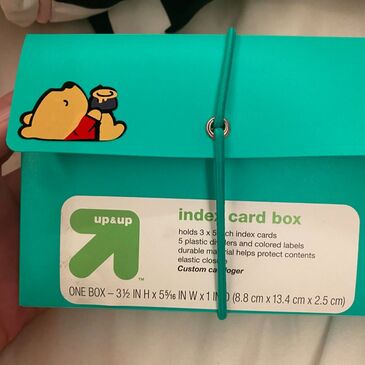
This is a picture of my final decal on the index card box.
What I Learned
During this project, I explored Illustrator more fully. I found more functions in the software and learned how to use them. Another skill I learned how to vinyl print as I have never done it before. I learned how to weed. Before this project, I didn't even know what weeding was. I learned many skills during this project. Patience was necessary in this process. I really had to be patient when weeding and transferring my decal. I really enjoyed this project and hope to work with the vinyl machine in the future.
