Presearch
|
|
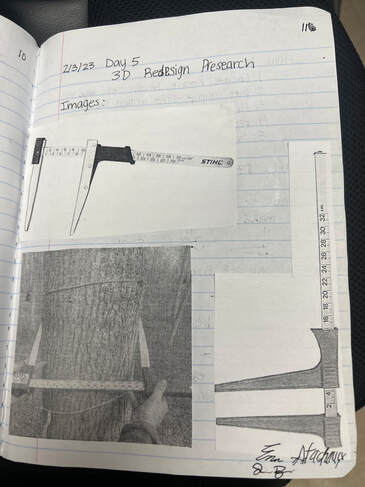
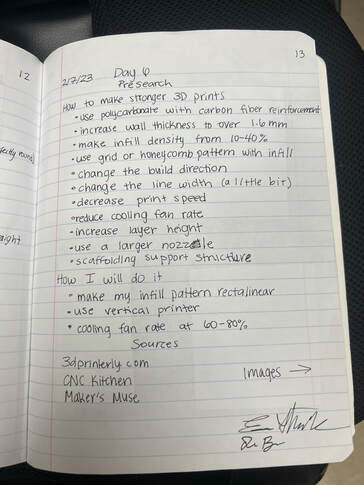
First, I learned how a tree caliper is used. A tree caliper is a measuring device that you put at the breast of a tree and find the diameter using the meter stick, Then, I thought of ways I could improve the design. Instead of the usual grip I wanted to add handles. Also, I wanted to make the top of the jaws a diagonal to add strength. After, I researched how to make stronger 3D prints. The ideas I wanted to incorporate were making the infill pattern rectilinear, use a vertical printer and make the cooling fan rate to 60-80%.
Designing
|
|
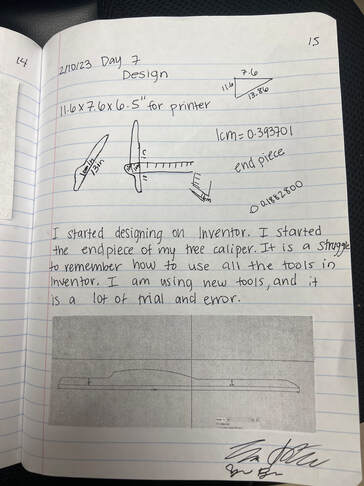
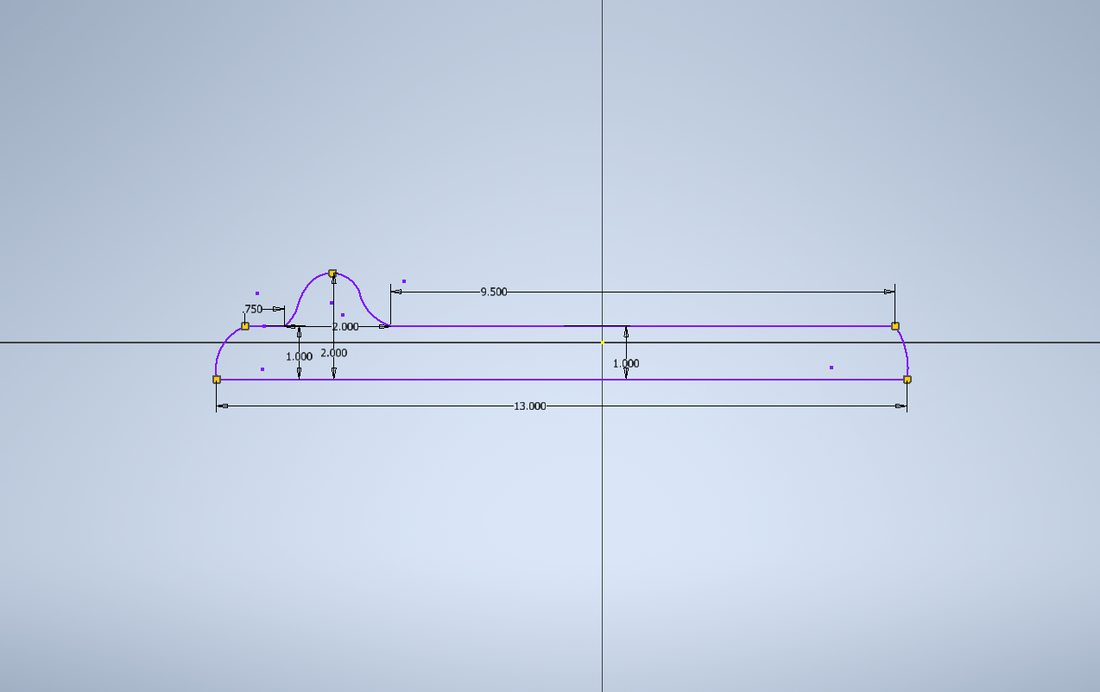
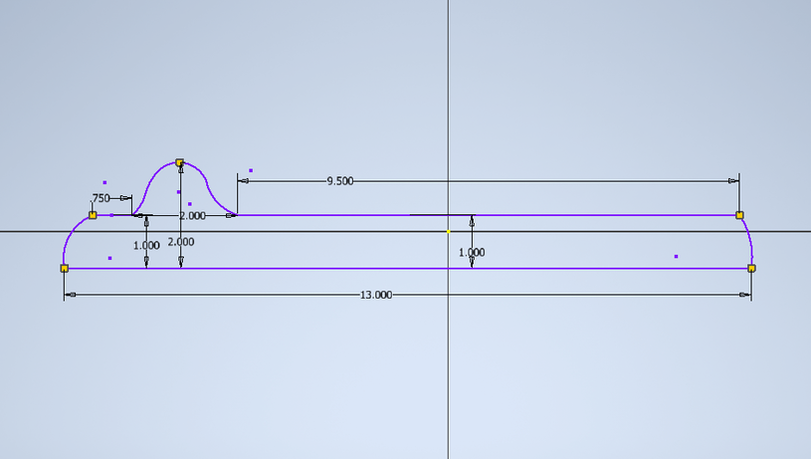
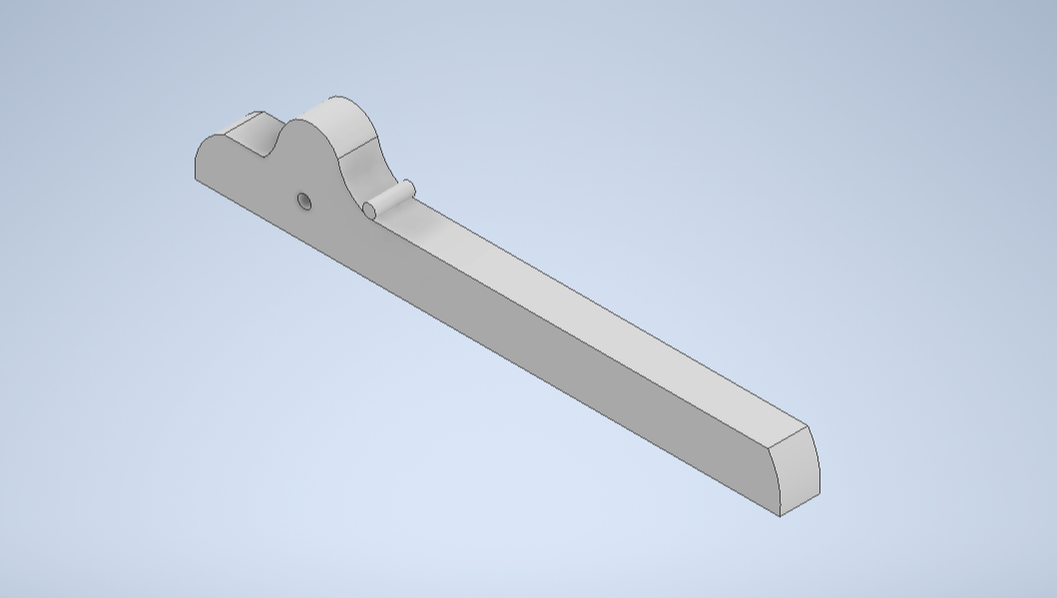
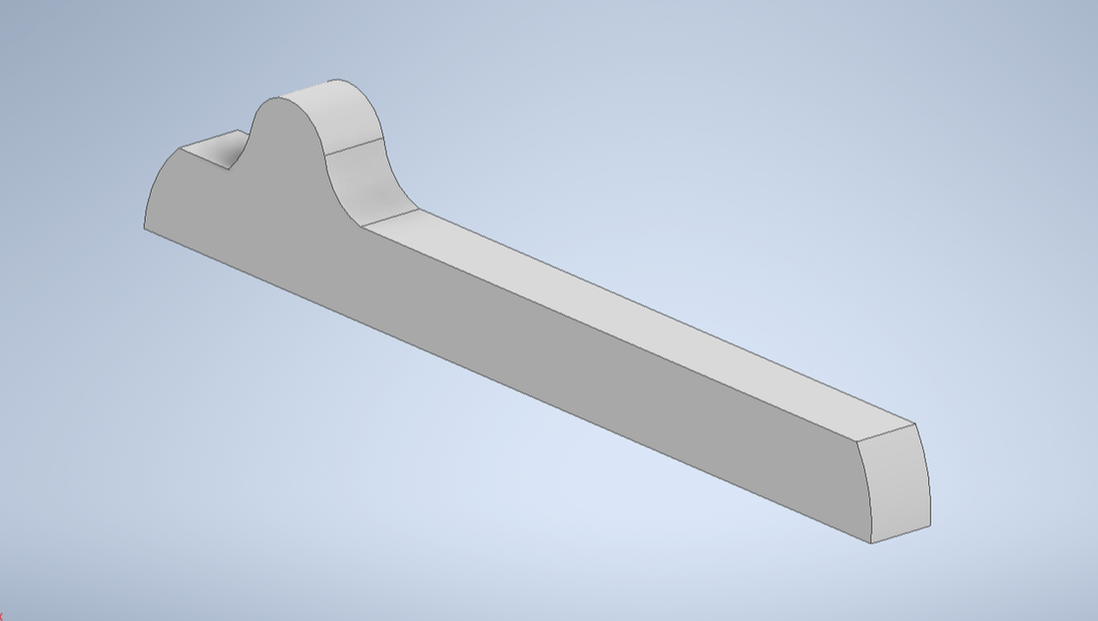
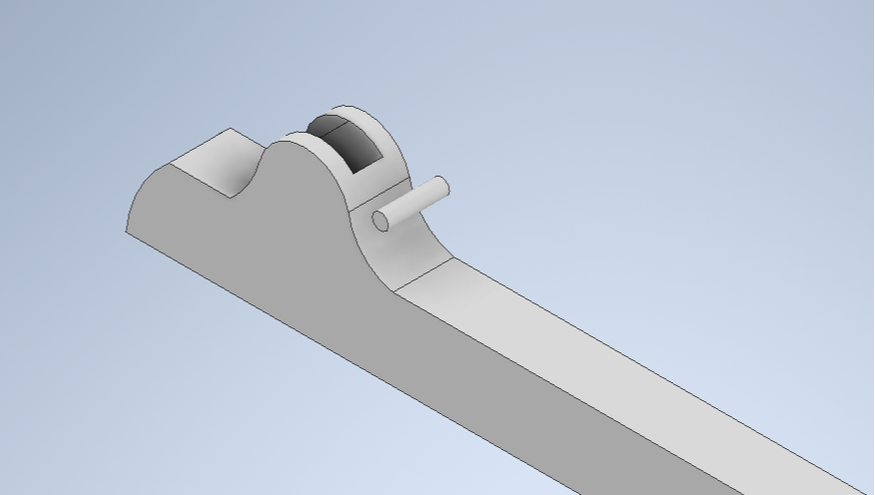
I started to design my end caliper by making the general shape. I knew I wanted the whole thing to be 13 inches long because the 3D printer is 13.86 inches diagonally. Then, I knew that the section off the meter stick should be one centimeter, and the section over the meter stick should be one centimeter. I used these measurements to create the base shape of the caliper.
|

|
Then, I made the hole that the meter stick will go into. For the end caliper, it can't go all the way through, so I made sure to measure enough space at the end to not go through. I spaced the box to fit the meter stick, but to not be too snug and centered it over the cap of the caliper. I extruded this design inward, so that there would be a whole.

|

|
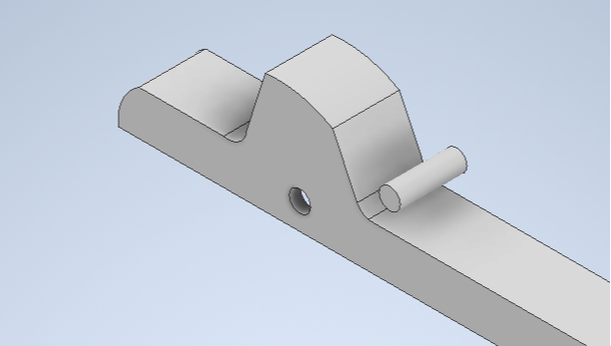
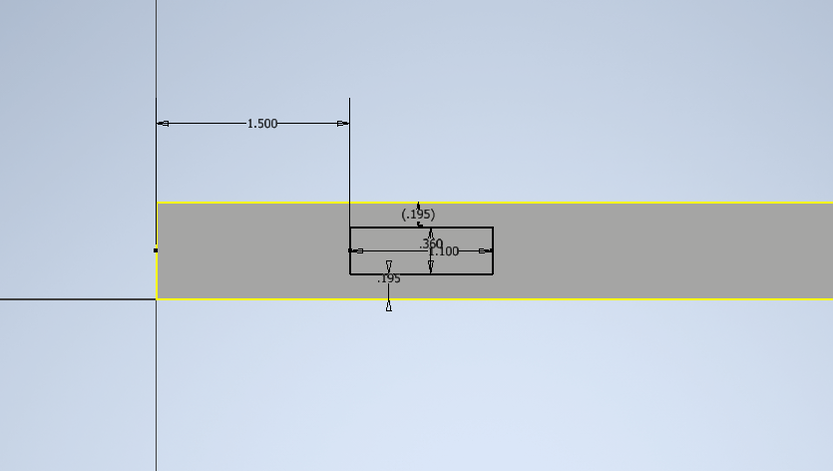
Next, I made a small round hole that went through the entire depth of the caliper. This hole will hold a piece that would go all the way through the meter stick, so that it would stay in place. I didn't have any real reason for the measurement. I just need the piece inside to be the same size.
|
|
This is the piece that will go inside the round hole. It will act sort of like a screw that will keep the caliper in place, but also is able to be removed. I made the diameter the same as the hole so that it would be a snug fit and hold.
Redesign
I didn't even print this design because I messed up measurements and needed to redo the entire thing. I was measuring the yard stick instead of the meter stick, and the measurements are very different.
|
|
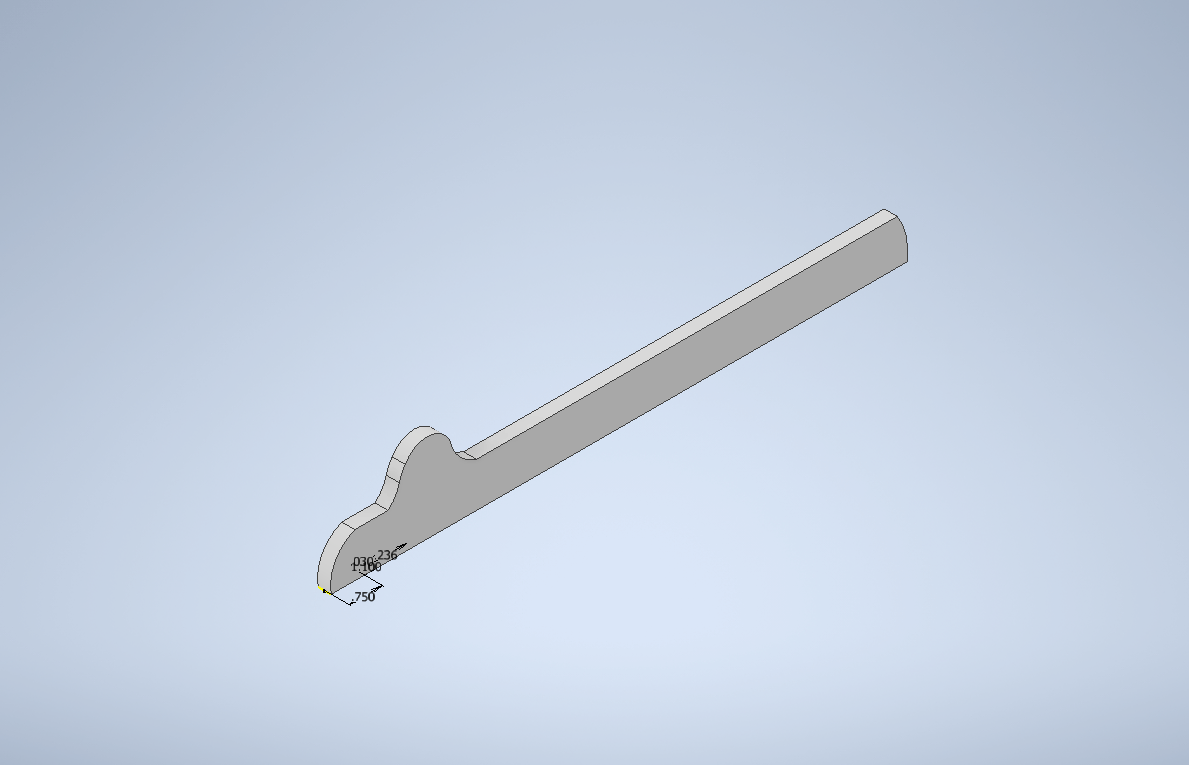
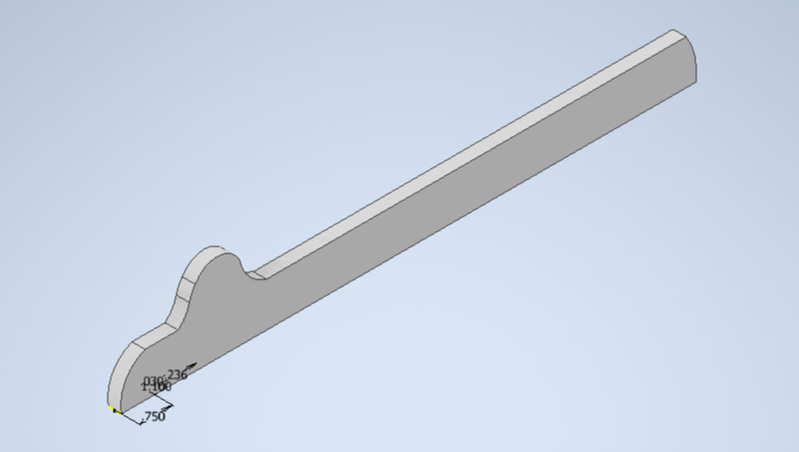
I changed the depth of this design to one centimeter. It is a lot thinner, and the curves are fixed for the size. The biggest problem with my first design was the arcs got dependent to the measurements and I couldn't delete the measurements. Once I fixed the measurements, the arcs fixed as well.

|
|
I measured the depth of the meter stick with a ruler and made the depth of my box a little bigger. I did the same with the width. Then, I left the end of the caliper free for a handle. I had to be careful when I extruded and make it the right depth inward to stay on the meter stick.
|
|
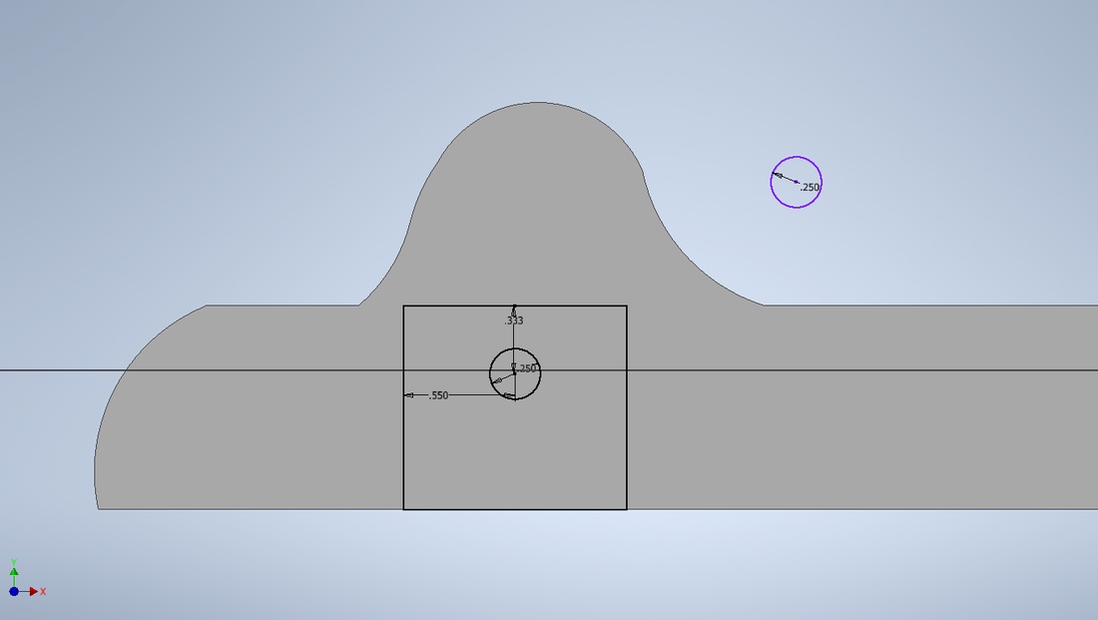
I made a box that is the same length and depth as the hole in the bottom. This way I can plan where my circle needs to be within the hole. The meter stick has a hole in it already, so I measured it and dimensioned my design to fit it. Then, I also made my filler peice with the same diameter.

|


|
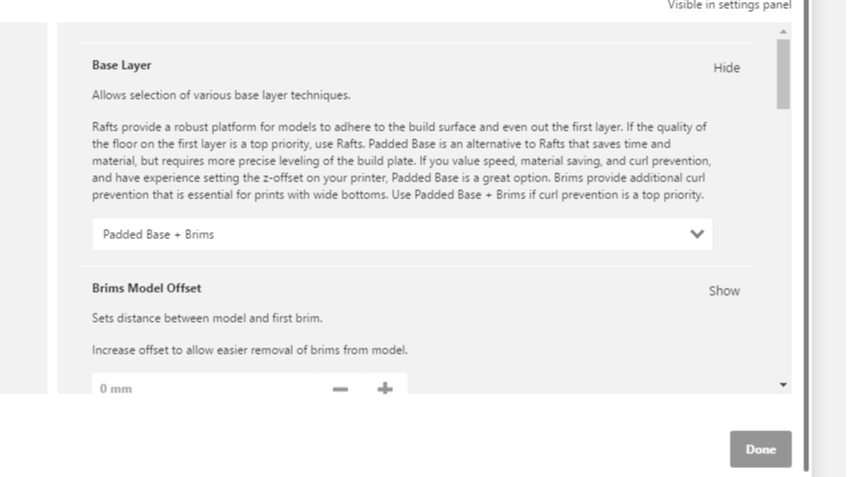
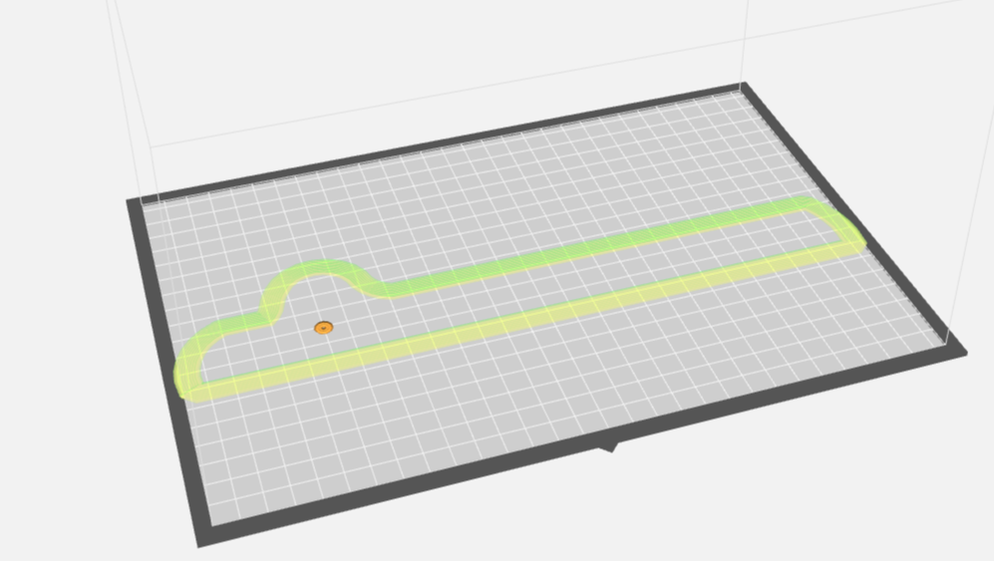
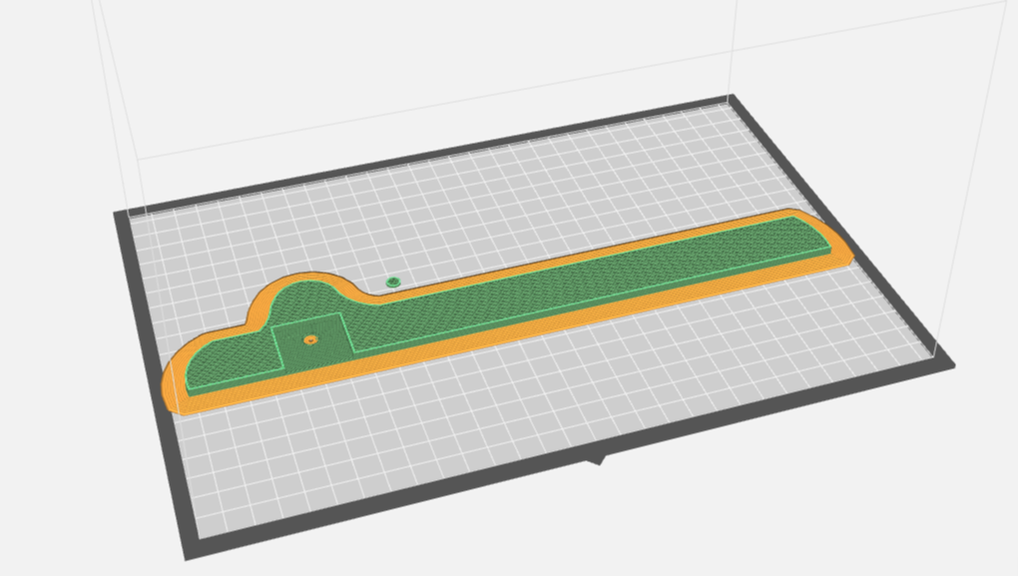
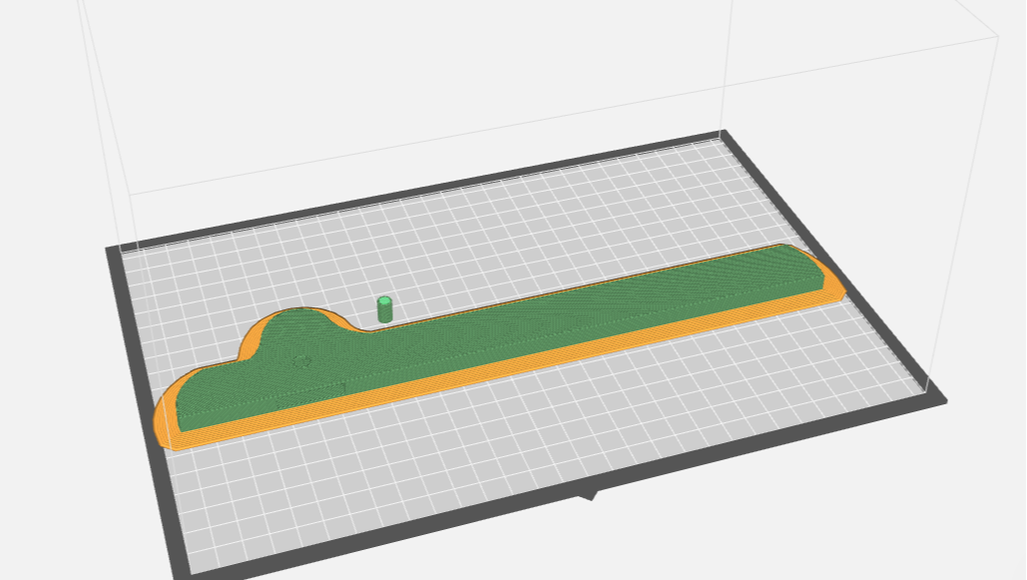
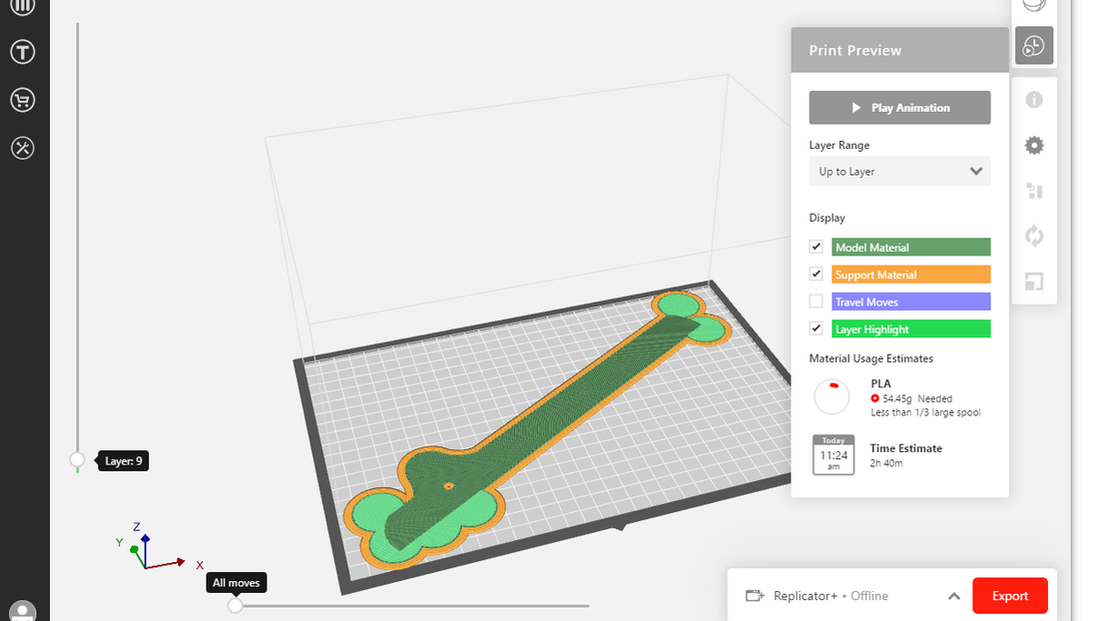
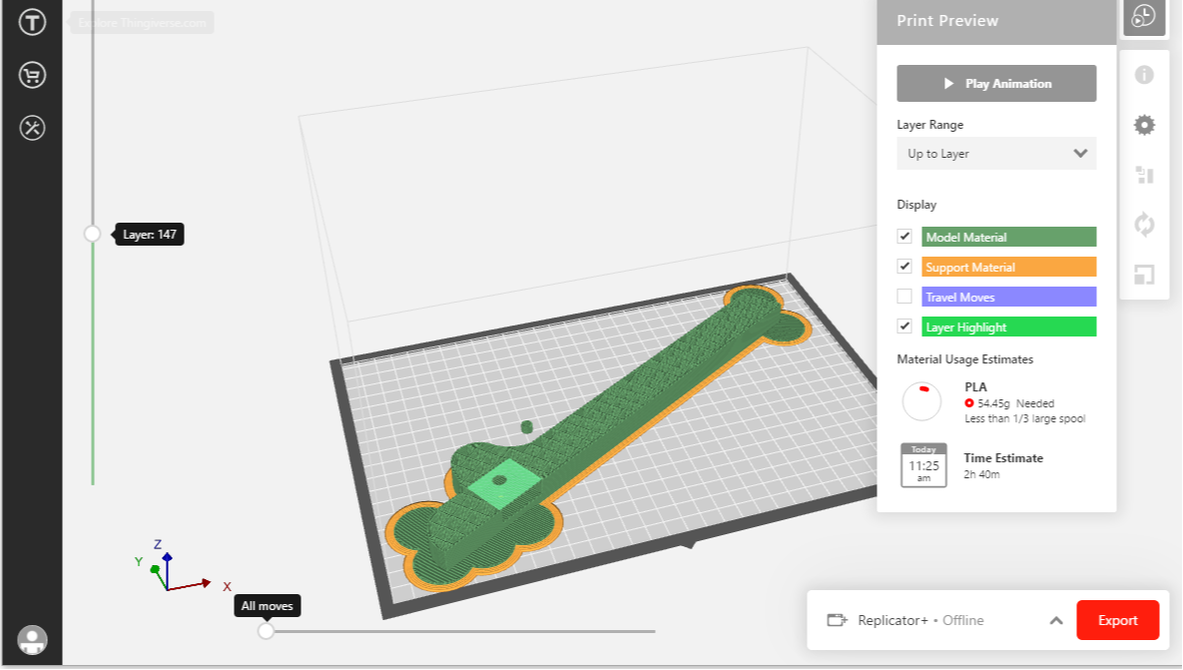
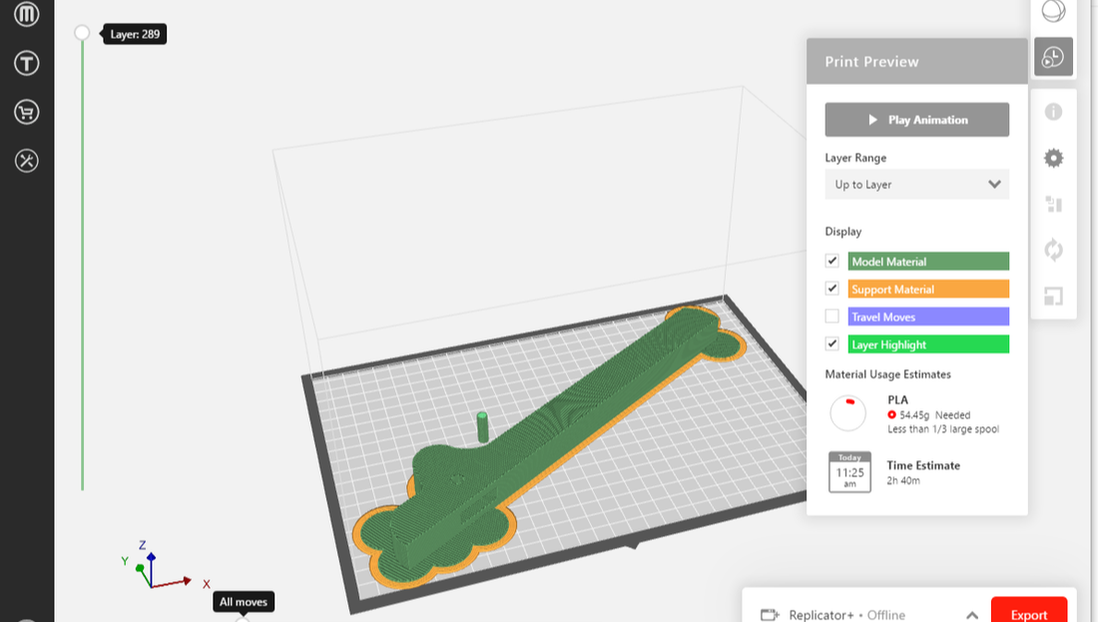
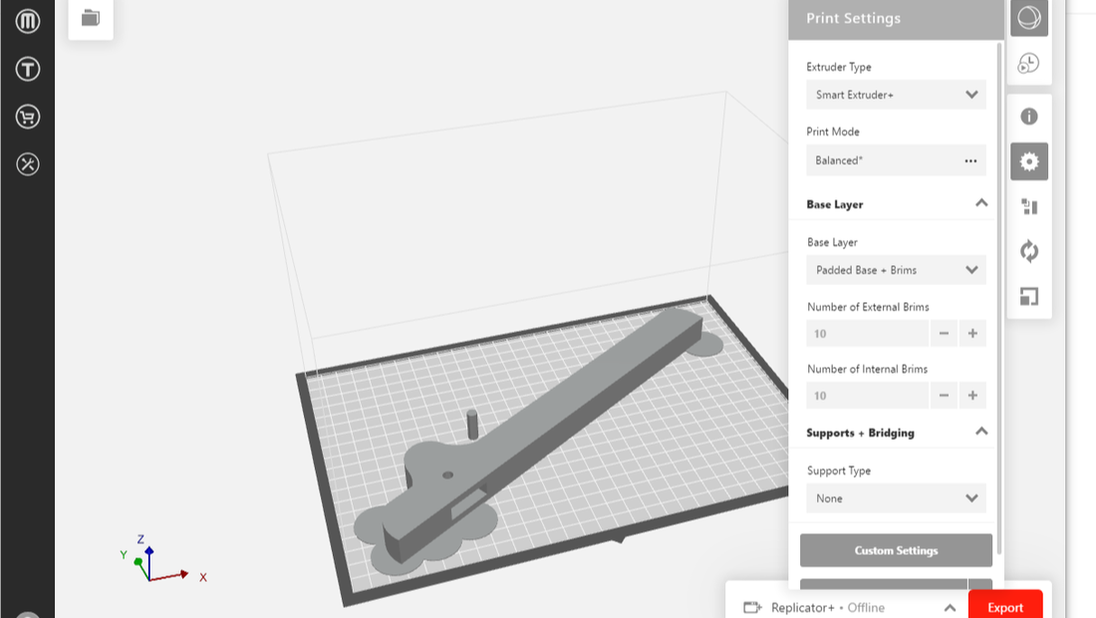
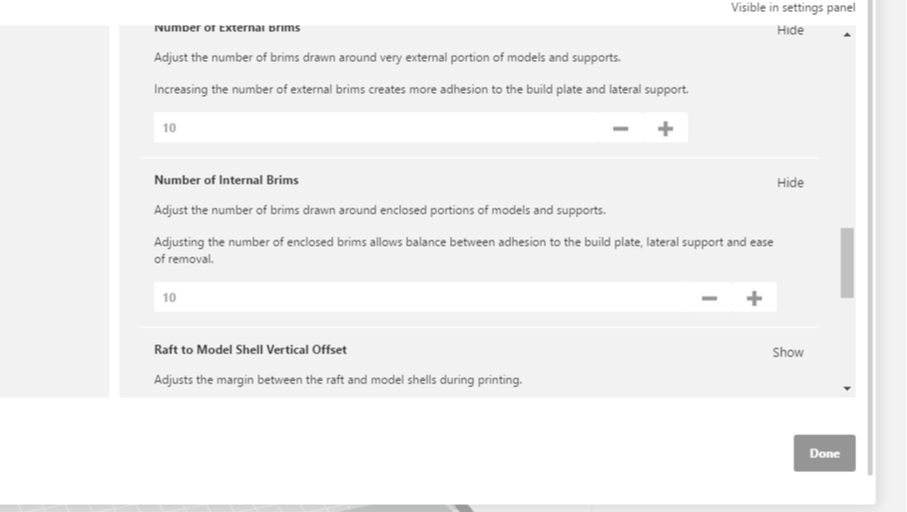
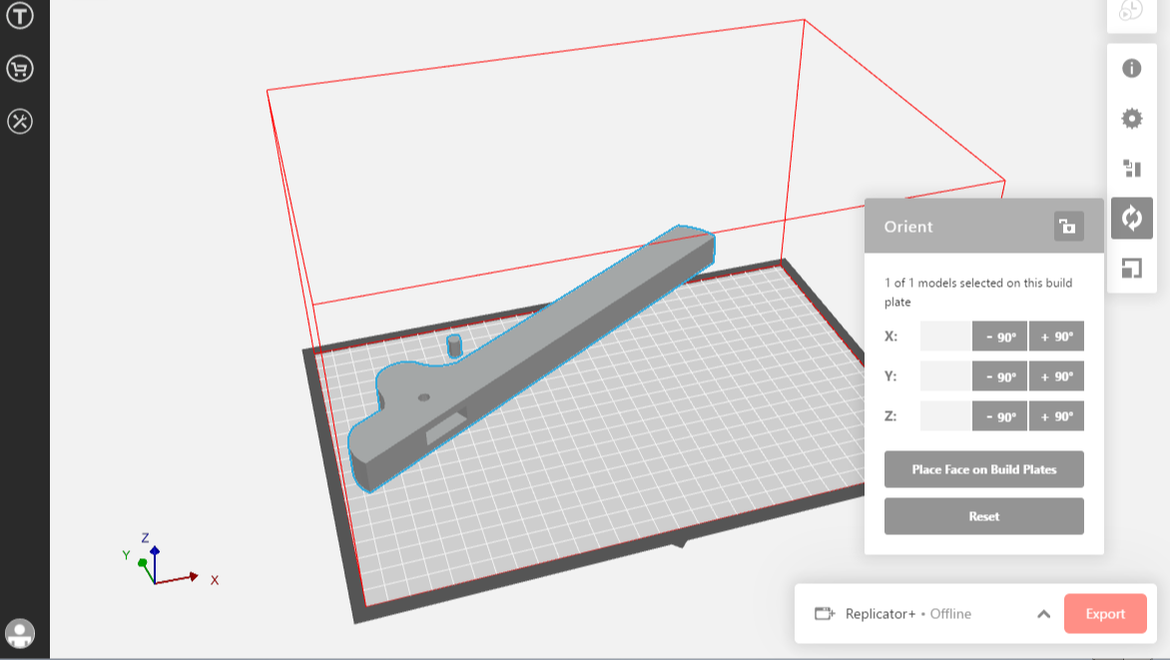
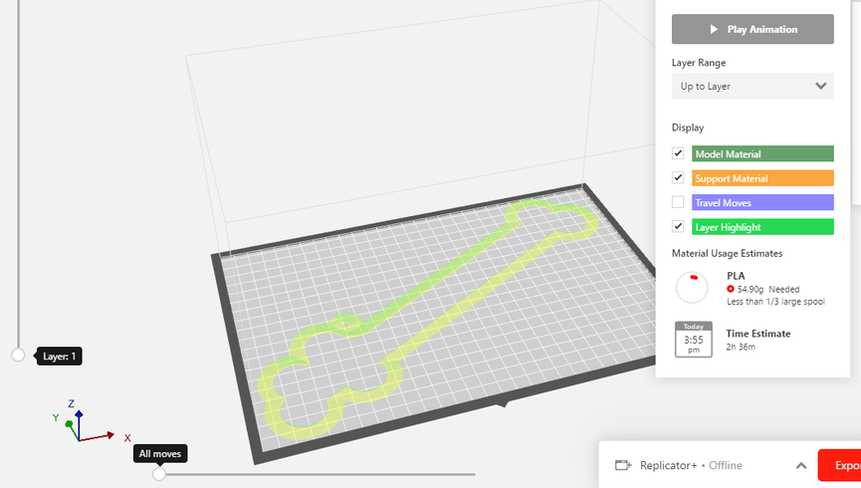
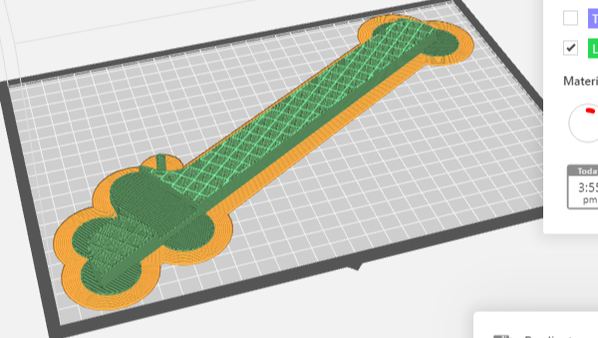
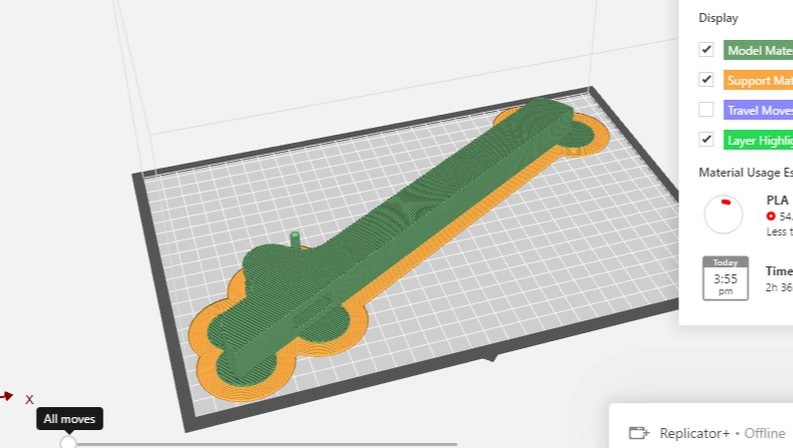
I uploaded my exported STL file from Inventor to Makerbot. I changed the infill density to 40% to add more strength and changed the fill pattern to diamond. I researched and found that was the best Makerbot pattern. For the base layer, I changed it to a padded base and brims. I increased both the external and internal brims to 10. Then, I changed the orientation to be at 30 degrees on the Z-axis. Once all of this was done, I exported it onto a flash drive and printed.
|
|
|
|

|
|
|
|
|
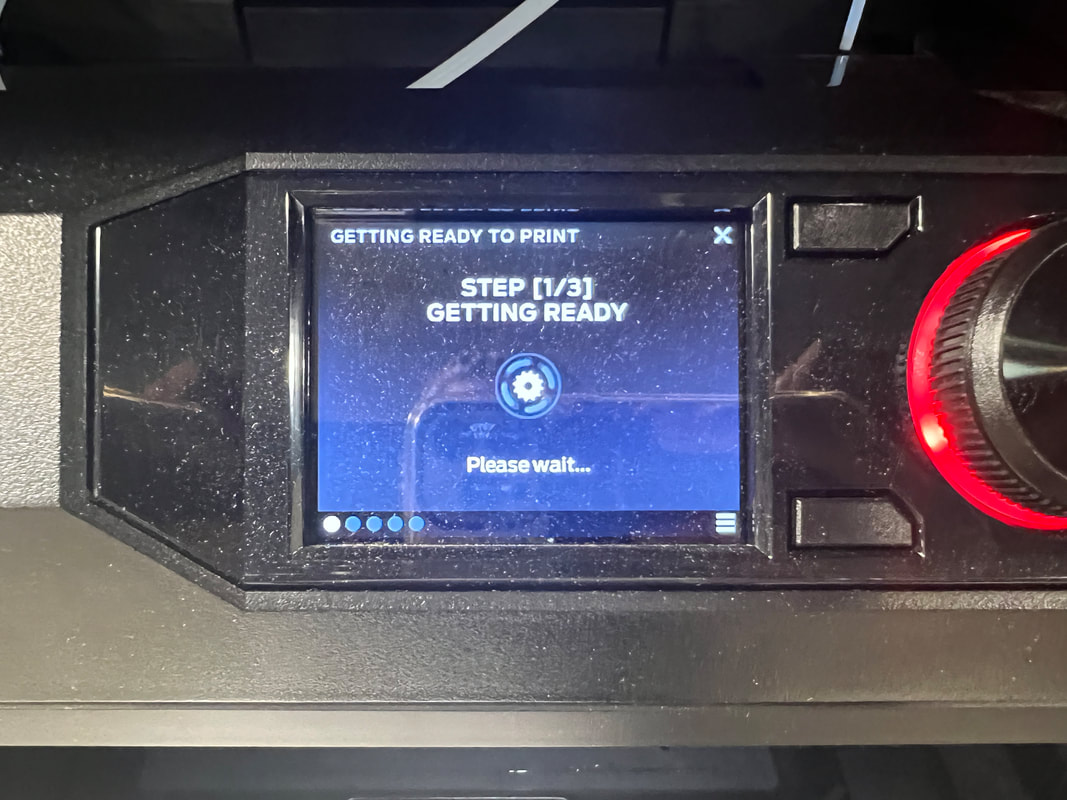
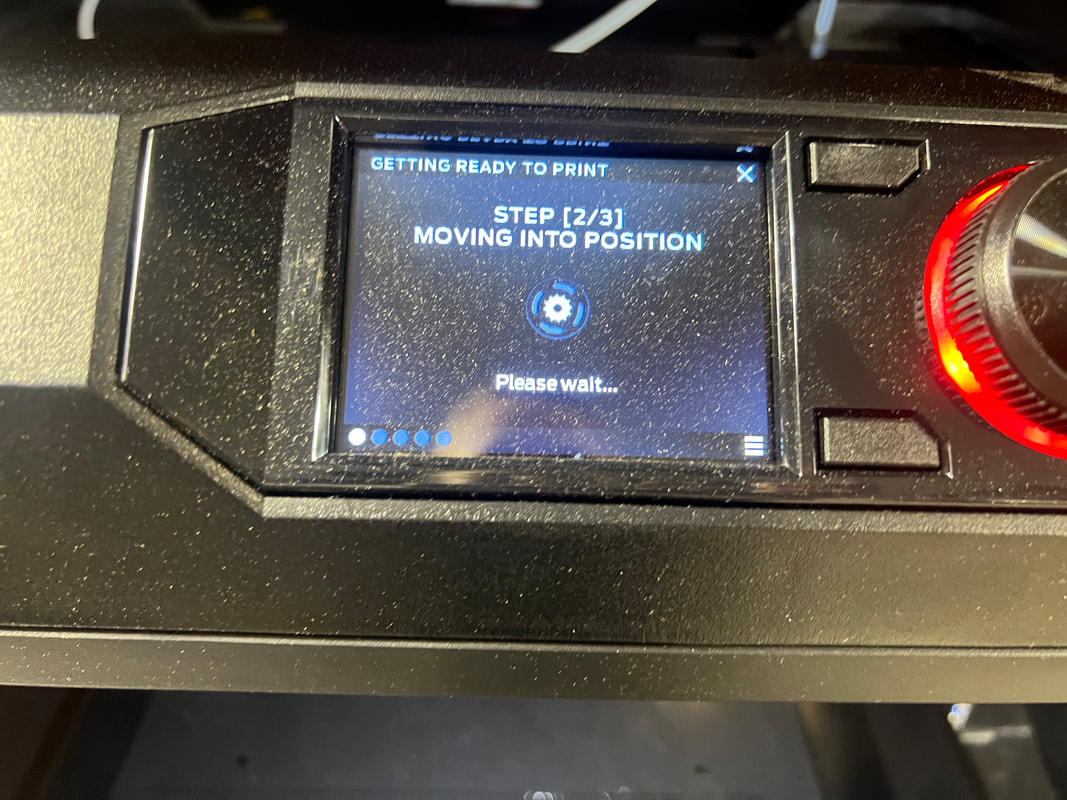
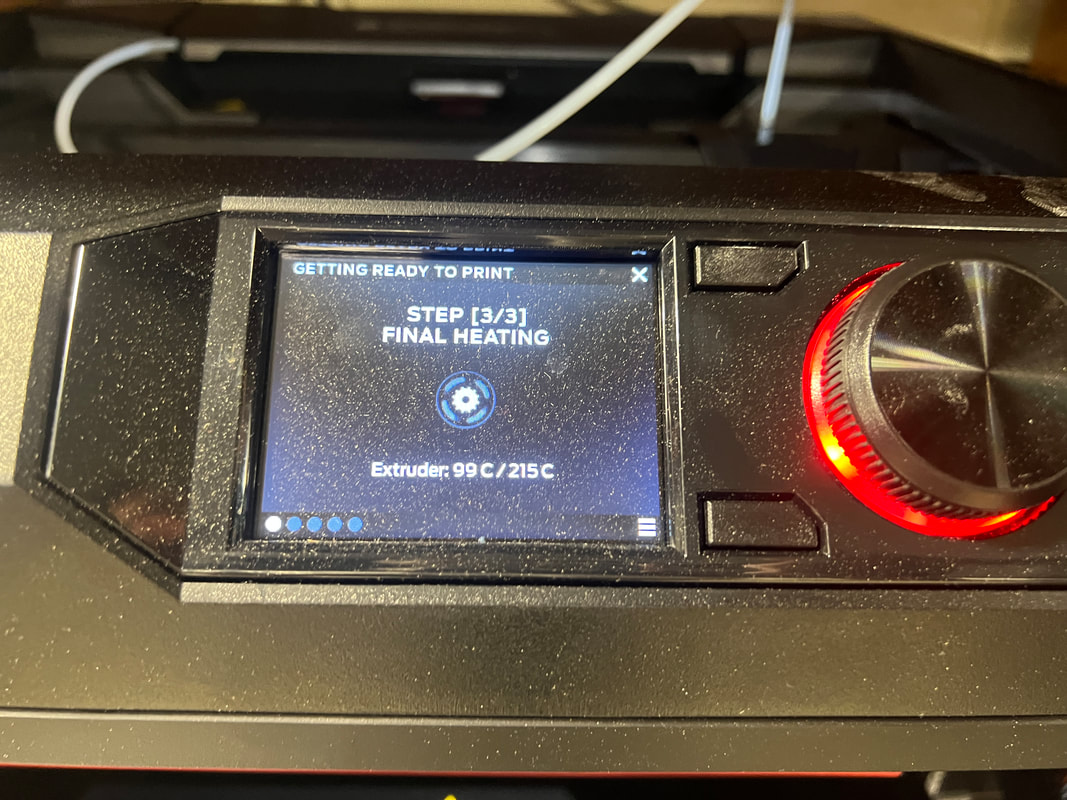
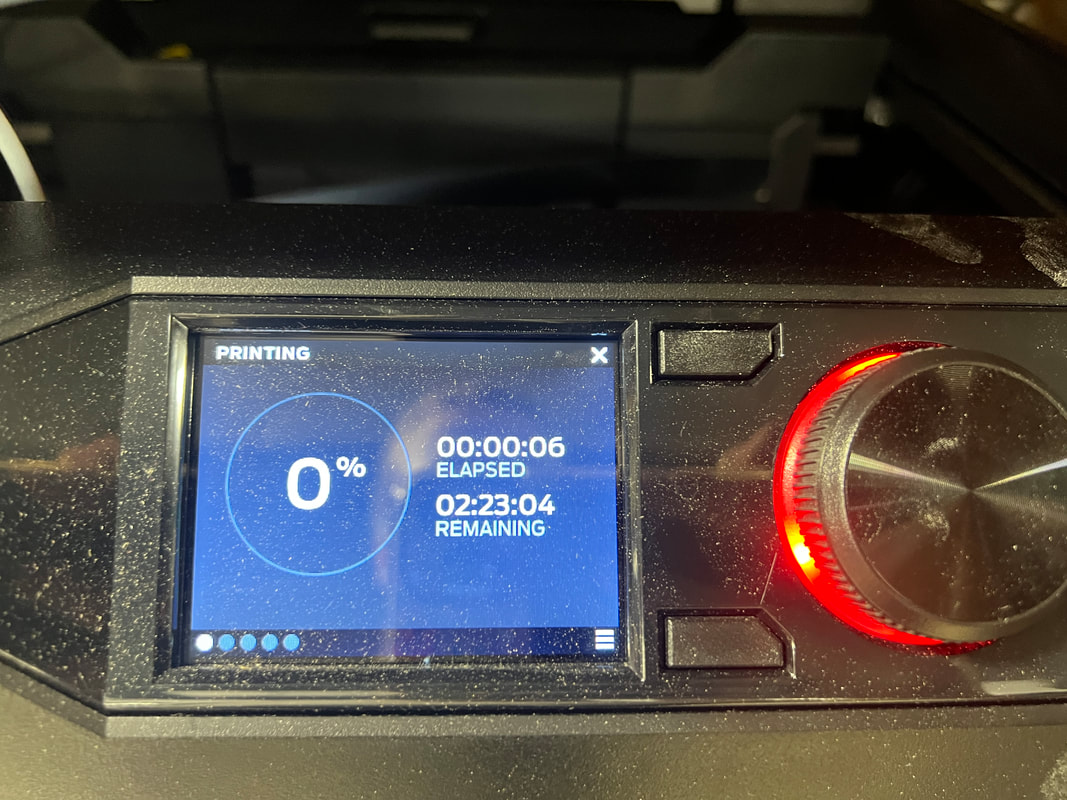
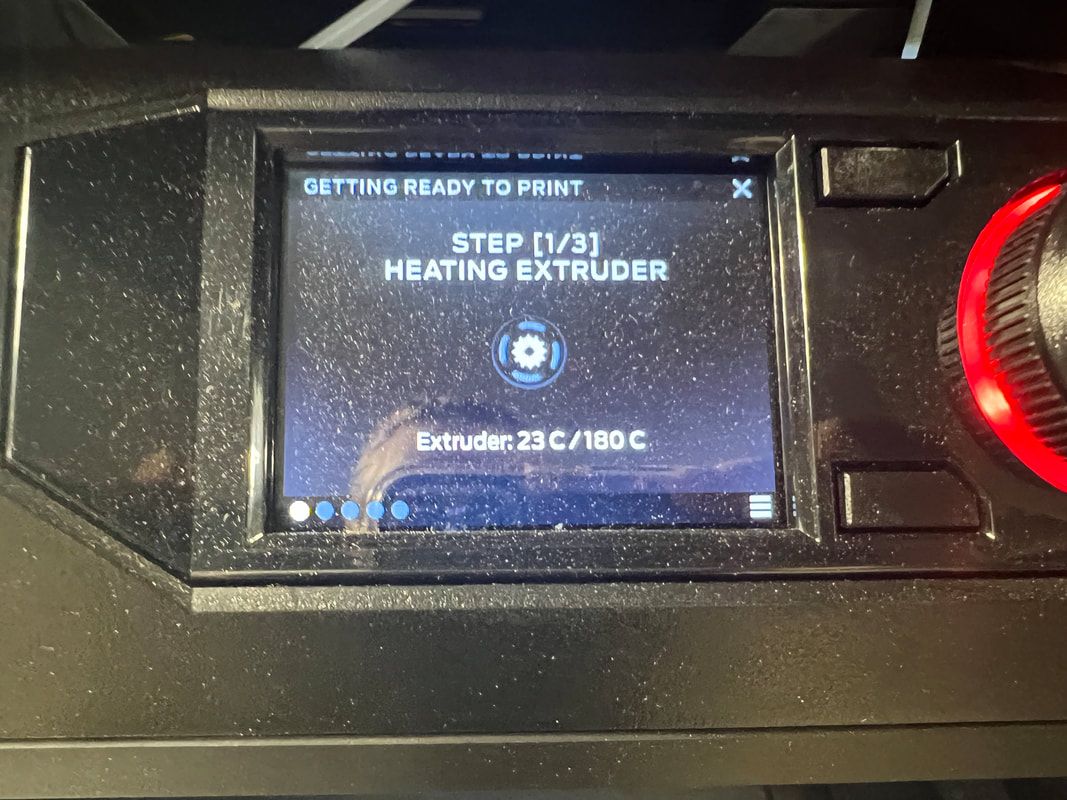
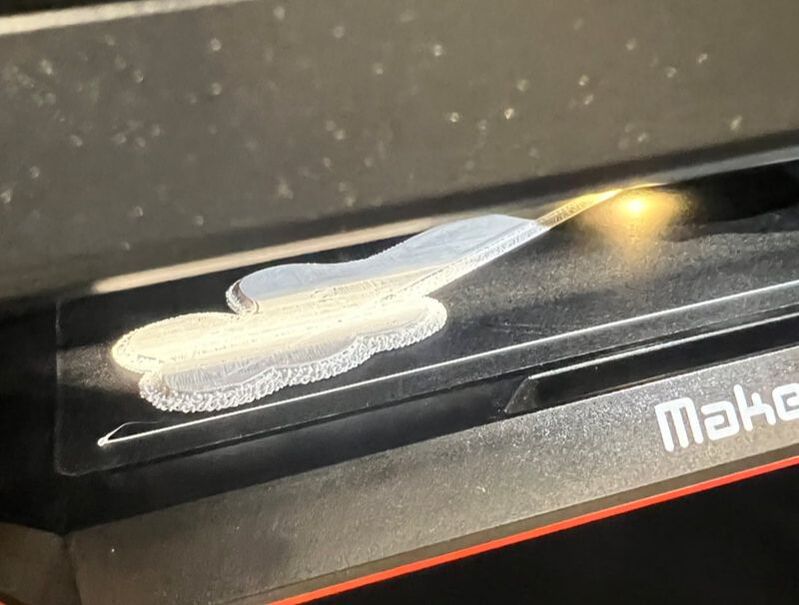
First, I plugged in my flash drive and clicked on my caliper file. Then, the printer got itself ready to go. I picked black filament because I thought it would look good. It is hard to see on the printer bed, but it's there.
|
|
|
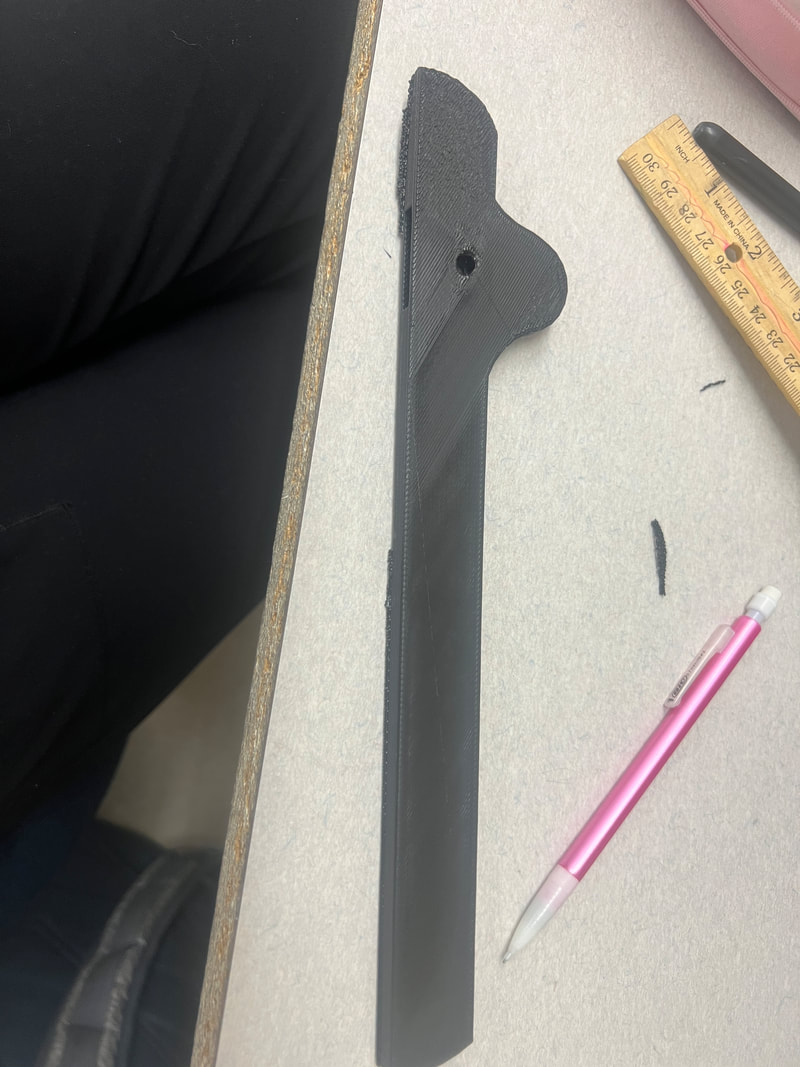
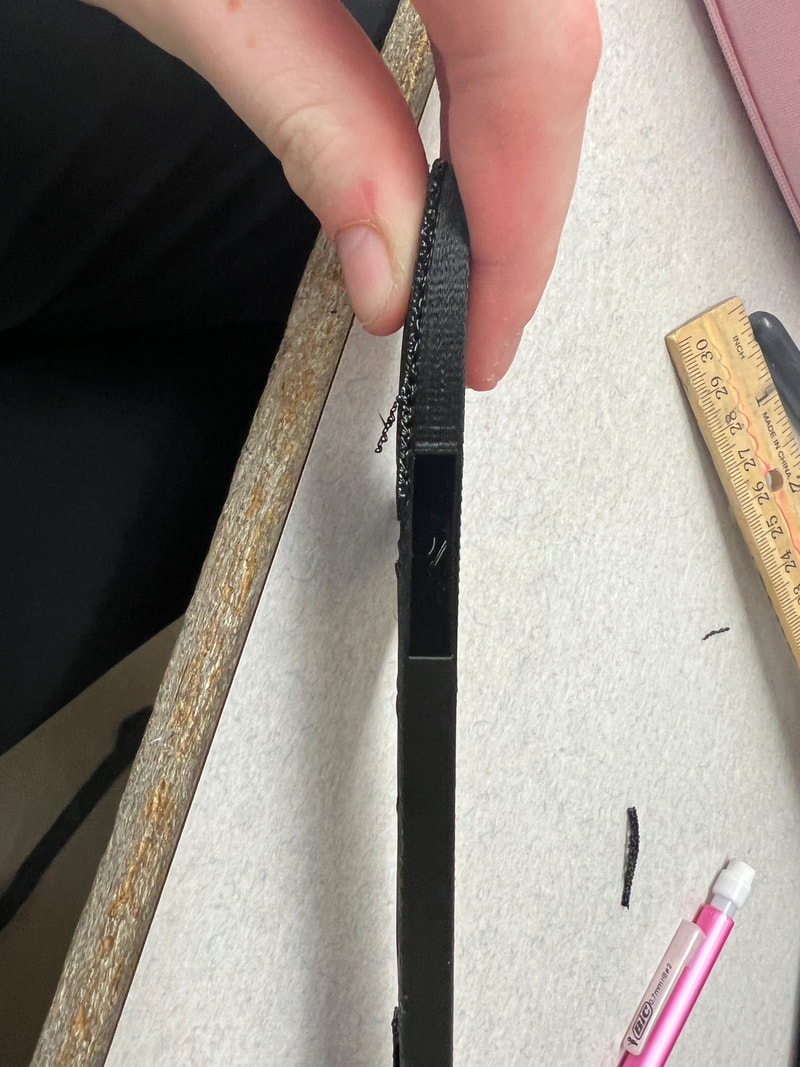
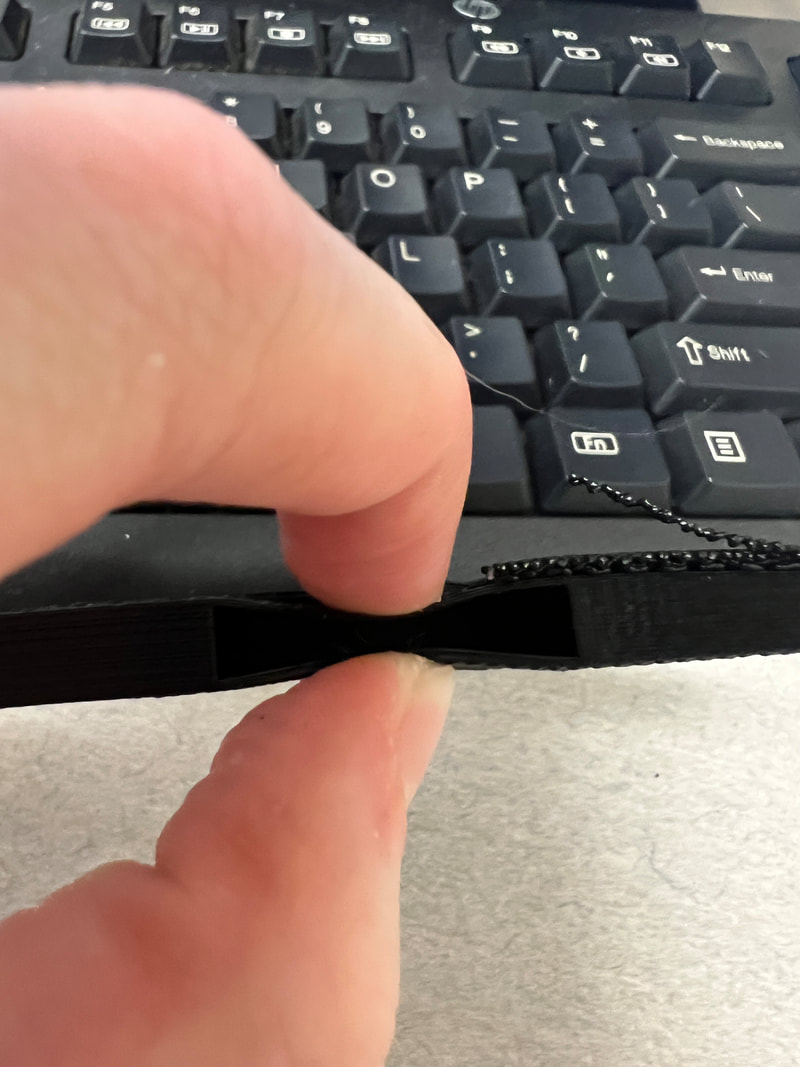
My first print did not work out well. I warped in the printer and was way too flimsy. Even with the adjustments in the printer, the sides of where the meter stick should go would snap super easily. When, I tired to put the meter stick in, it didn't fit. I didn't make the hole wide enough for the meter stick.
Reprint 2
|

|
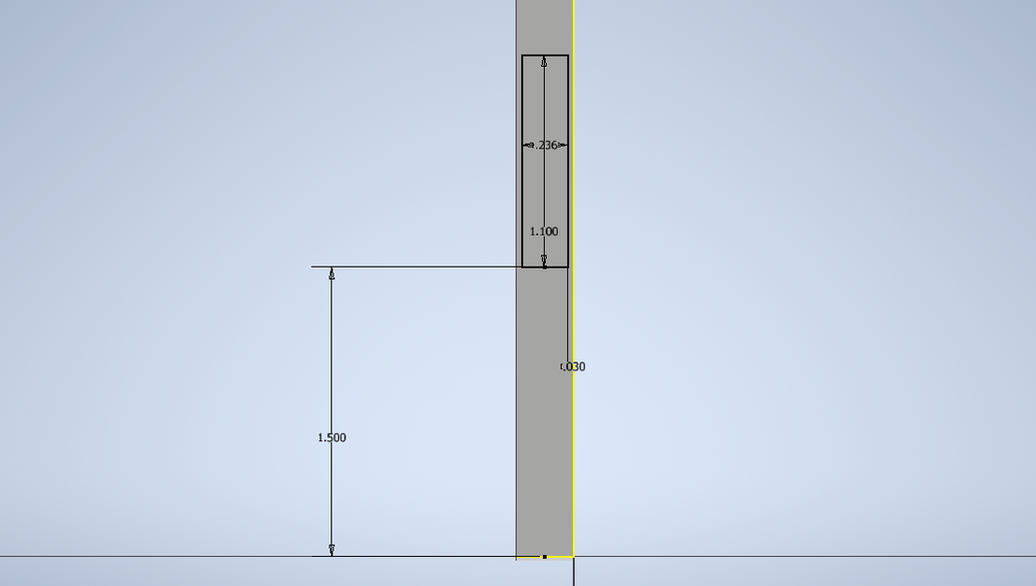
I changed the depth to 0.75 inches. That way they aren't too thick, but also won't break. With this new adjusted depth, I needed to adjust the spacing of the hole for the meter stick. I used a digital caliper to remeasure the meter stick as my first measurements weren't that precise. Then, I added wiggle room in my design and plenty of space around the hole.

|

|

|

|
I uploaded my exported STL file from Inventor to Makerbot. This time, I kept the infill and pattern the same. My design before was too thick in infill. This caused warping. For the base layer, I changed it to a padded base and brims. I increased both the external and internal brims to 10. Then, I changed the orientation to be at 30 degrees on the Z-axis. Once all of this was done, I exported it onto a flash drive and printed.
|
|
|
|
|
|

|
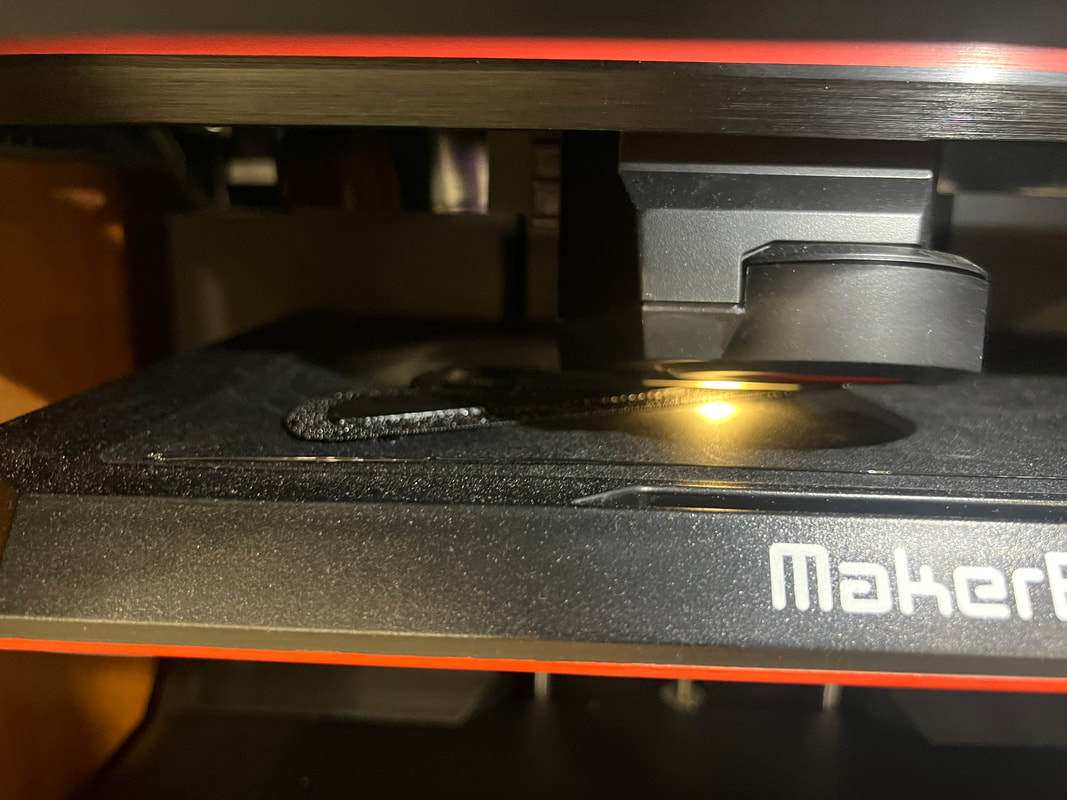
First, I plugged in my flash drive and clicked on my caliper file. Then, the printer got itself ready to go. I'm glad that I picked white filament as it shows up much better in the printer.
Sliding Caliper

|
|
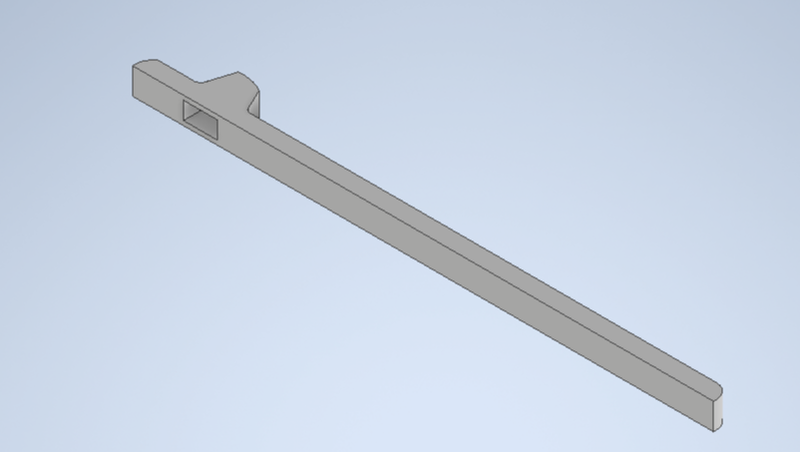
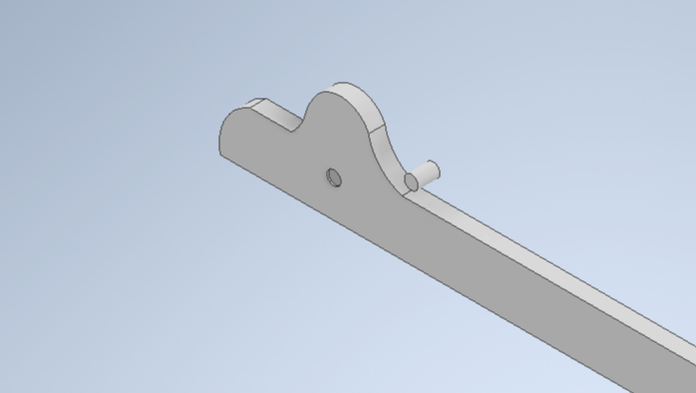
I make the outline of my sliding caliper the exact same as the end. I used the dimensions and angles to replicate the shape.
|
|
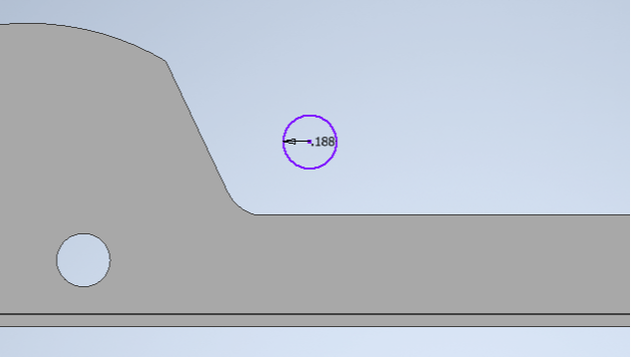
The hole on the bottom is exactly the same as the end caliper. I just changed the extrusion to go all the way through. This was it is able to slide along the meter stick. The circle in for the middle of my end piece hasn't been printing right, so I took the opportunity to put it on this design too.

|
|
I uploaded my exported STL file from Inventor to Makerbot. For the base layer, I changed it to a padded base and brims. I increased both the external and internal brims to 10. Then, I changed the orientation to be at 30 degrees on the Z-axis. Once all of this was done, I exported it onto a flash drive and printed.
|
|
|
|
|
|
|
Mr. Willauer printed my slding caliper, so I am using previous pictures. I was running out of time, so he printed them after class. The filament was actually red when it printed.
Summary
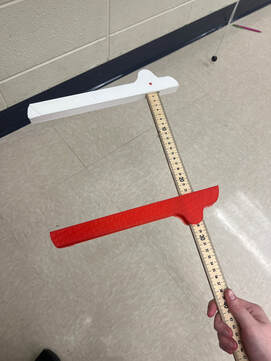
This is my final caliper on the meter stick. I learned how important trial and error is. It got pretty frustrating when I would print a design and it didn't work. As it got closer to the deadline, I was super worried that I would never get my design right. I did and am so happy that it worked out. In IDEA, we were given something to design with a process. It wouldn't fail unless you did something majorly wrong. Now, I had to make my own plan. It didn't work right away. All of that research I found on strengthening 3D prints, I never used. It made my design keep working, so I just printed it normal. I learned that I have to be patient and just keep working.
