Illustrator
Illustrator is an Adobe website. It allows you to create a 2D design to be uploaded to other software to use. We used Illustrator to create a keychain design to laser engrave. We also used Illustrator to create vinyl cuttings. Illustrator has many helpful tools we used to accomplish this like the text tool and shape tool.
Illustrator Designs
|
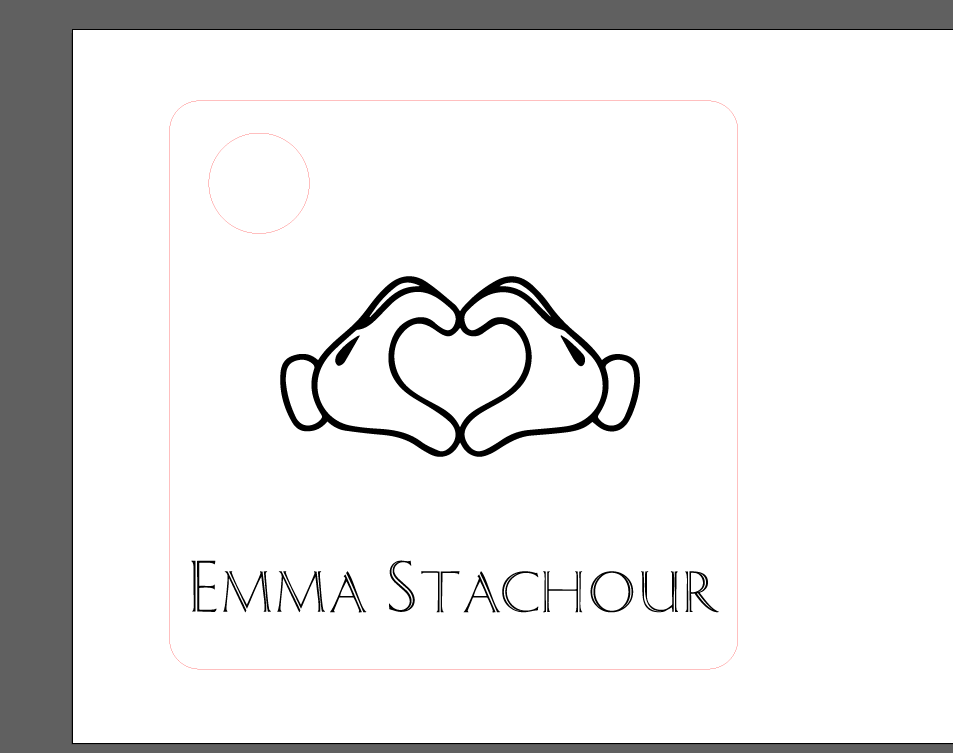
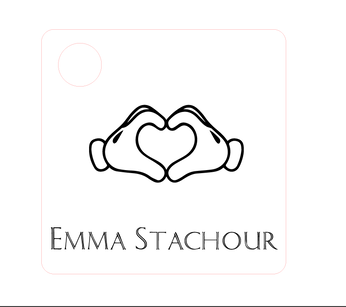
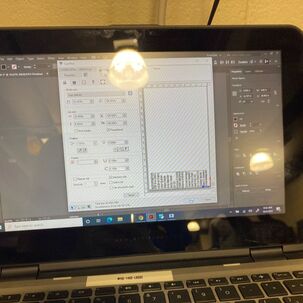
This is a screenshot of my final keychain on Illustrator.
|
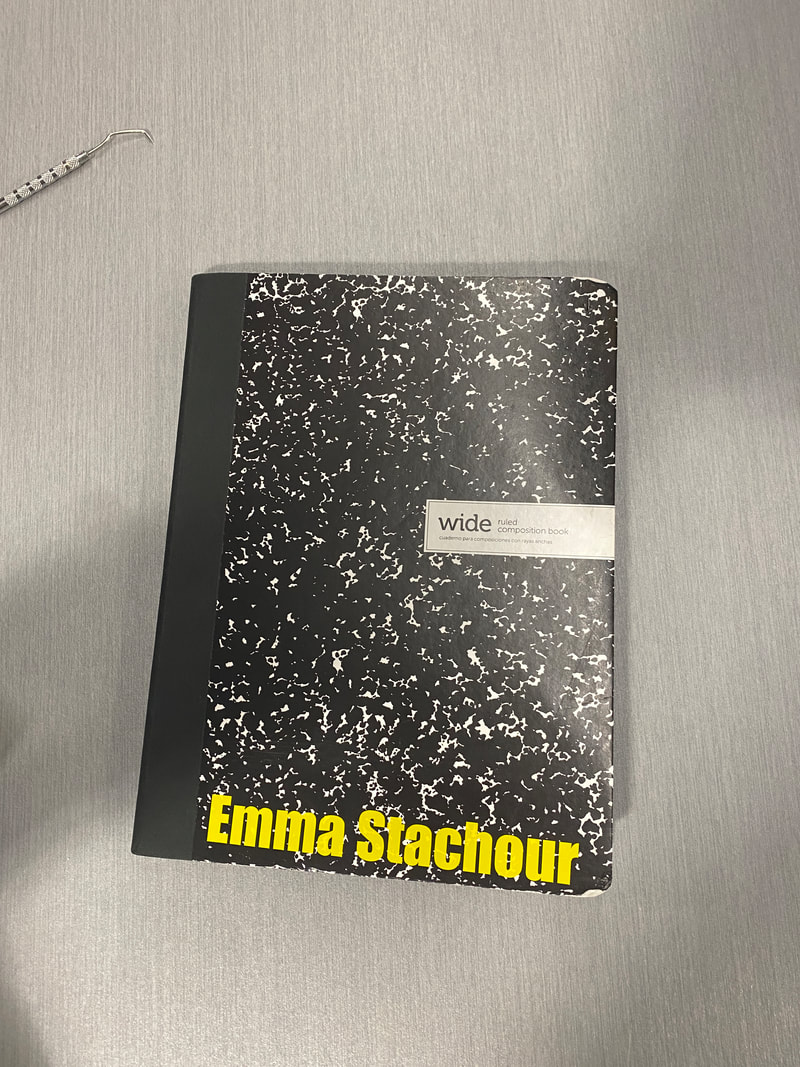
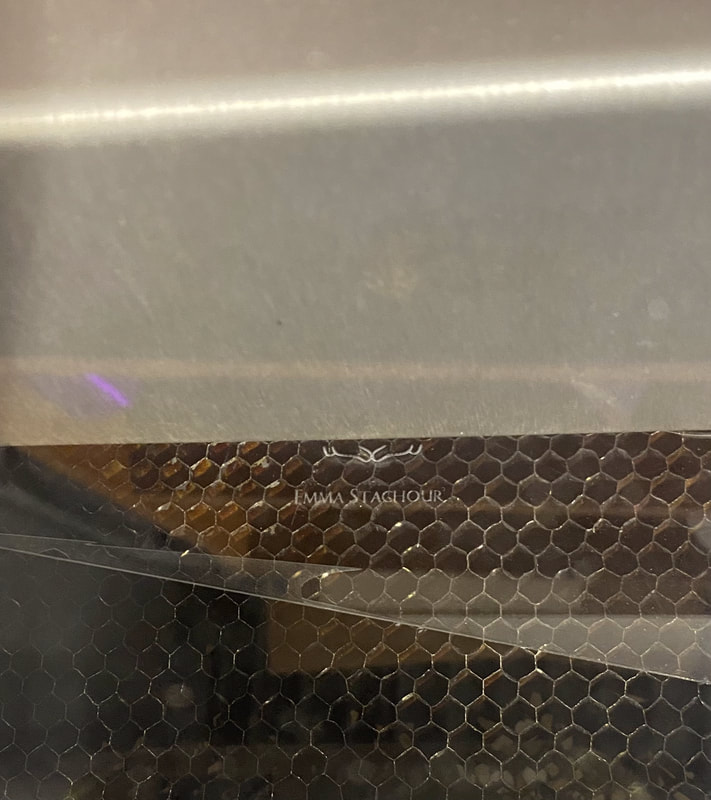
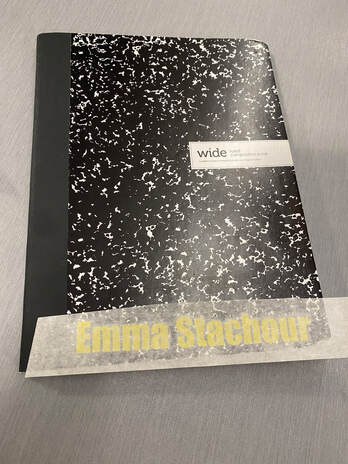
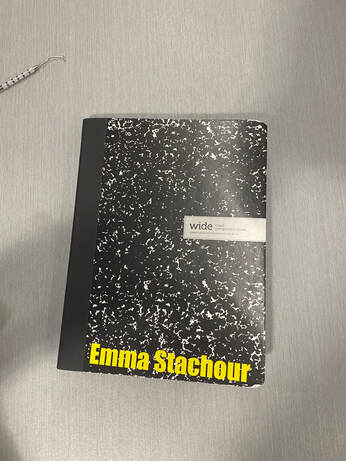
This is a picture of my final designer notebook.
|
Laser Engraving Process
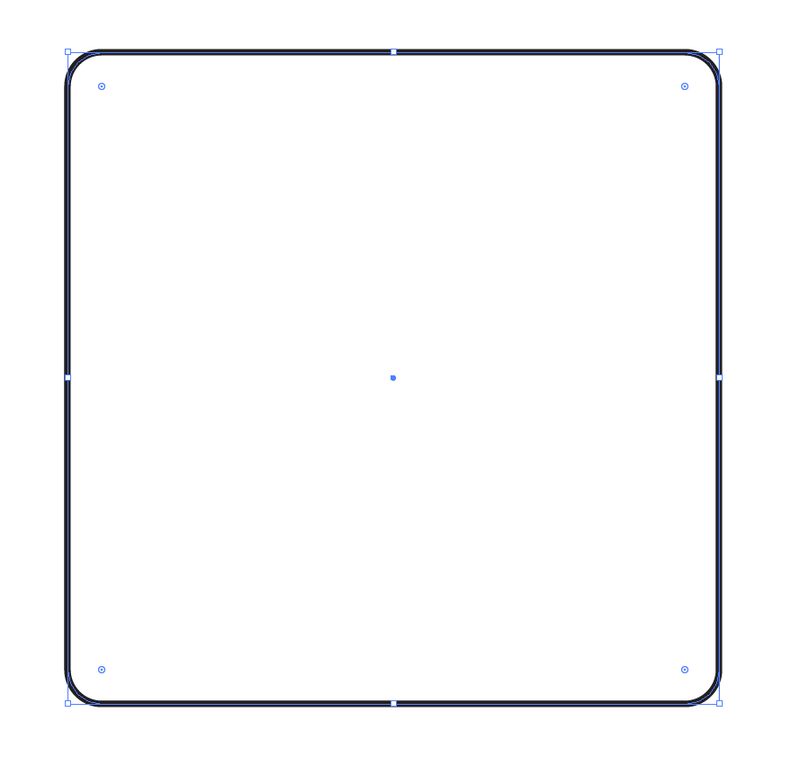
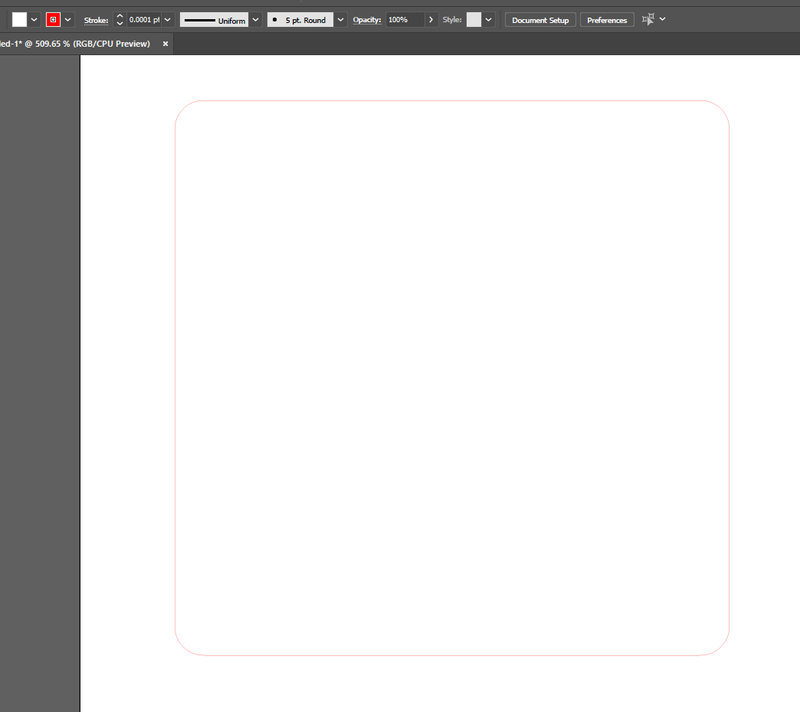
I created my keychain in Illustrator. I used the shape tool to create the outline and whole in my keychain. I made sure that the background was ignored. With stroke, I adjusted the color of the outline to red. On the laser engraver, reads red as a cut all the way through. I also adjusted the size to 0.0001.
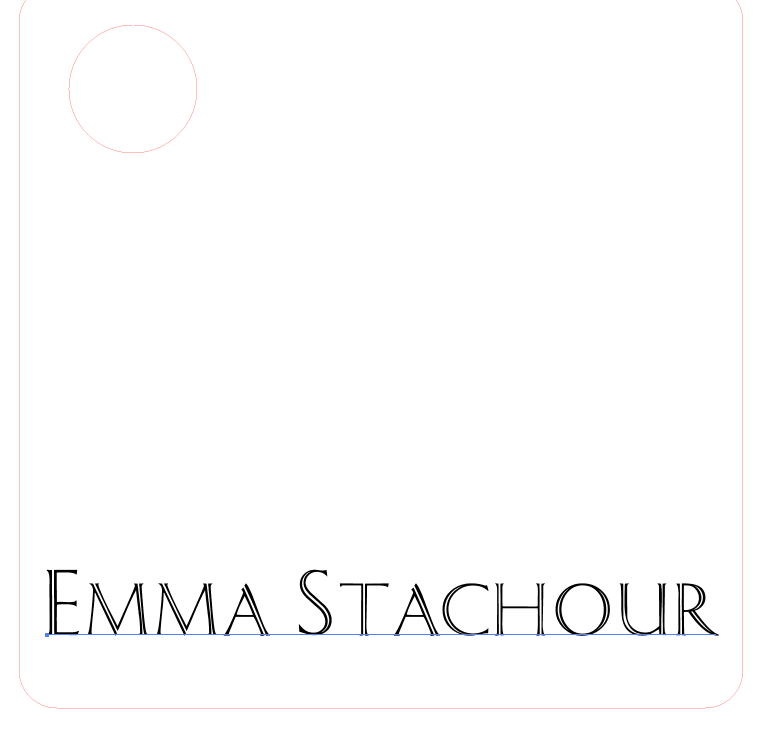
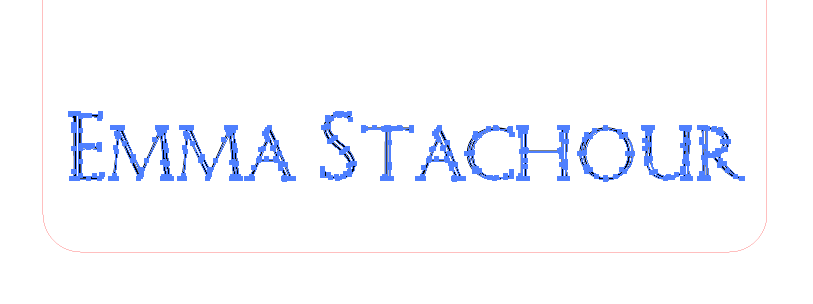
I added my name onto the keychain by adding text. I changed the size and font to fit my keychain. then, I clicked create outlines and made the text able to be engraved. The text is in black because that is how the laser knows to engrave.
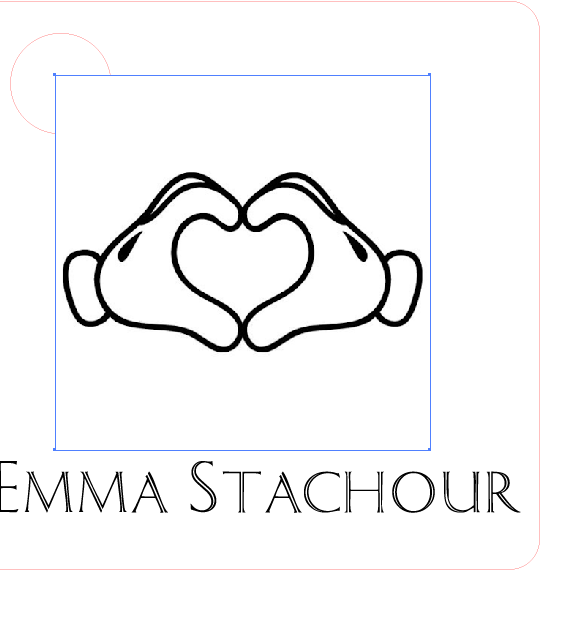
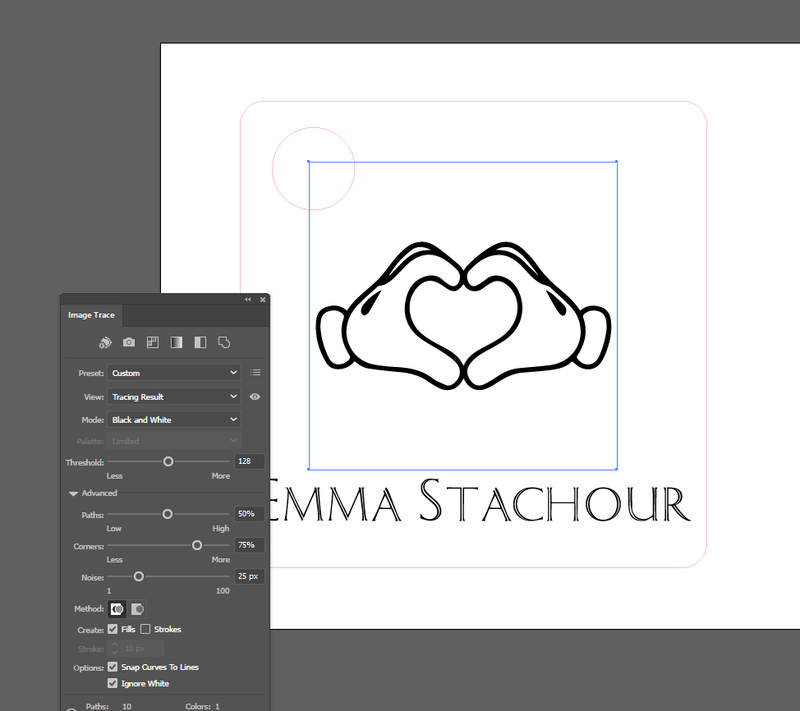
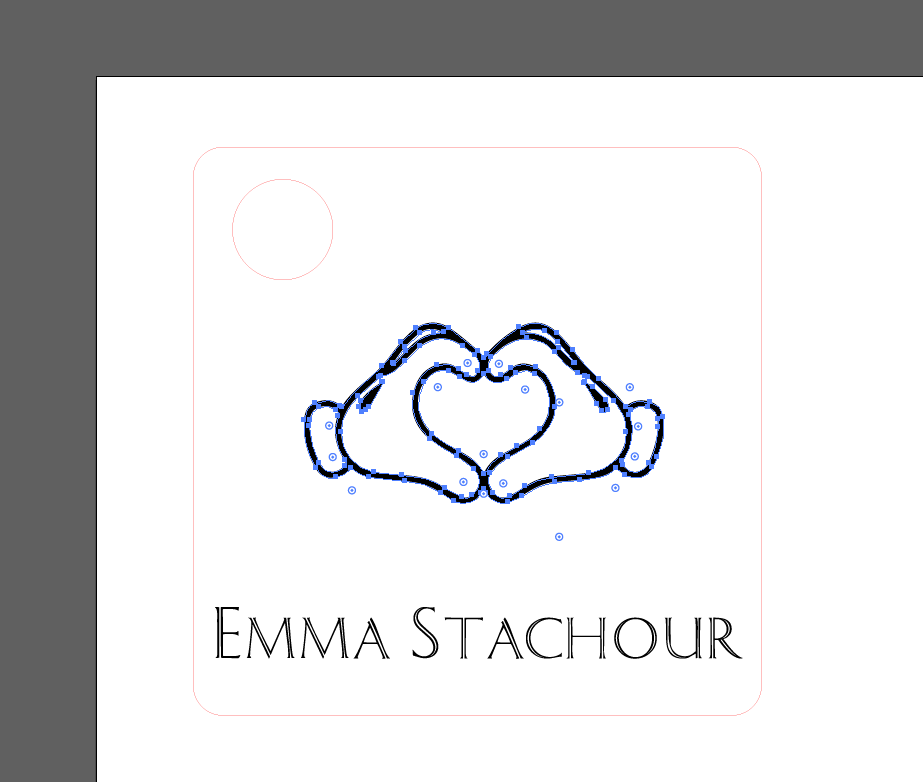
I found my image on Google. When finding it it is important to put the words black and white clipart next to the image you want to search. In my case I searched Disney black and white clipart. I copied the image and pasted onto Illustrator. I sized the image to fit on my keychain. I clicked on the make changes button on the image. Then, I clicked advanced and checked the ignore white box. On the top I clicked the expand button and got the blue outline on the shape. Once I clicked of the shape, the color was still black to show that it needed to be engraved.
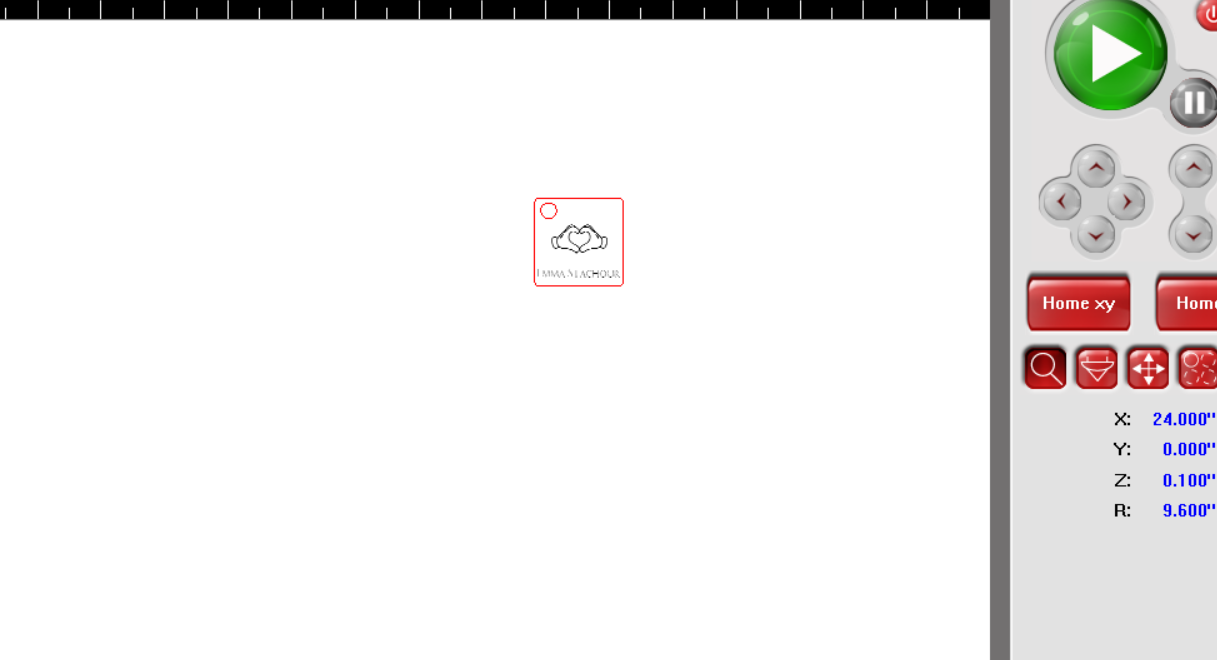
I opened the design on Illustrator and printed it. I adjusted the printing settings and hit print. After this, I opened up UCP. UCP is the software that the laser engraver uses to know where and what to engrave. I moved my design to where I wanted it and checked to make sure it fit. I hit the green play button and the laser started to engrave.
Final Keychain

This process taught me so much. I didn't know how to use a laser engraver before this. Now I do. I learned how to use Illustrator and how laser engravers speak in color. This project was so enjoyable and I got many useful skills out of it.
Vinyl Notebook Cover Process
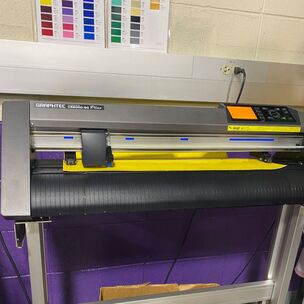
We used Illustrator, Cut Maker and the vinyl machine to create a decal name to put on the front of my notebook.
|
|
Mrs. Proctor typed all of our names onto Illustrator. Then she exported the file to Cut Master. On Cut Maker, she moved the file so there would be less vinyl wasted. She then printed it onto the vinyl machine.
|
|
|
|
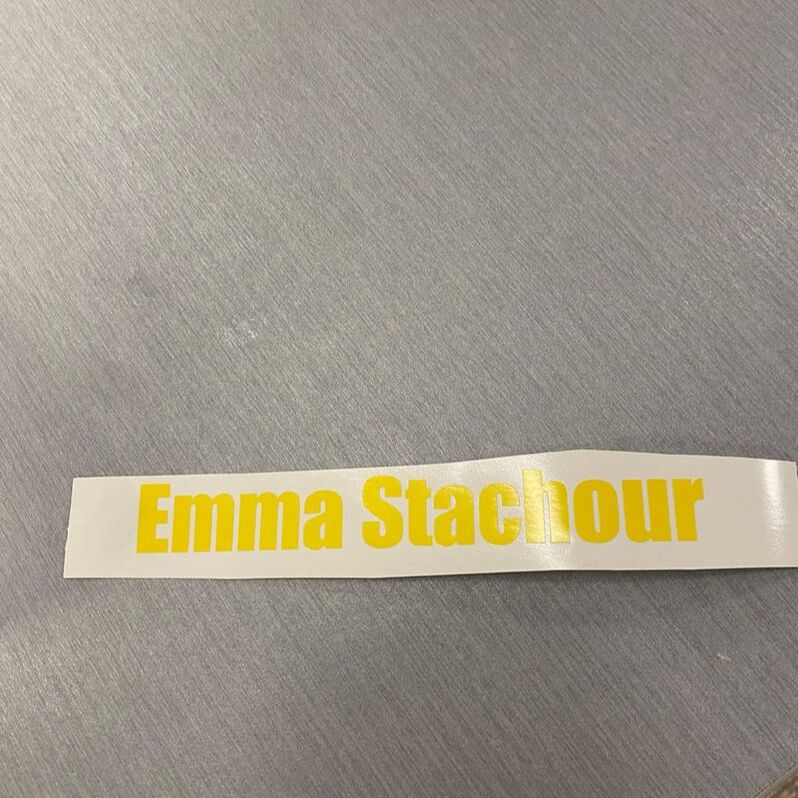
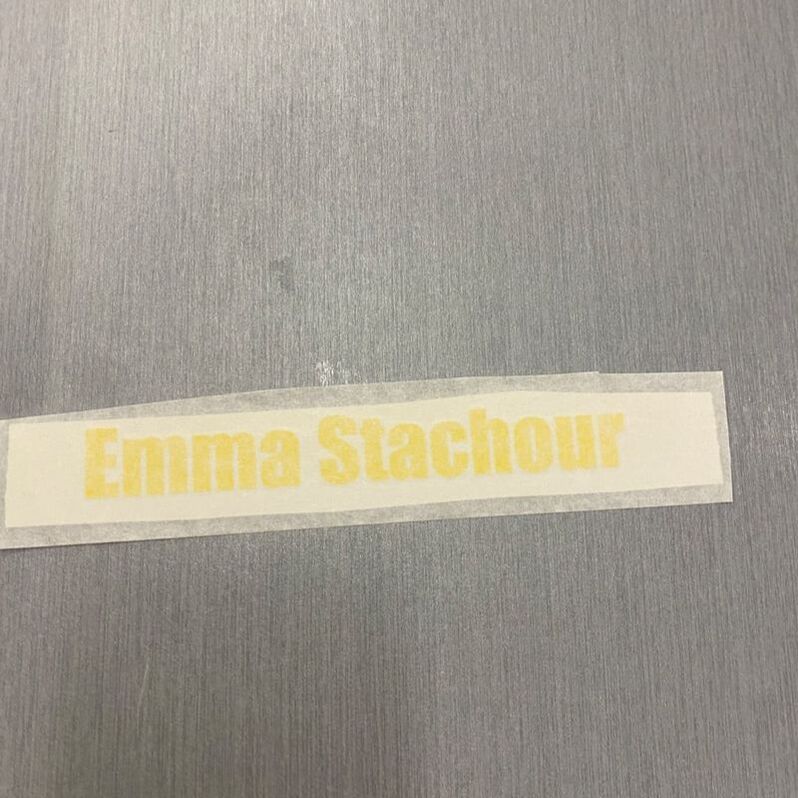
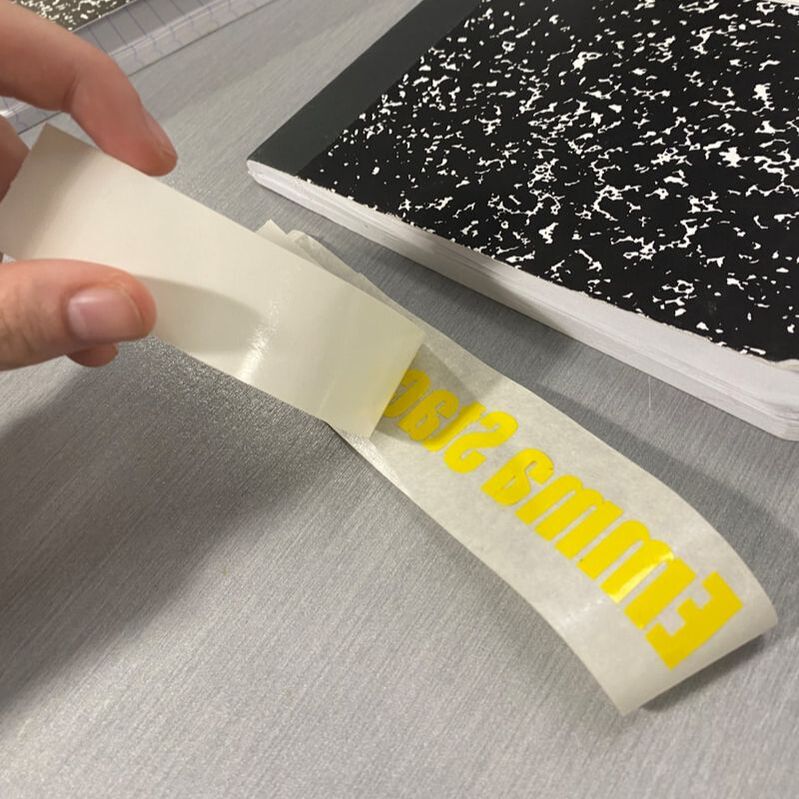
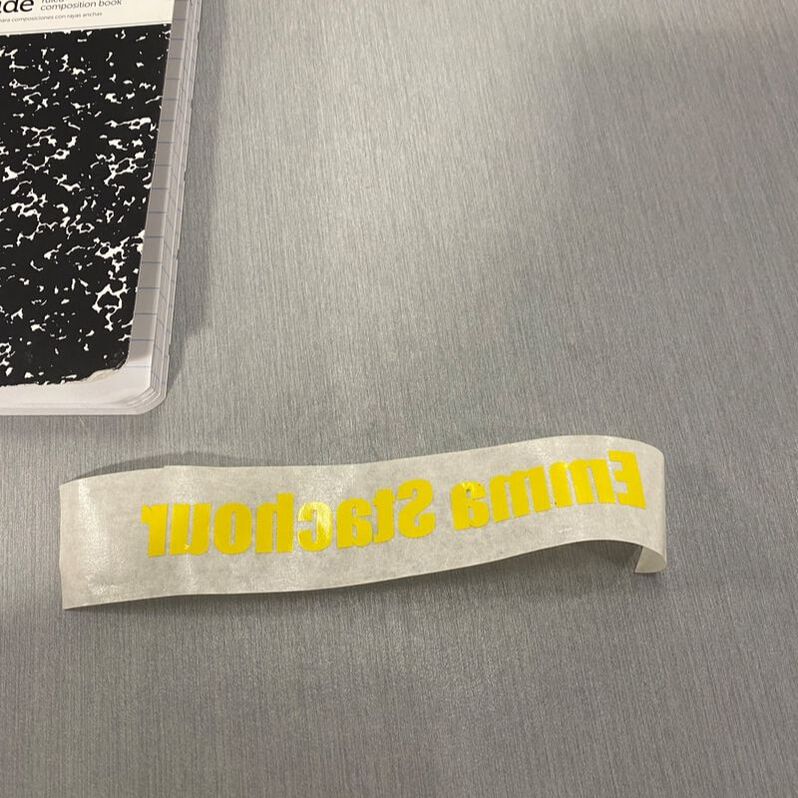
I weeded the excess vinyl away from my name. Then, I stuck a piece of transfer tape onto the front. I used a squeegee to firmly press my name on the tape. I carefully peeled the backing off of my name decal. I was left with my name on the transfer tape.
|
|
I stuck the piece of transfer tape with my name onto the cover of my notebook. I used the squeegee again to make sure it was stuck nice and firmly on the cover. I peeled the tape of carefully and was left with my name on the cover.
This project gave me a better understanding of how a vinyl machine works and how to use it. I had only seen a vinyl machine being used before this. I had no experience whatsoever on using it. Watching Mrs. Proctor print the vinyl and placing the decal on my notebook gave me a great understand of the vinyl process. I had a lot of fun putting my name on the cover. Both the projects taught me a lot about Illustrator and I can't wait to use it more in the future.
