Brainstorming
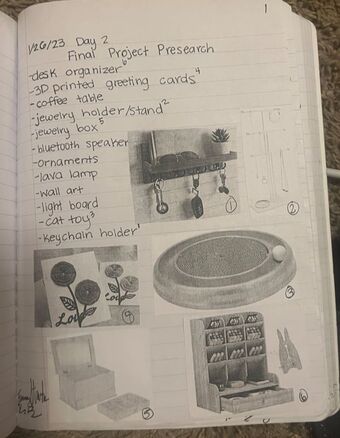
I brainstormed 12 different ideas for my final project. My favorites, in order, were a key chain holder, jewelry stand, cat toy, greeting cards, jewelry box and a desk organizer. It's very interesting because I never took interest in my top three after doing the deep dives. This really shows the power of brainstorming because the first ideas aren't always the best.
Deep Dives
|
|
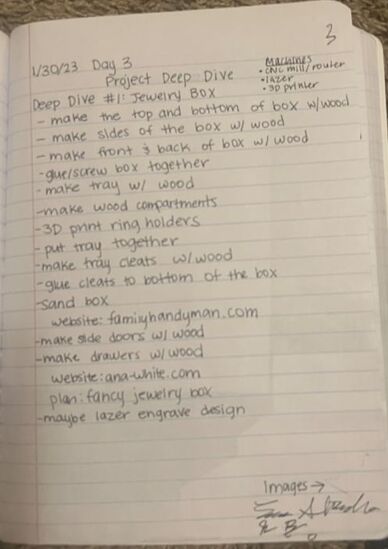
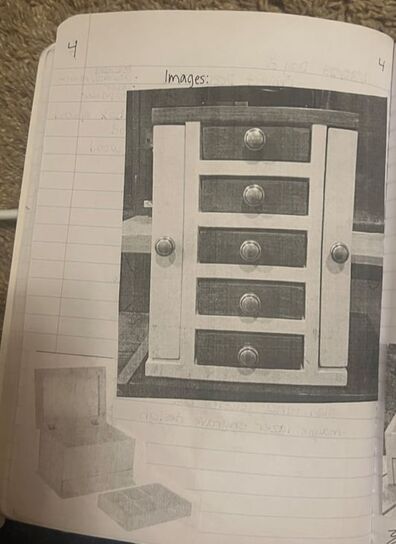
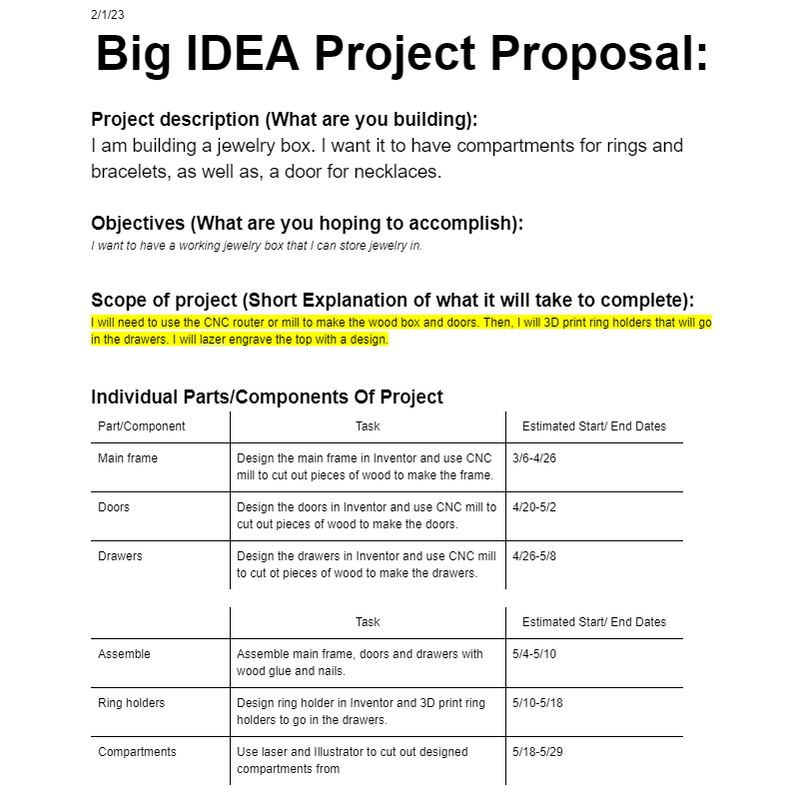
My first deep was for a jewelry box. This project will need a lot of cutting from the CNC router and I would have to be creative with the other uses of the machines. I wanted to 3D print ring holders for inside the drawers, and maybe use the laser engraver or vinyl cutter for a design on top. This project will definitely keep me busy.
|
|
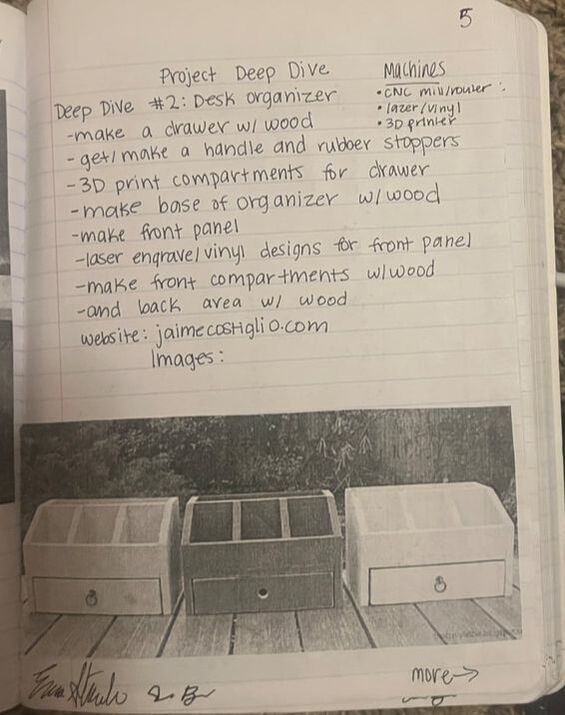
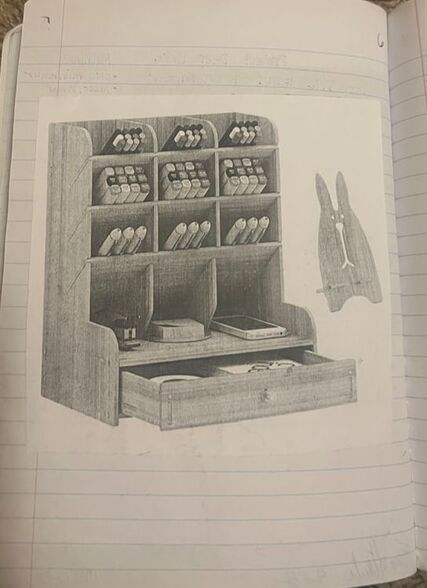
My second deep dive was for a desk organizer. Again, it is a cutting heavy project. There are a lot of pieces to be made and so many style of organizers. I figured I'd use the 3D printer to make compartments of some sort or make the handles. I want a design on the organizer, so I will either use the laser engraver or vinyl cutter for that.
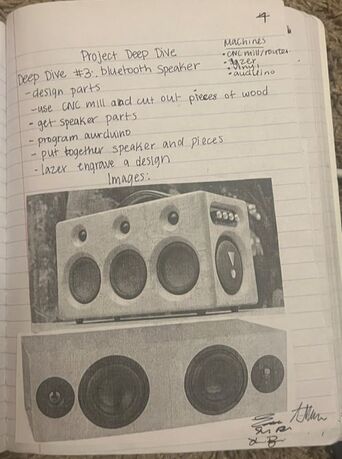
My last deep dive was for a blue tooth speaker. My other favorite ideas didn't have enough steps, so I used this. I would need to CNC router to cut wood pieces for the speaker to go into, program an Arduino and engrave a design. It seems like it is both really simple and really hard. I'm not sure that I want to do this one.
I chose to do the jewelry box because it had the most steps, and I would actually use it. I don't want to make anything that wouldn't be practical for me to use.
Project Proposal
|
|
|
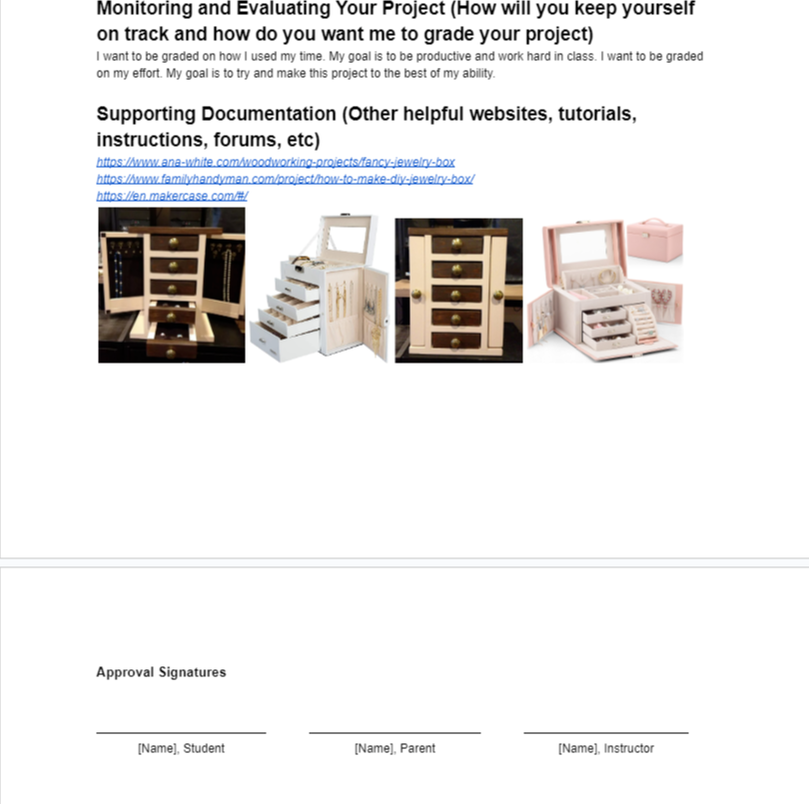
I'm really happy with my choice. It has been pretty easy to plan. Mr. Willauer introduced me to https://en.makercase.com/#/. This website makes box cutouts on the laser. I really like this idea and will use this to make compartments in the drawers. Also, he talked about the possibility of 3D printing the drawer handles. I really like that idea too, so I am going to 3D print handles and ring holders, Also, I am using the router to cut out all of the pieces. I found another website https://www.ana-white.com/woodworking-projects/fancy-jewelry-box. This website is made by a lady who made a jewelry box for her mom for Mother's Day. It is really helpful because she has all of the wood pieces and thickness needed and a blueprint on how to make it.
Planning
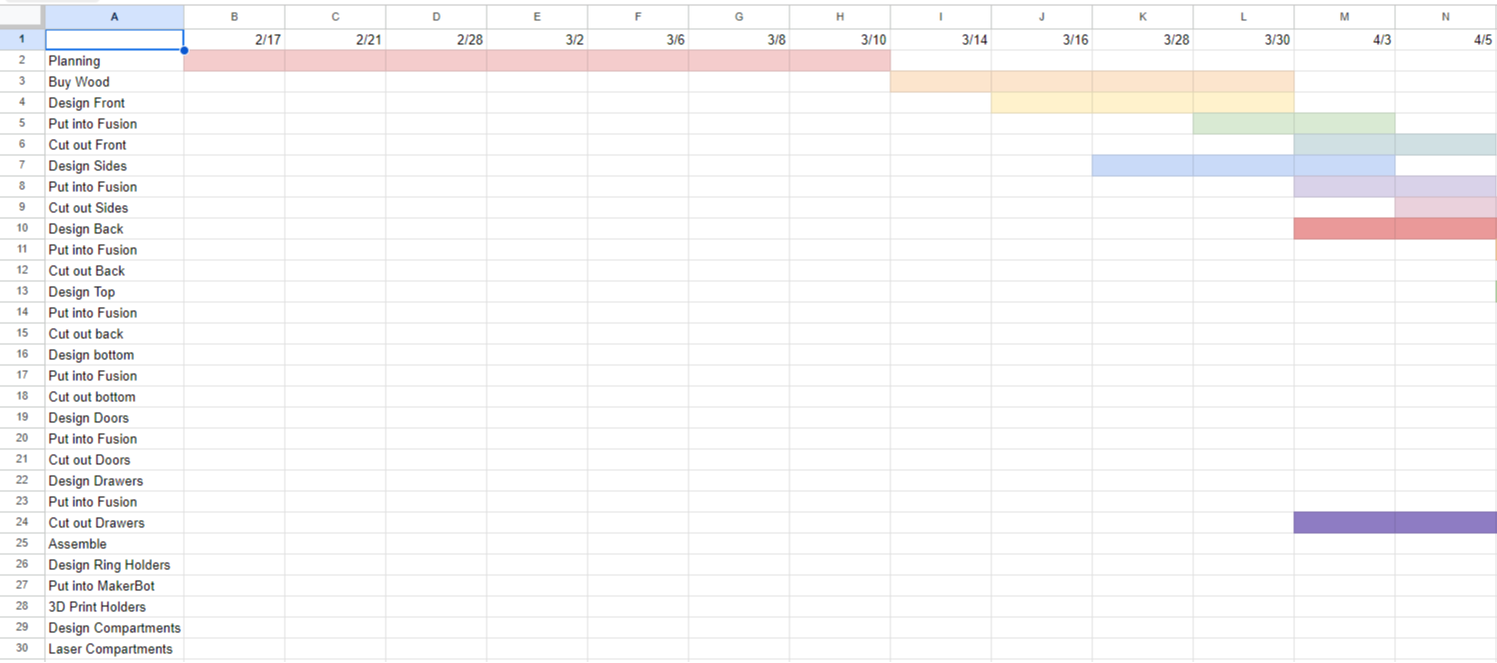
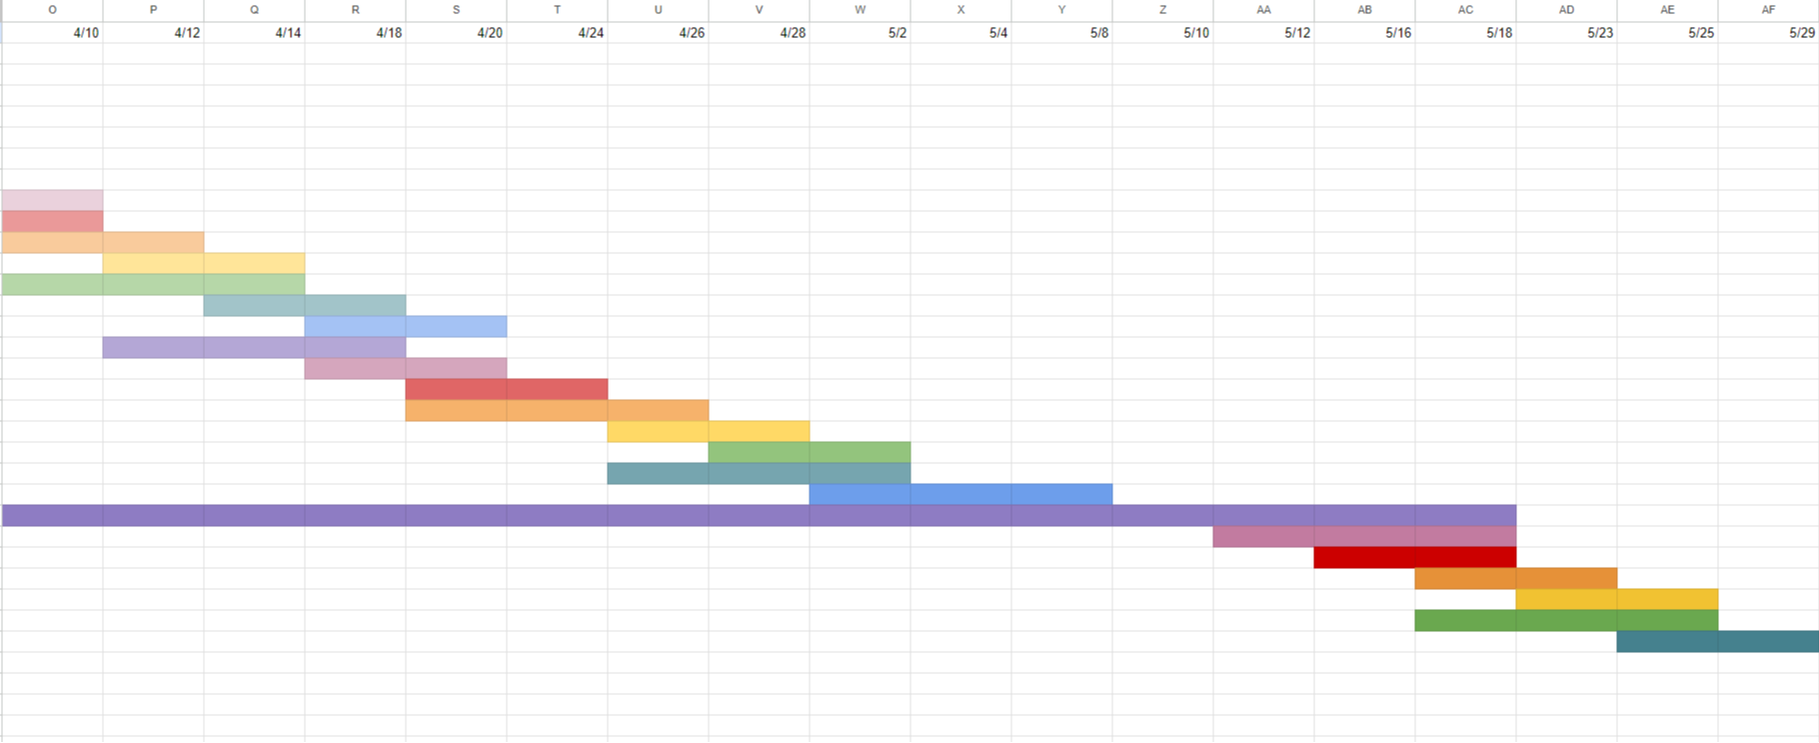
I made a Gantt Chart to plan the progress of my project. This is to make sure that I get this project done by the end of the semester. I plan to use it to check if I need to come in for extra time. I don't want to be rushing at the end to get my project done.
First Design
Ana White's website already had a blueprint for a jewelry box, so to make my life easier in this one semester, I am going to use her blue prints and designs. My first design used each wood piece and measurement on each type of wood. Her project called for 5 wood boards. She already planned which piece went with each board, so my job was really easy. I just put the design in Inventor.
|
|

|
This is the first board. It is a 1/4" x 2' x 2' piece of plywood. It has the back of the jewelry box, the bottoms of the drawers and the outsides of the drawers. I first made a box 2 feet by 2 feet. Then, I filled in the box with the pieces and got rid of the box. Lastly, I extruded this piece by 1/4".
|
|
|
This is the second board. It is a 1" x 8" x 8' piece of wood. She didn't specify the type. It has the top and bottom of the box, the sides of the box, the shelves and some spacers for the drawers. I first made a box that was 8 inches by 8 feet. Then, I filled in the pieces and got rid of the box. Lastly, I extruded the piece by 1".
|
|
|
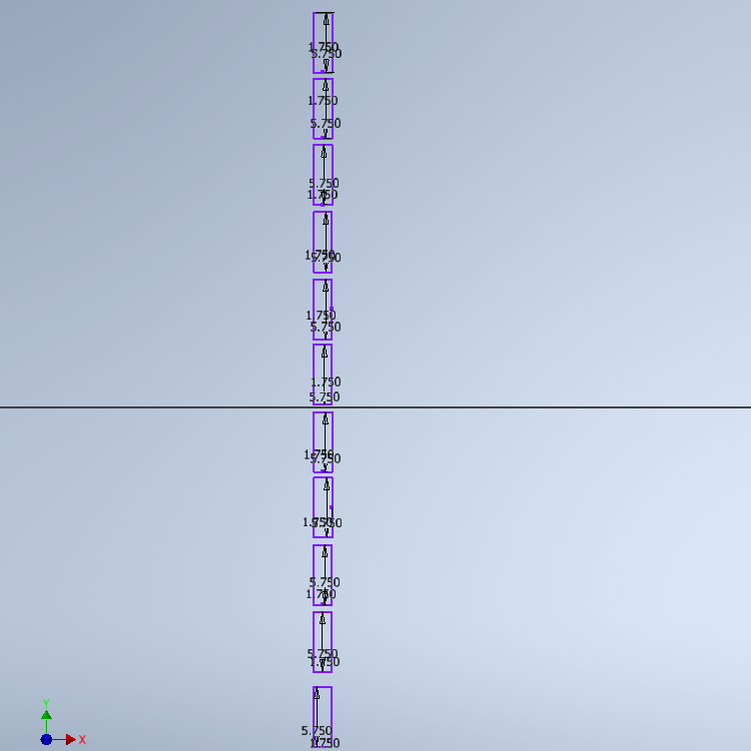
The third board is a 1" x 2" x 6' wood board. The type was not specified. There are the drawer fronts and backs and a door bottom that will be cut out. First, I made a rectangle that was 2 inches by 6 feet. Then, I filled in the pieces and got rid of the box. Lastly, I extruded the design by 1".
|
|

|
This is the fourth board. It has the same dimensions as the first and is also being used for drawer pieces. The difference is that this board is for the sides of the drawers and a door bottom. I first made a 2 inch by 6 foot box. Then, I filled in the pieces, and I got rid of the box. Lastly, I extruded by 1".
|
|
|
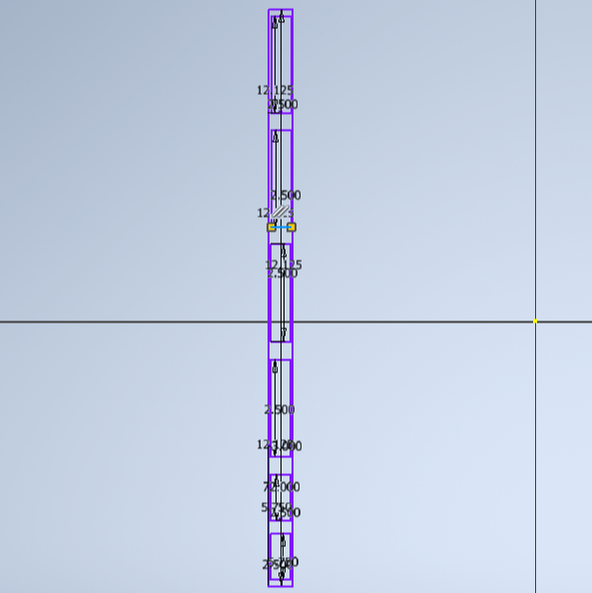
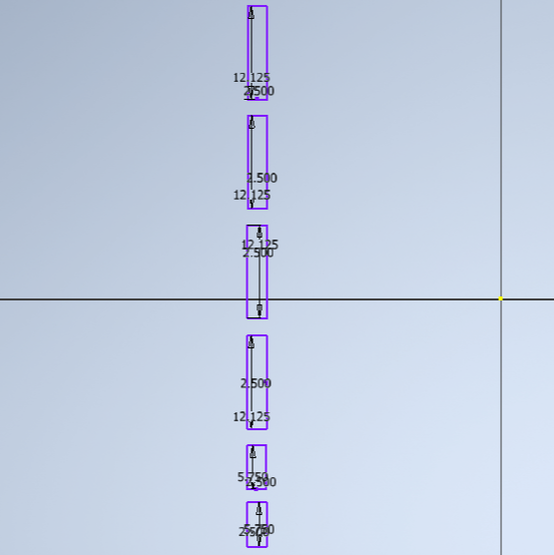
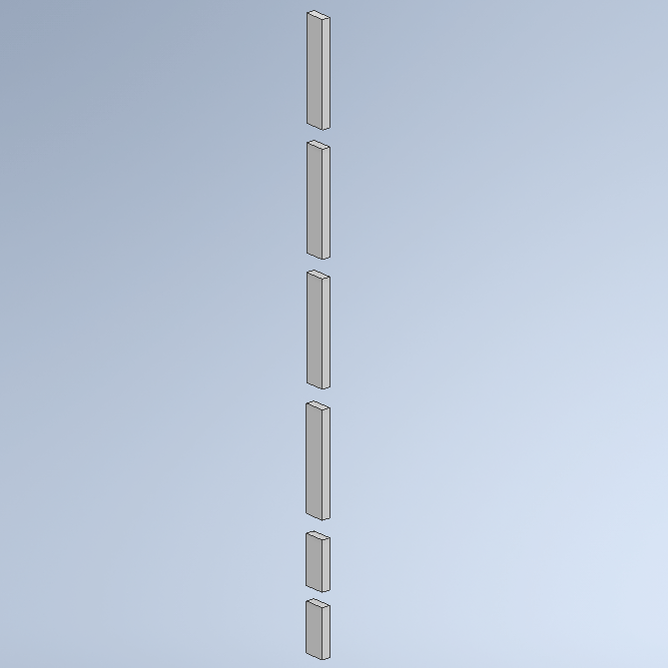
This board is 1" x 3" x 6' and is the last board I will use., This board will be used to create the door tops, fronts and backs. First, I made a 3" x 6' rectangle. Then, I added the door pieces and got rid of the outer rectangle. Lastly, I extruded the design by 1".
Second Design
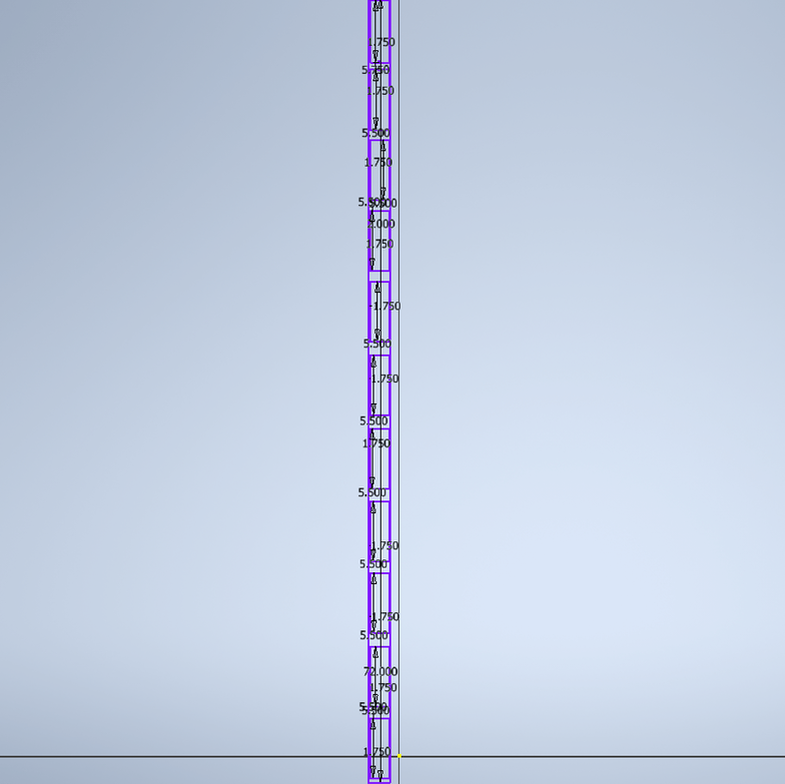
After talking to Mr. Willauer about wood, we decided that it would be best to try and buy only one piece of wood. This meant that I needed to redesign my sketches. This design would be on a large piece of plywood. I went to Menard's and bought a 3/4" x 2' x 6' piece of plywood. But, when I went to class I thought it was 3 feet instead of 2.

|
|
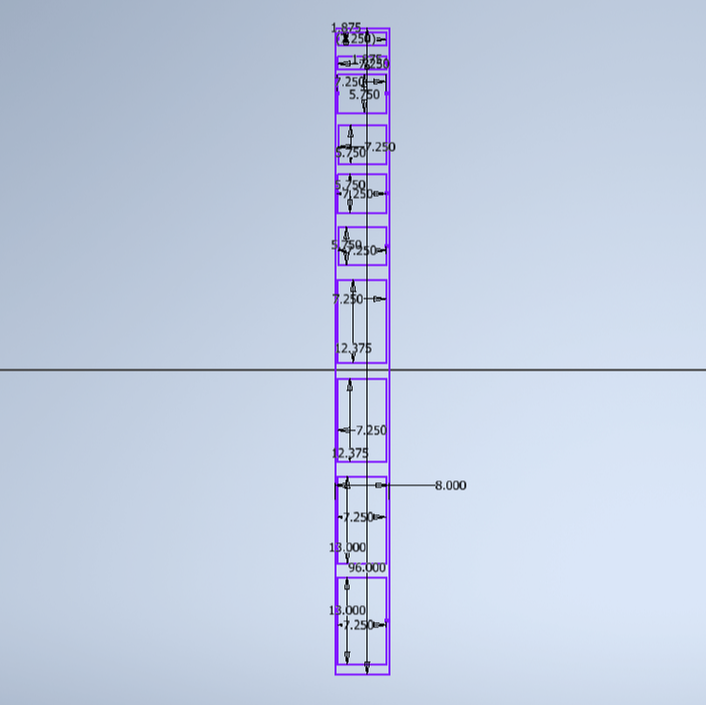
I put all of the pieces I would need into a 3' x 6' box. There was extra room, so I was excited because it would be good wiggle room if I made a mistake. I extruded the piece by 3/4". I asked my dad later to confirm the size of the board and realized I was wrong. This meant that I needed to redesign this again.
Final Design
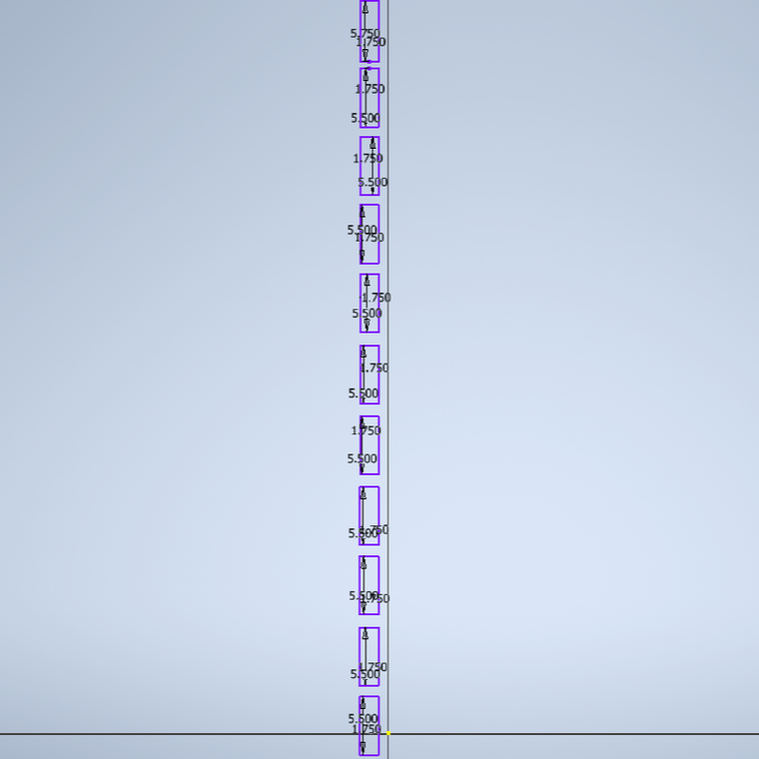
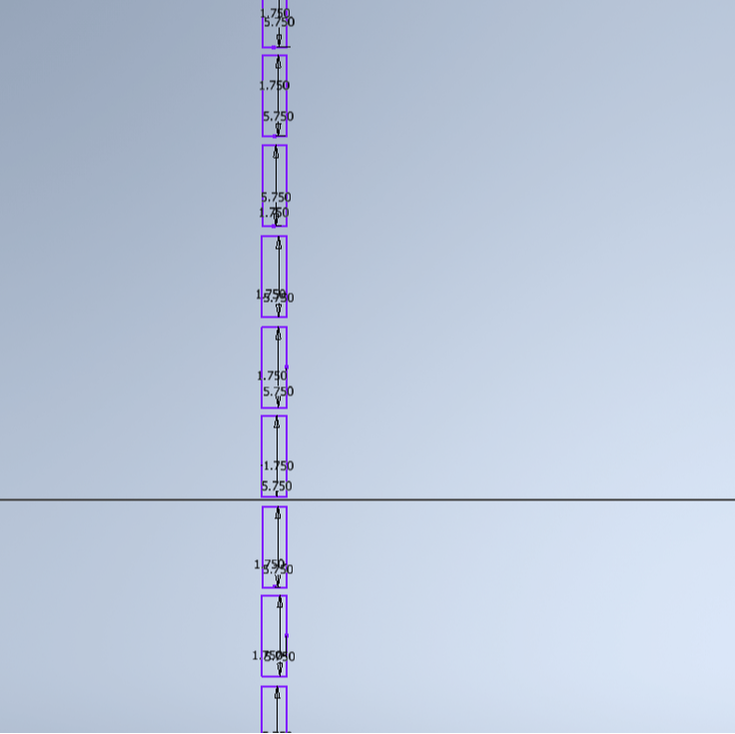
|
|
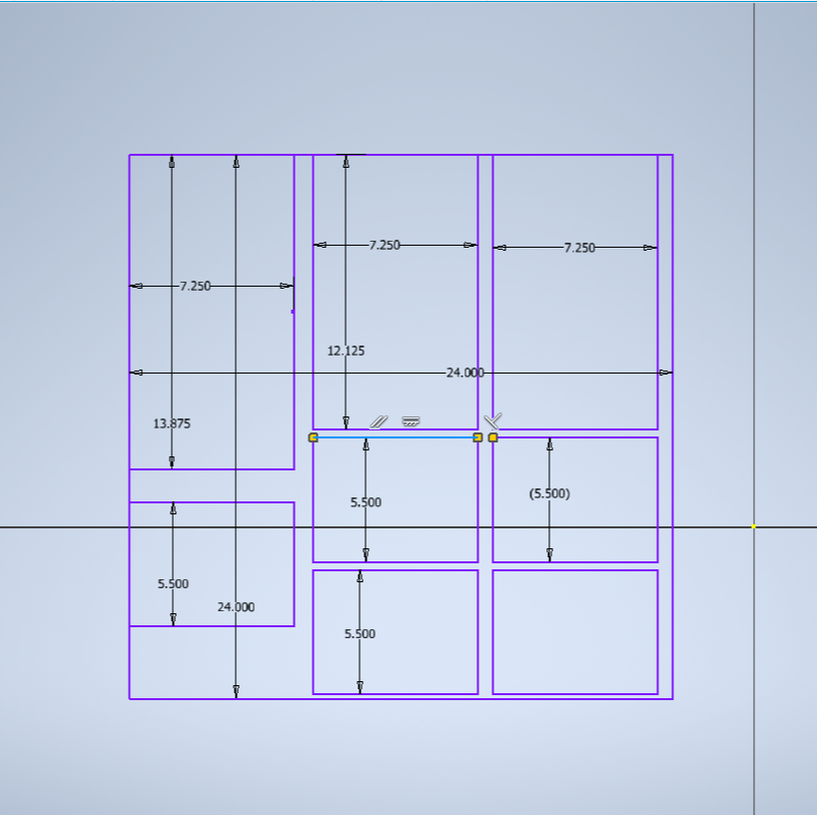
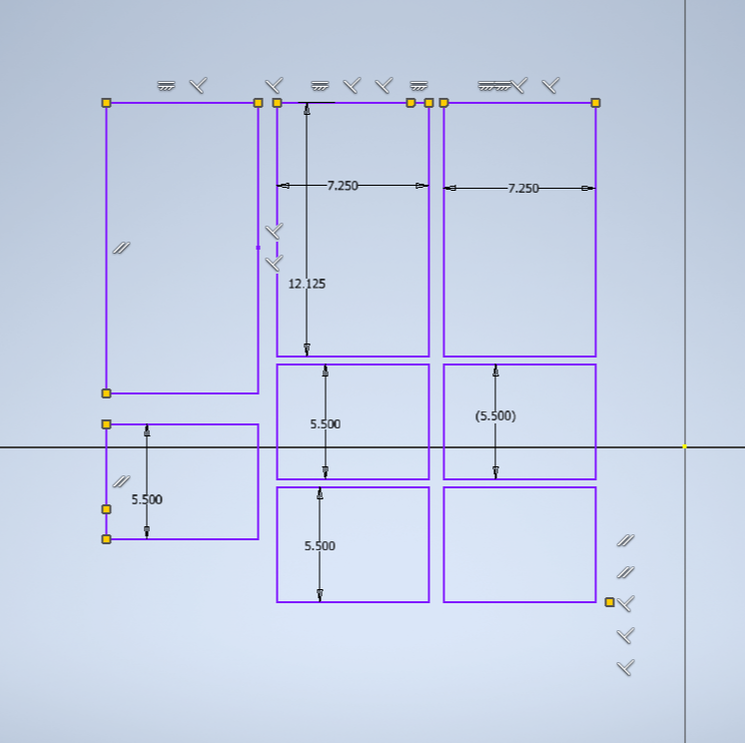
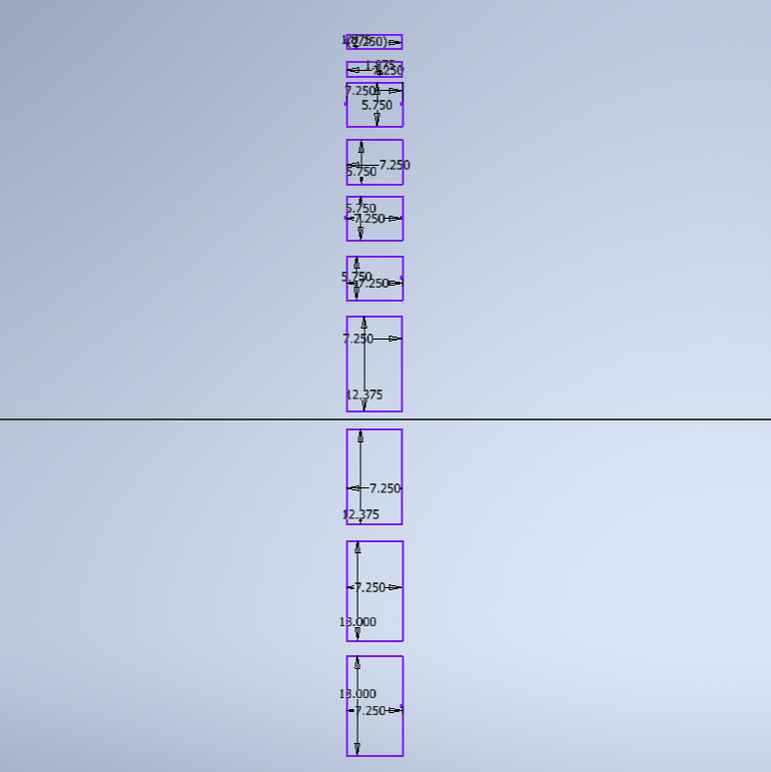
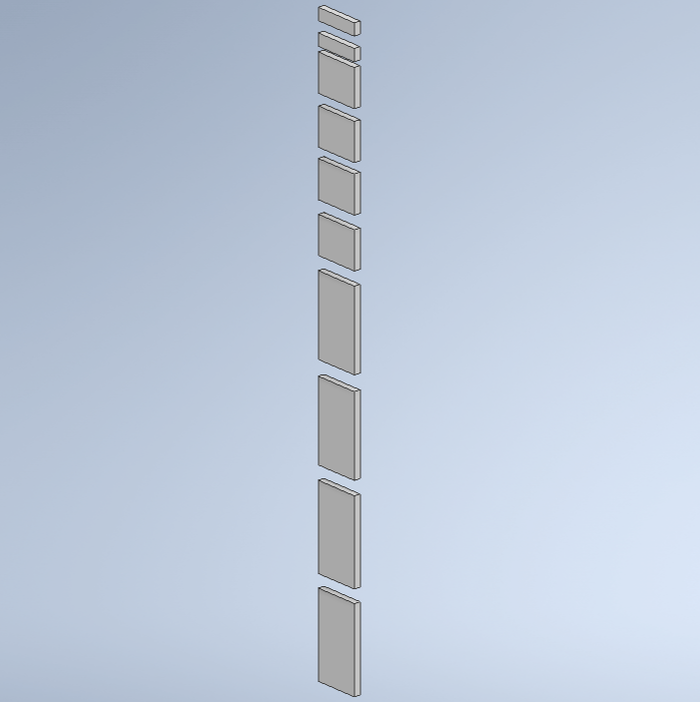
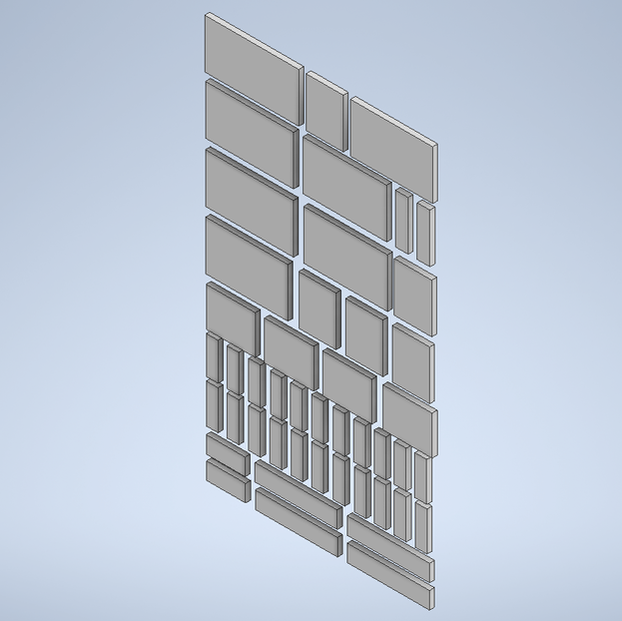
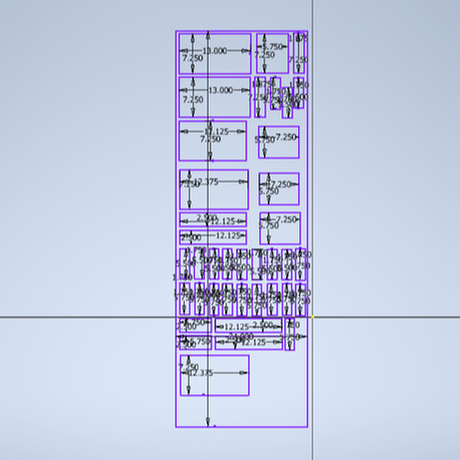
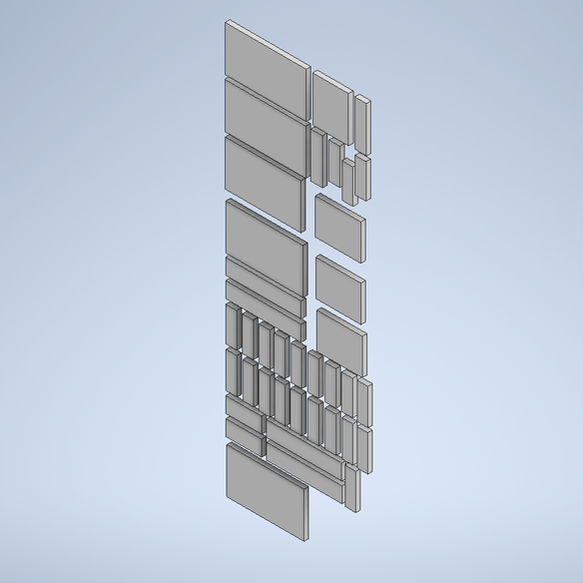
I redesigned all the pieces into a 2' x 6' box. There was a problem, though. Not all of the pieces fit into the box. I looked over my notes, designs and the website to try and fix the issue. There I noticed that I would need two different thicknesses of wood. I removed all of the pieces that would need that thickness and now have enough space for all of the pieces.
Fusion 360
|
|
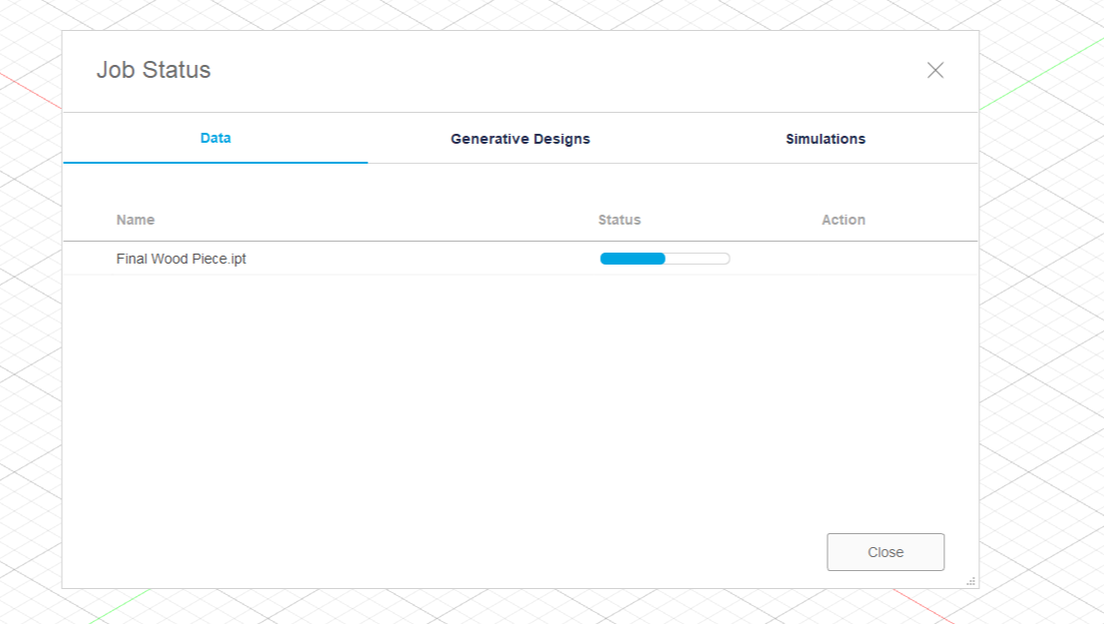
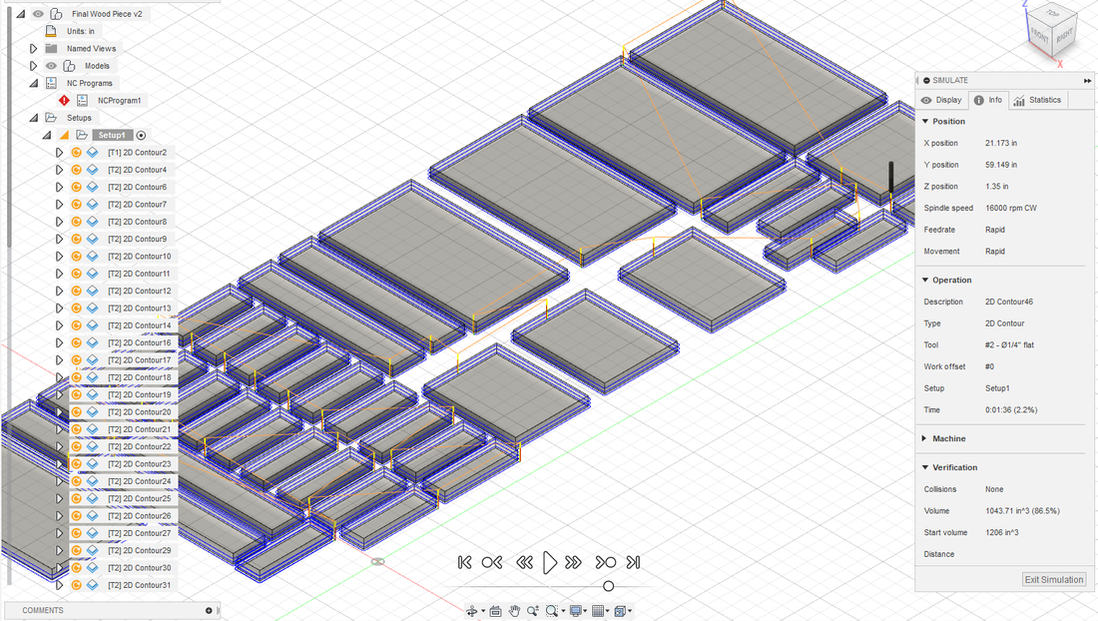
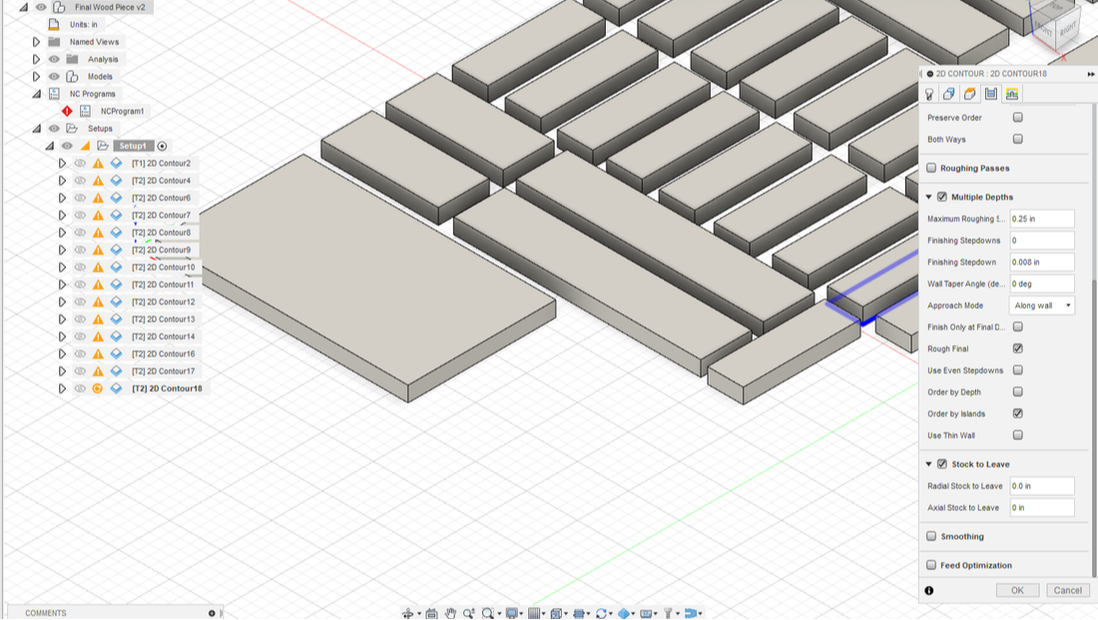
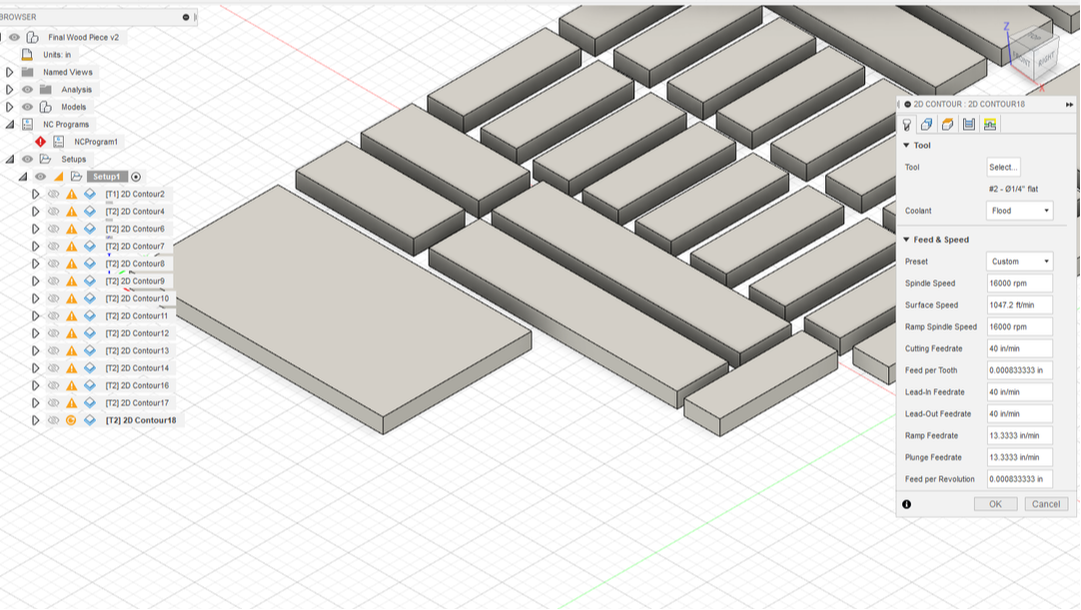
First, I uploaded my design to Fusion360. Then, I changed the units from millimeters to inches. After that I made a setup where I fixed the orientation, stock size and starting place. Then, I used 2D to create a tool to use (flat end mill), the cutting rate and fixed the passes. I had to 2D Contour each piece, so I repeated this process multiple times. Once all of that information uploaded, I was able to simulate my design and make sure that it would cut out right. It passes the test, so I uploaded it to my flash drive.
Router


|
|

|
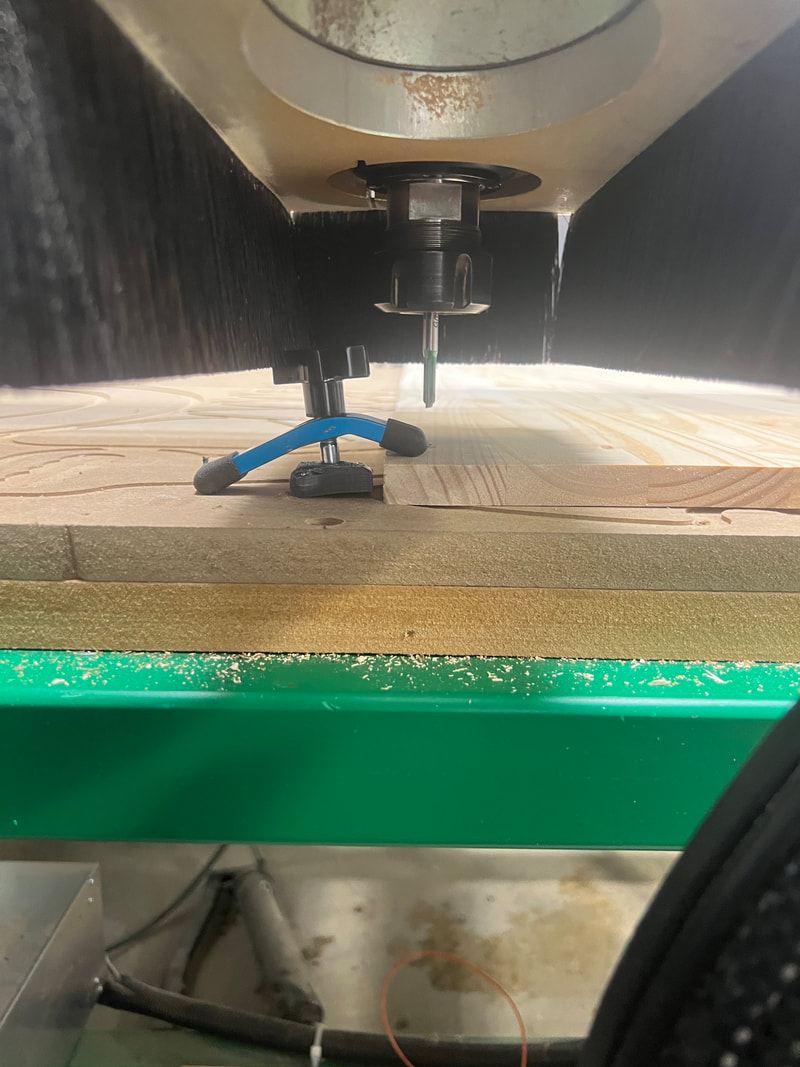
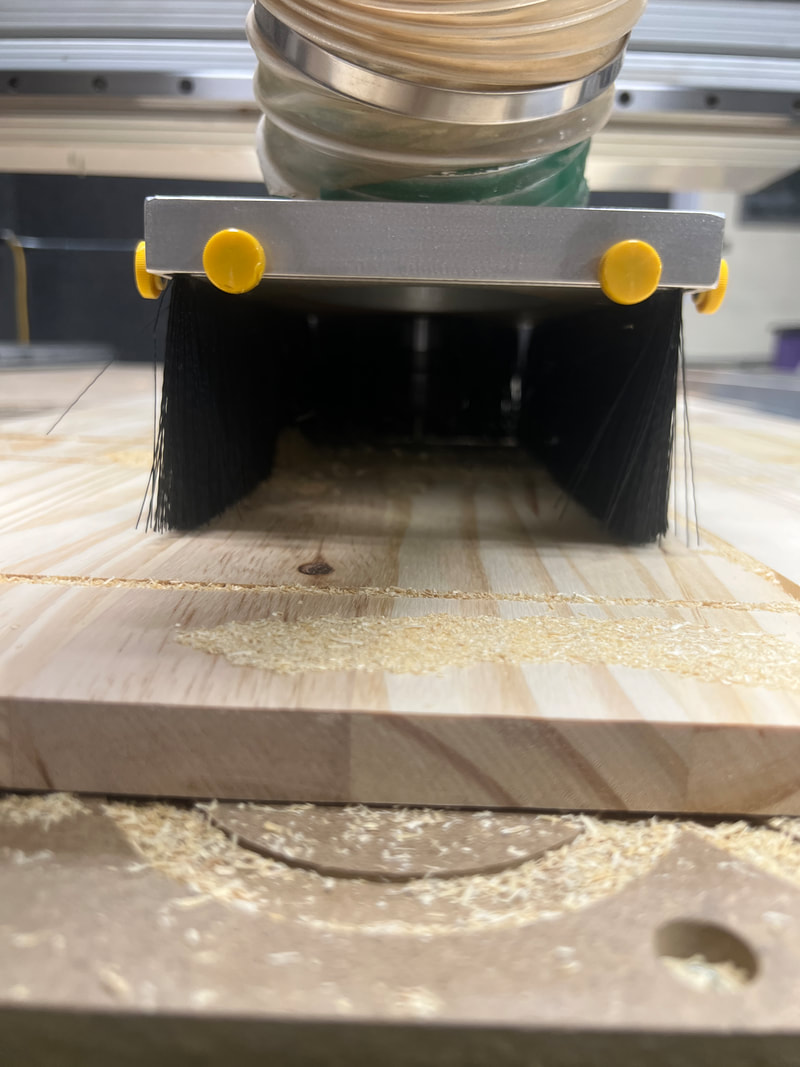
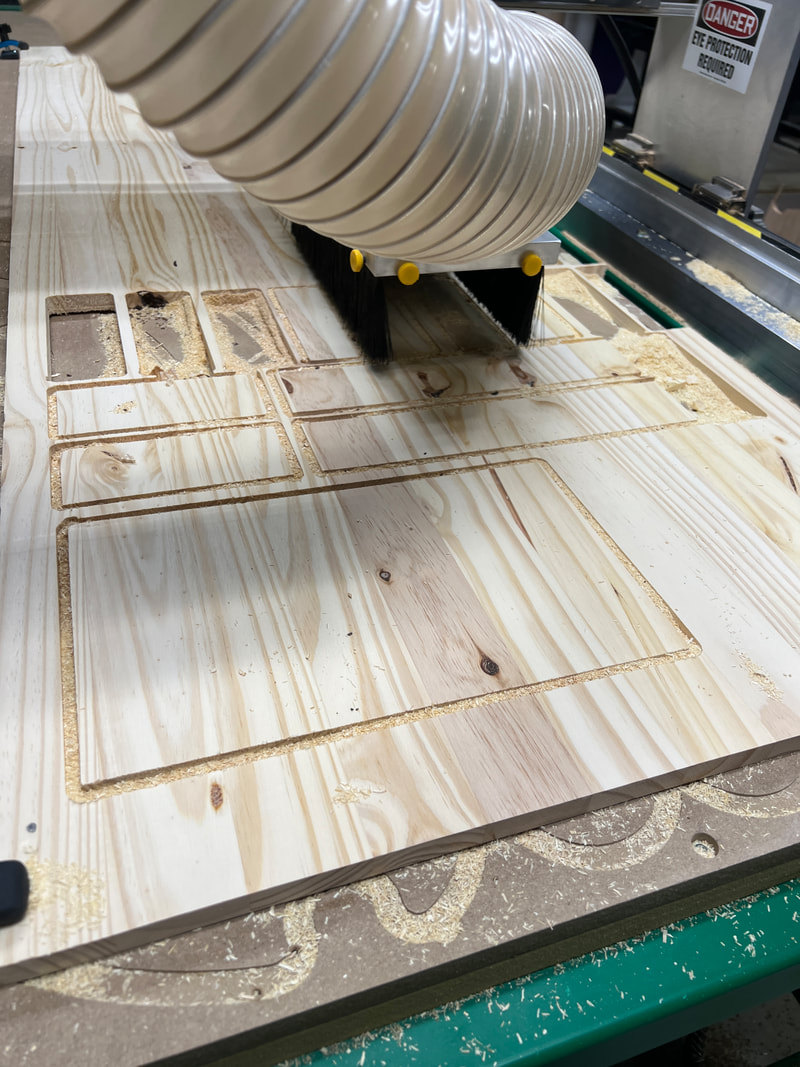
I bought a 6 foot by 2 foot by 3/4 inch board from Menard's and brought it to school for the router. To set it up, I used a couple different kinds of clamps to clamp the board to the table. This helps to make sure that the board will not move on the router. We used a block that ran an electric current to configure the bottom of the table to the router. The electric current tells the router where the bottom of the table is, so it can line up the z-axis. Then, Mr. Willauer helped me to start the machine. As the router moved along, I removed loose pieces from the large board. Here's the video of the router working:
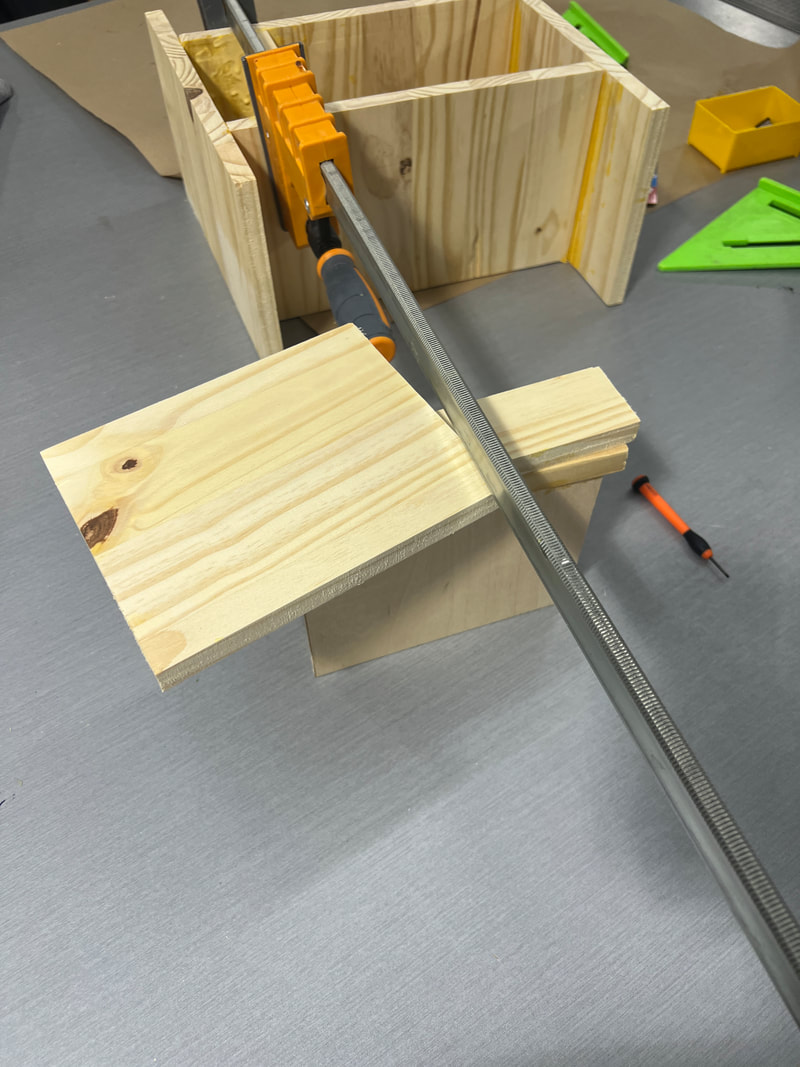
Wood Cutter
|
|
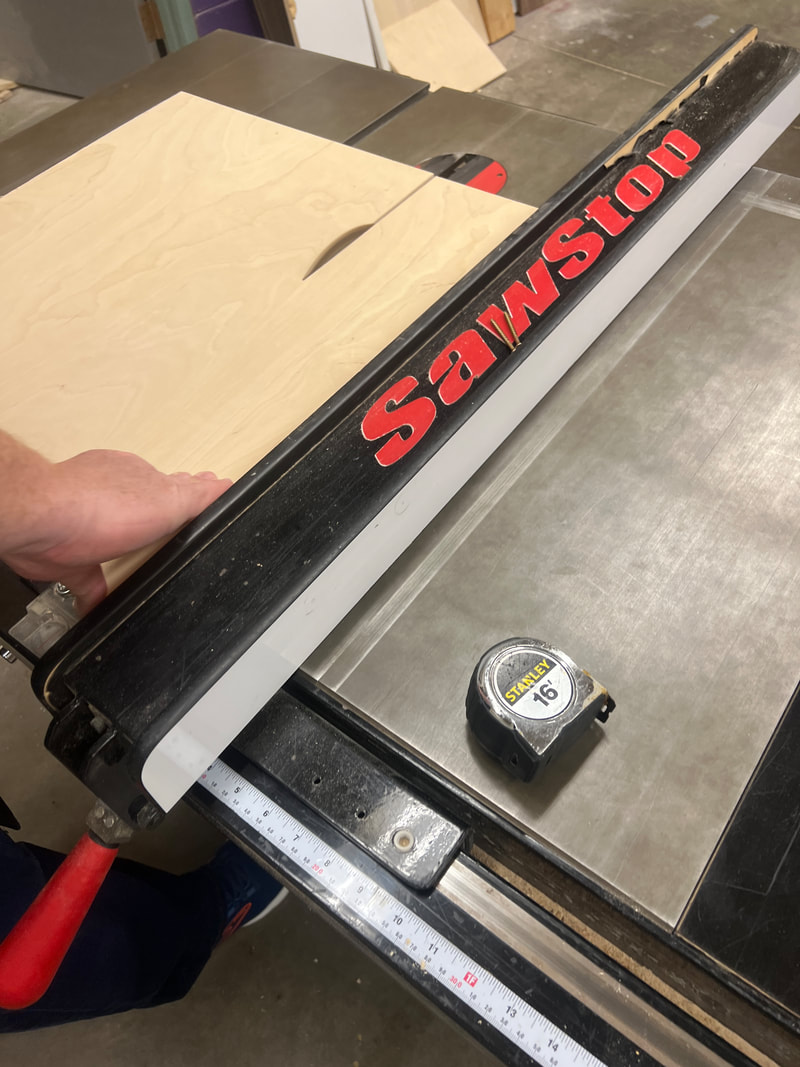
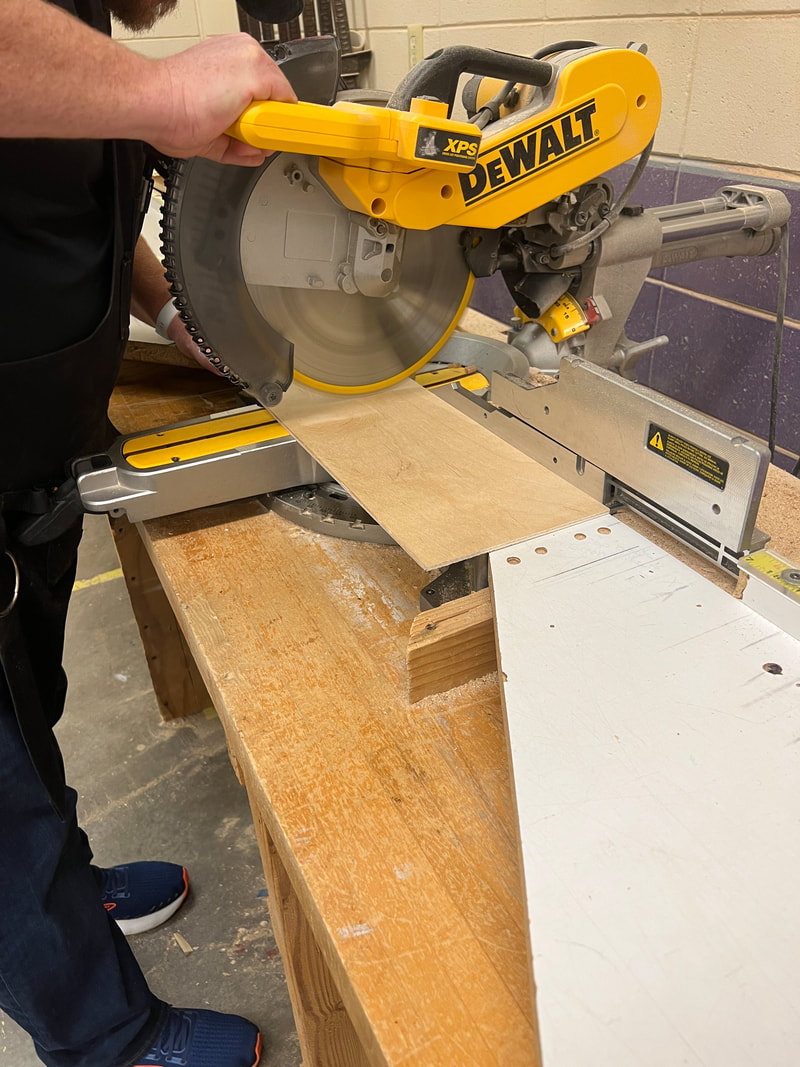
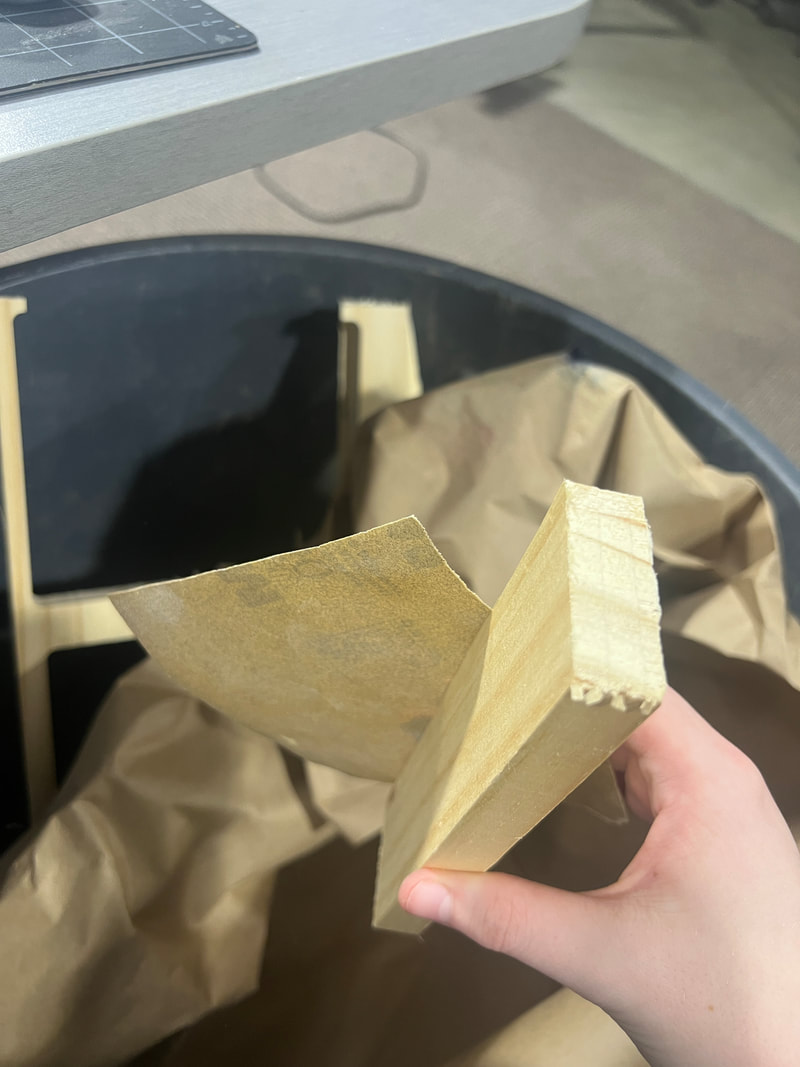
For all the pieces that failed or didn't fit on my first wood board, Mr. Willauer helped me cut them with two different saws. I made several pieces this way.
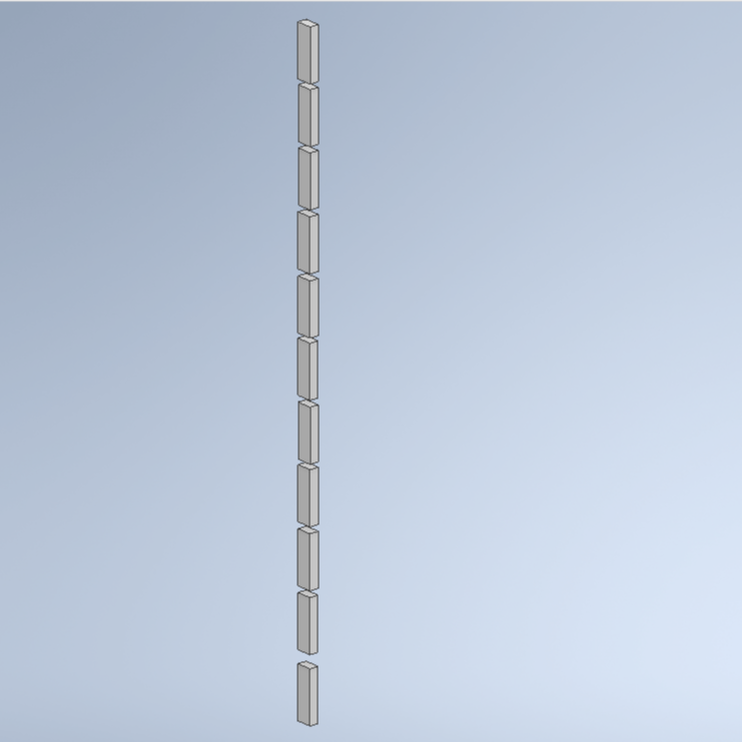
Knobs
|
|
|
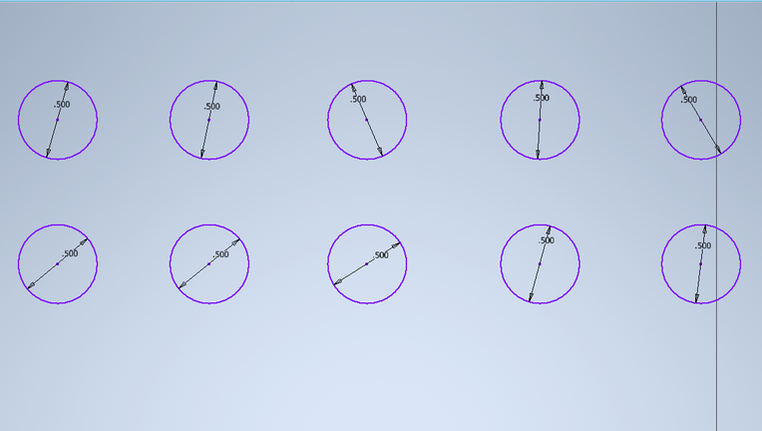
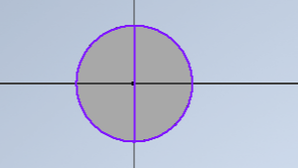
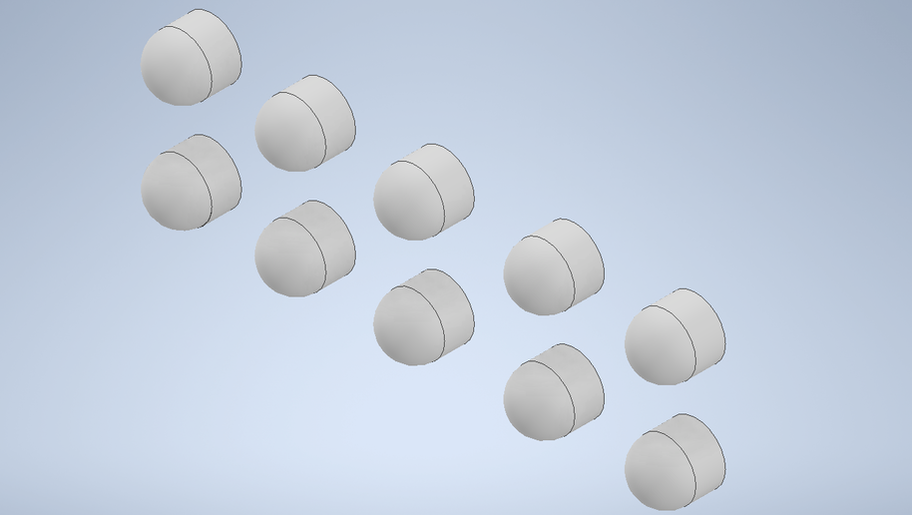
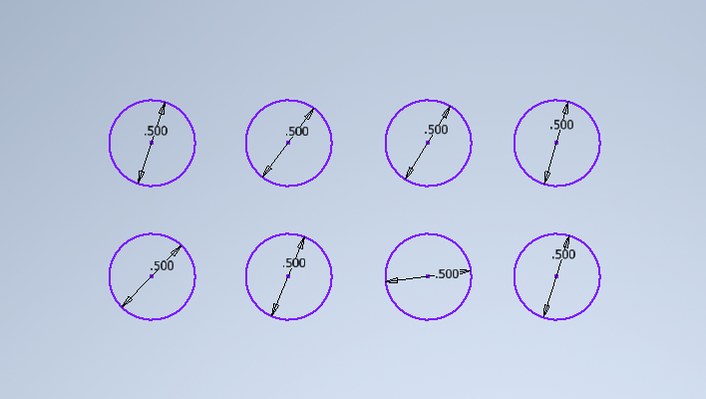
To create the knobs, I needed to do some research. I want the knobs to be rounded, and regular extrusion won't work for that. I found a video on Youtube, https://www.youtube.com/watch?v=ltWOLZoOADA, that explains how to make a sphere. With this new knowledge, I went to Inventor. I made 10 circles that were a diameter of 0.5 inches. I will have 5 drawers and want 1 knob per drawer with extras. Then, I extruded that design to 0.5 inches. I went back into sketches and made a new sketch for each knob. It doesn't work to make spheres on all of them at the same time. I made a circle fo the same diameter and then made a line directly through it. When I extruded, I made the profile one of the half circles and the axis the line in the middle. This made these half sphere knobs.
|

|
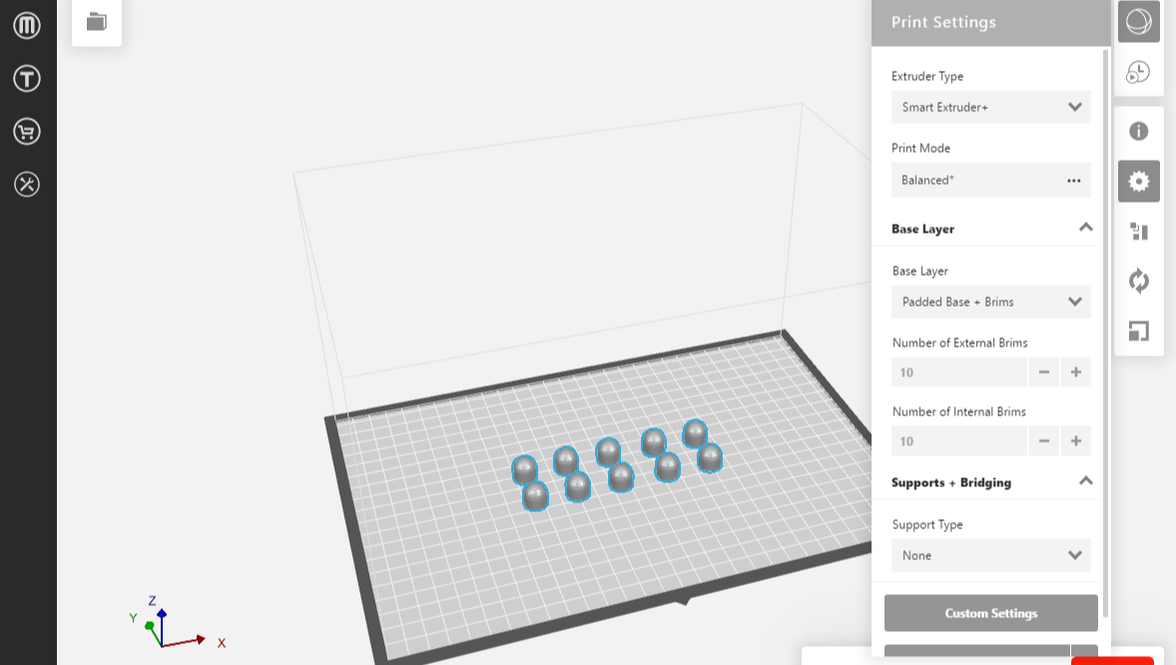
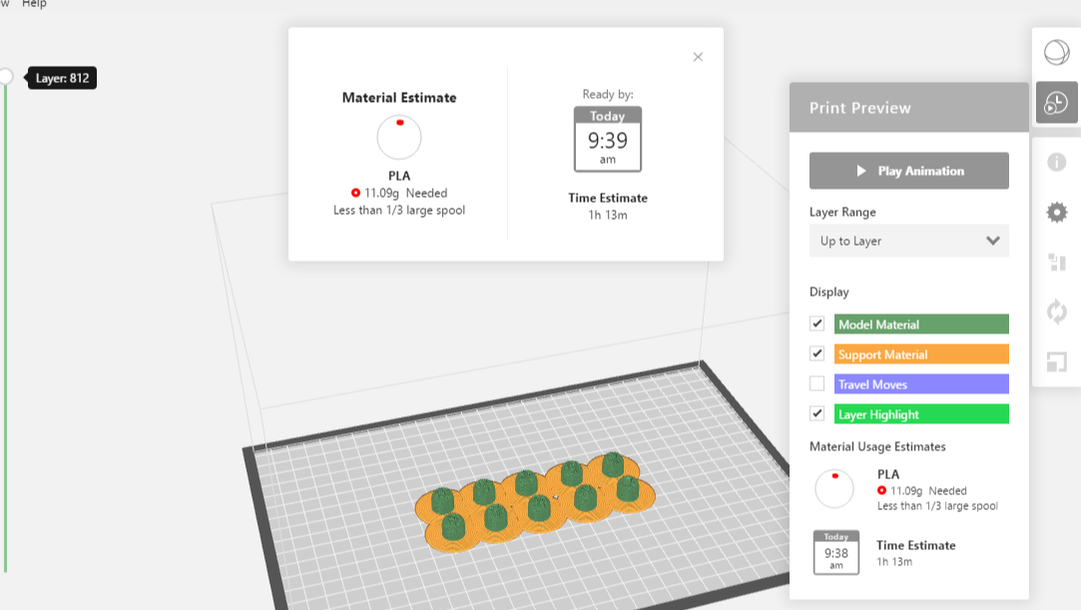
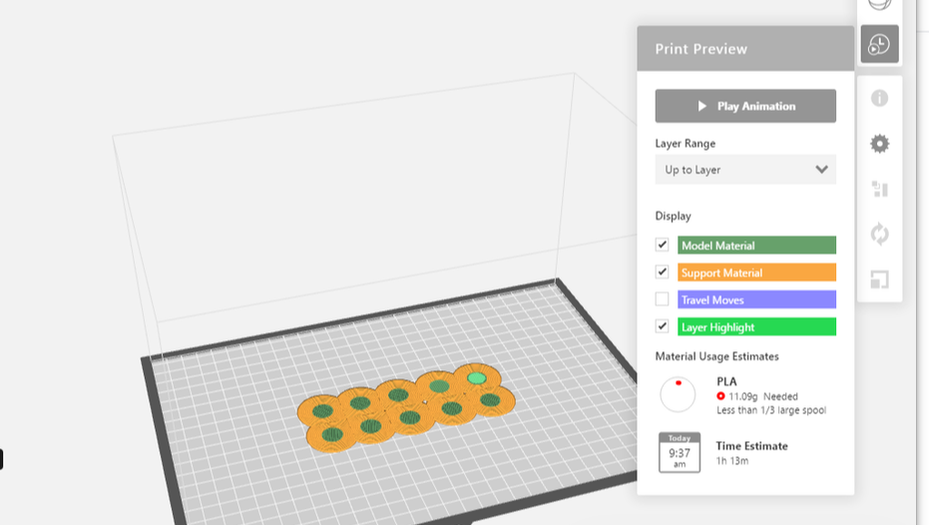
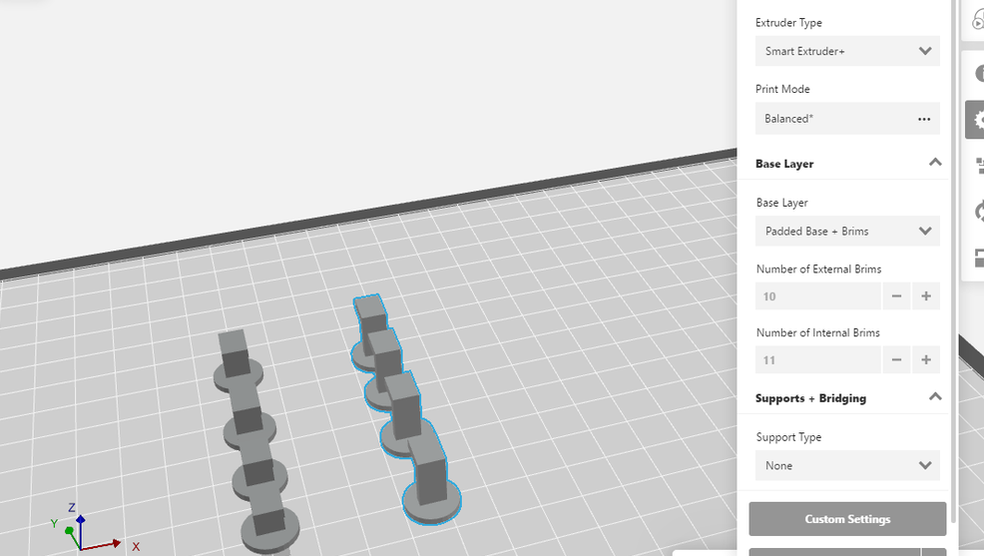
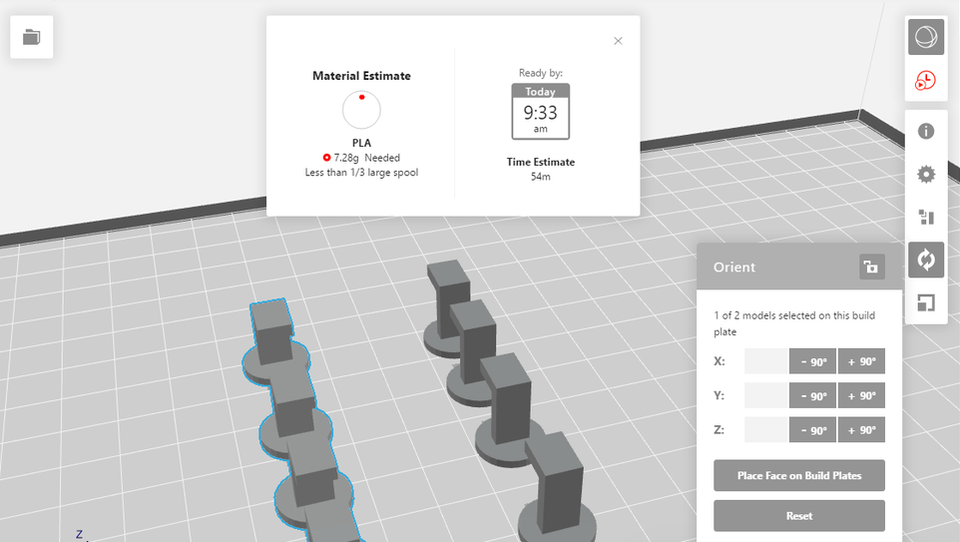
I uploaded my exported STL file from Inventor to Makerbot. For the base layer, I changed it to a padded base and brims. I increased both the external and internal brims to 10. Once this was done, I exported it onto a flash drive and printed.
|
|

|
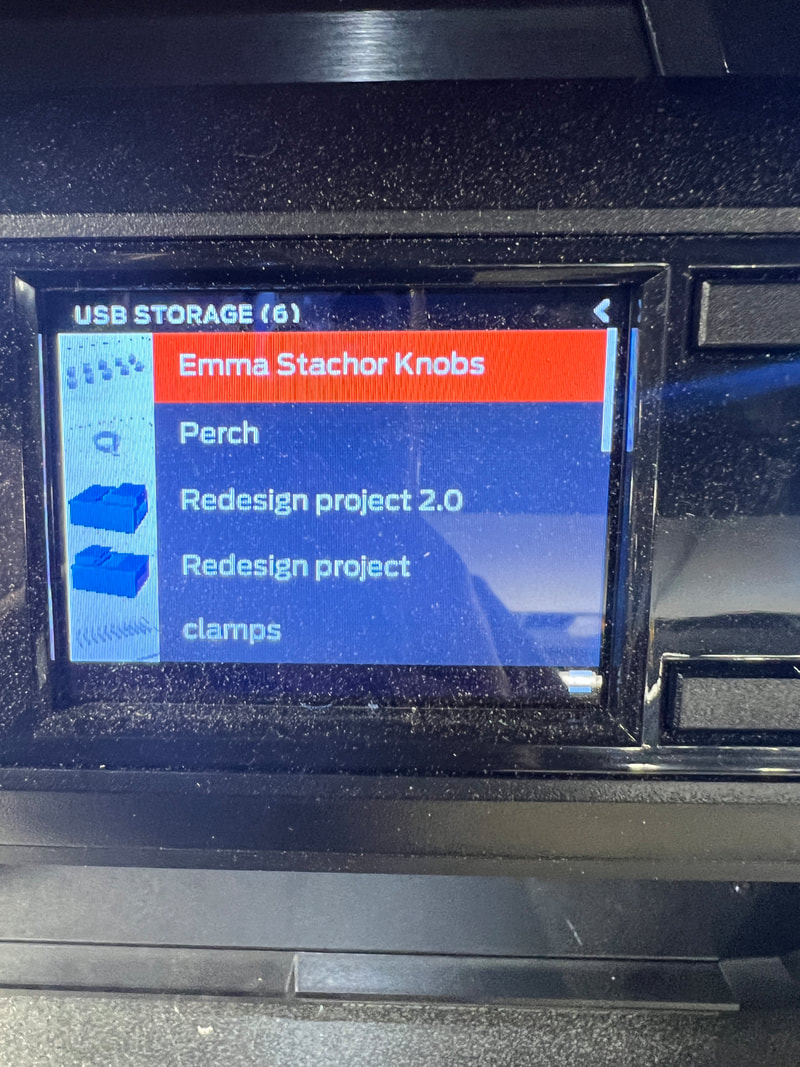
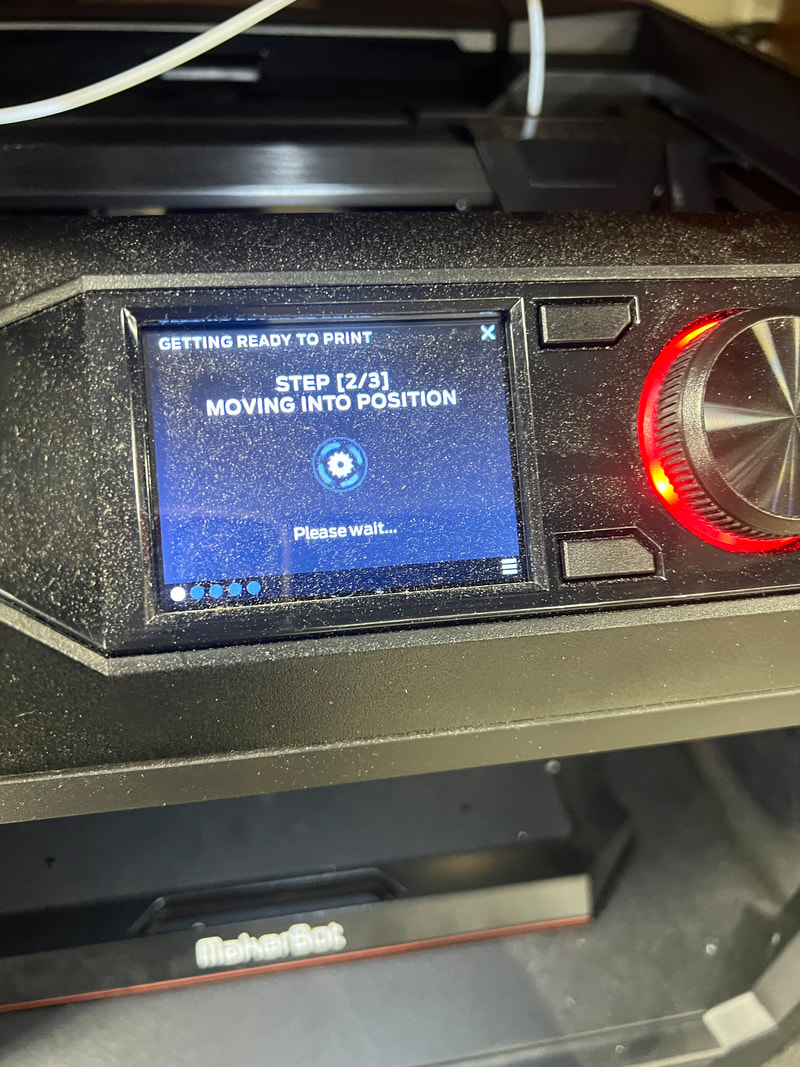
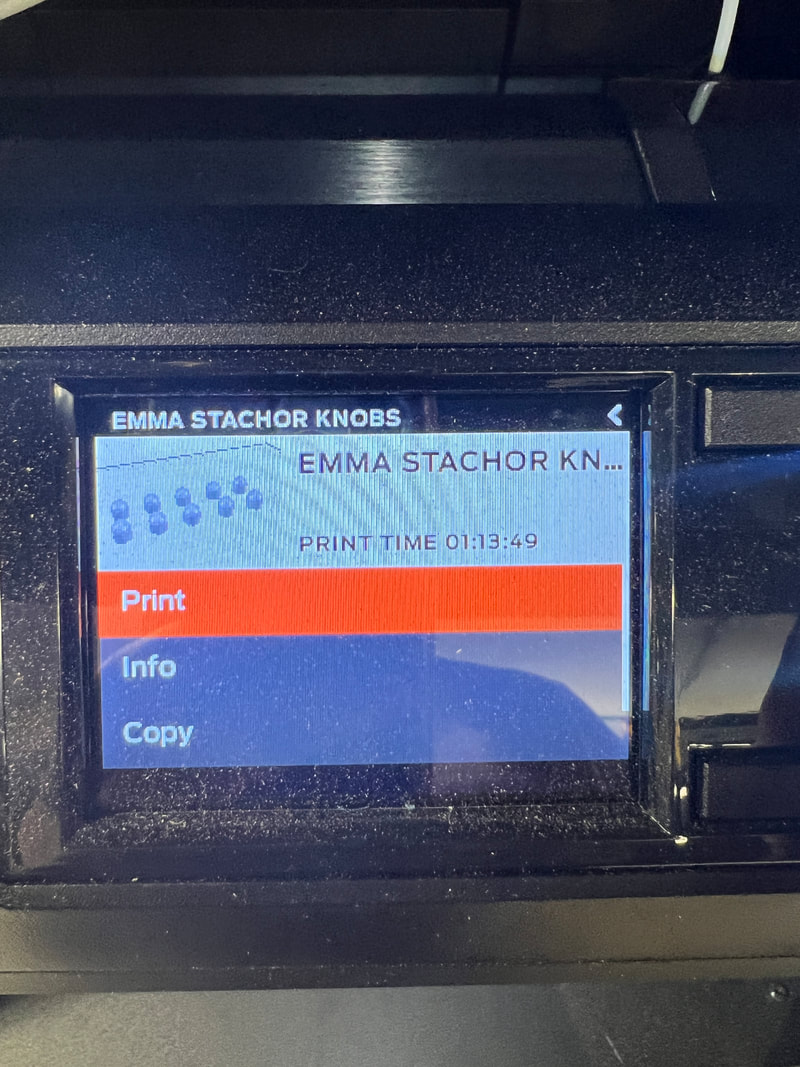
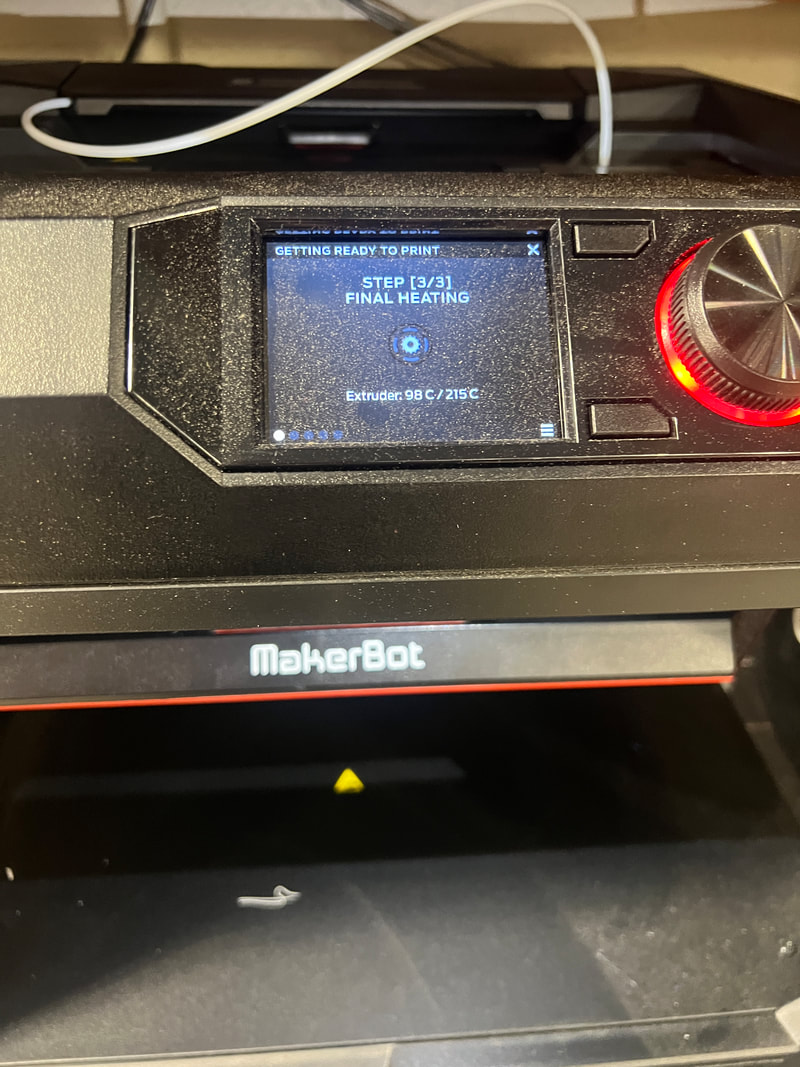
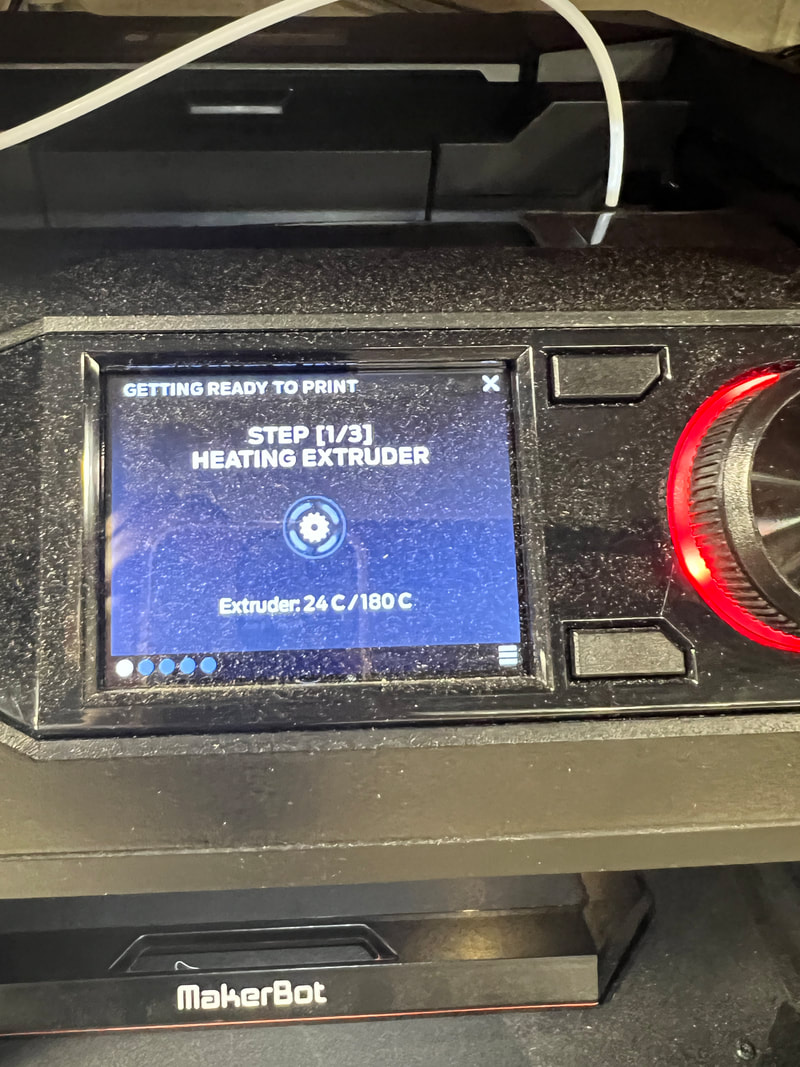
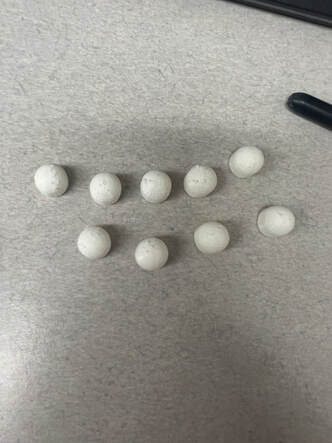
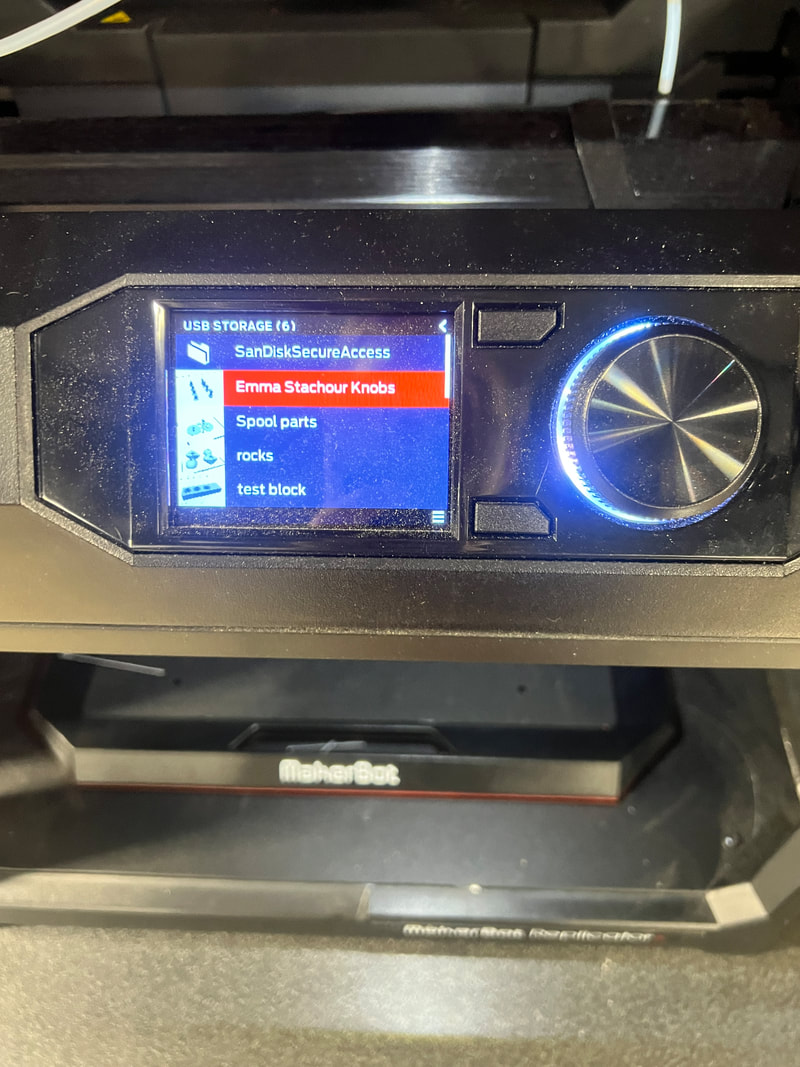
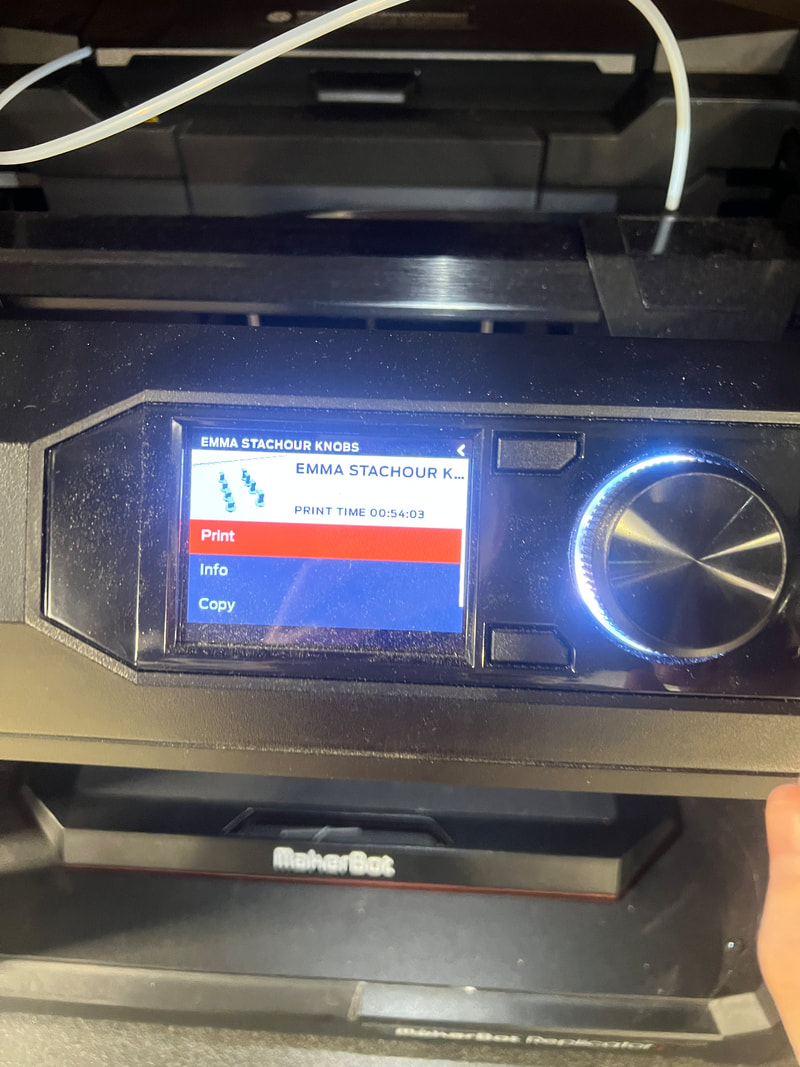
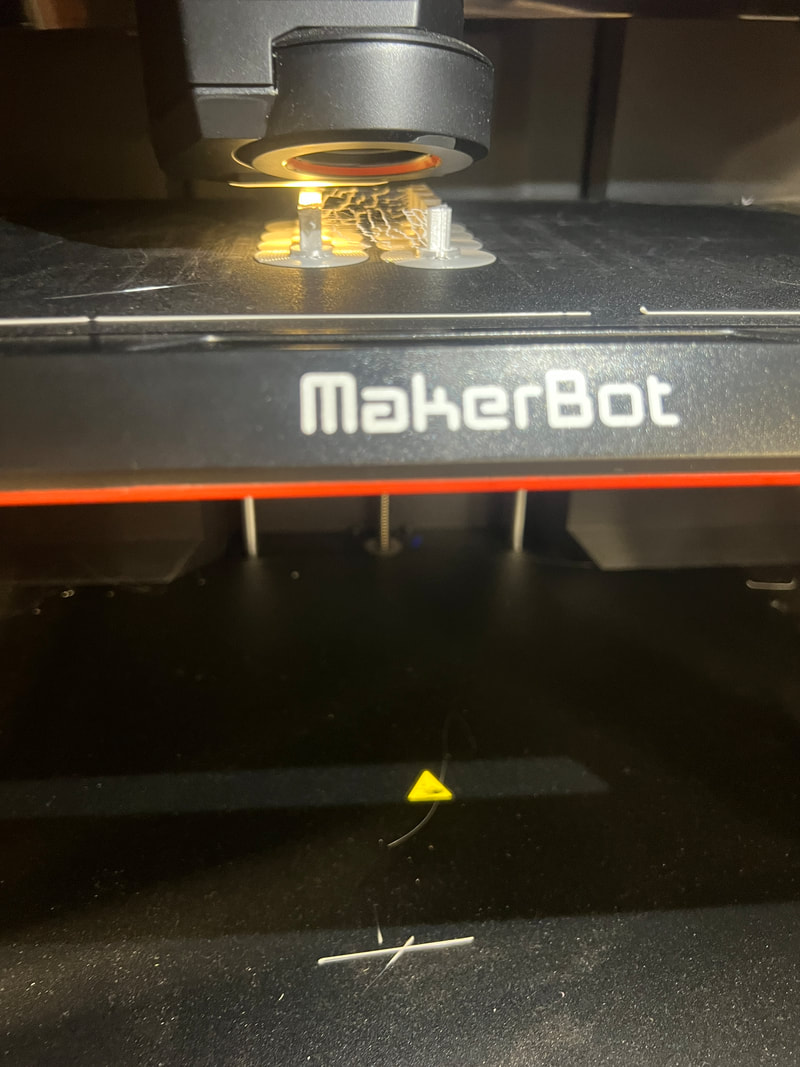
First, I plugged in my flash drive and clicked on my knobs file. Then, the printer got itself ready to go. I picked white filament because I thought it would look good with the wood.
|
|
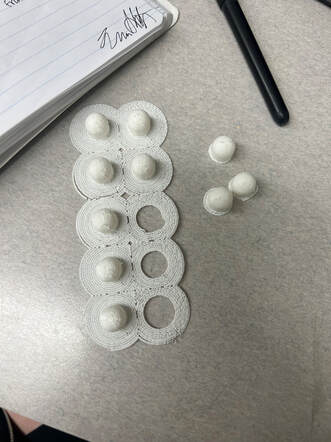
When I got the knobs off the printer bed, I tried to remove the brims with my hands. This got most of the brims off, but there was still some brim left around the knobs. To fix this, I used pliers to peal of the layers. It worked great, and my knobs are ready to go!
Vinyl Flowers
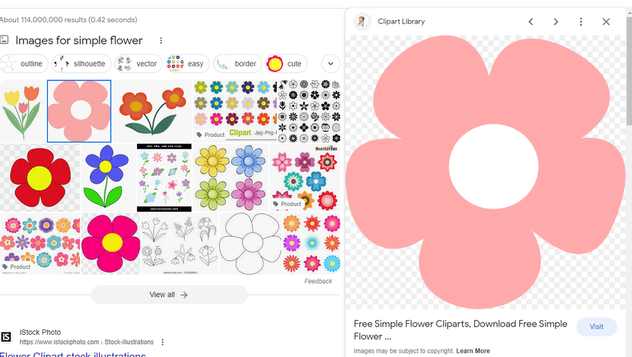
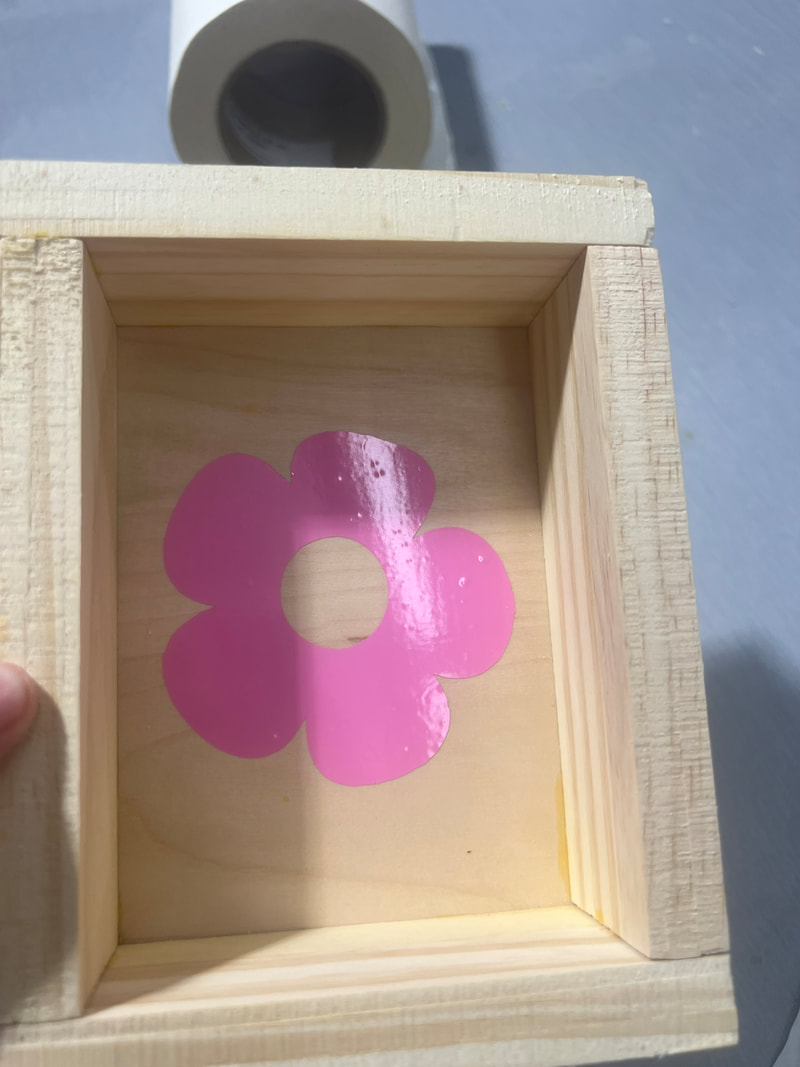
I felt like my box needed some color, so I put a vinyl cut out in each drawer. I decided on a flower because spring is my favorite season, and I could find a simple clipart of a flower. I googled simple flower clipart and found a cute flower that I liked.
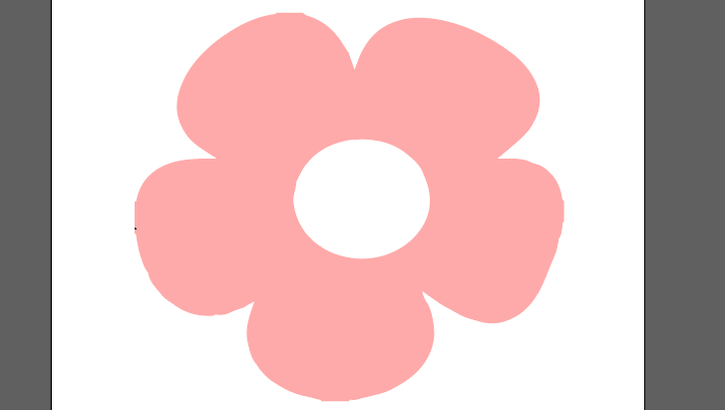
I copy and pasted the image into Illustrator. Then, I clicked image trace and changed the settings to be for color. I deleted all the other colors but the pink. Then, I expanded the image and uploaded it to my flash drive.
I plugged in my flash drive and selected my file. Once it was selected, I uploaded it to Cut Master 4. This is where I was able to send it to the vinyl cutter.
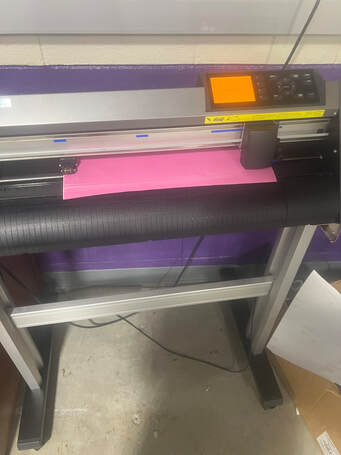
|
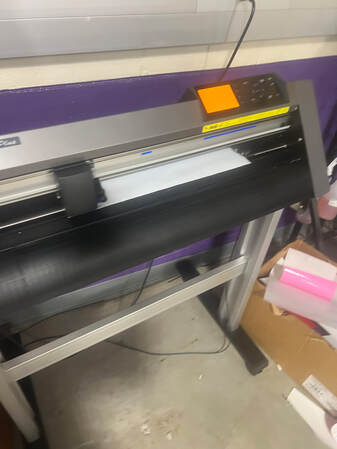
|
I used pink and white vinyl. I alternated colors to give a fun pattern effect. I love the color pink and I thought that the white would accent it well. I loaded the vinyl into the machine and when I sent the file via Cut Master 4, it printed.

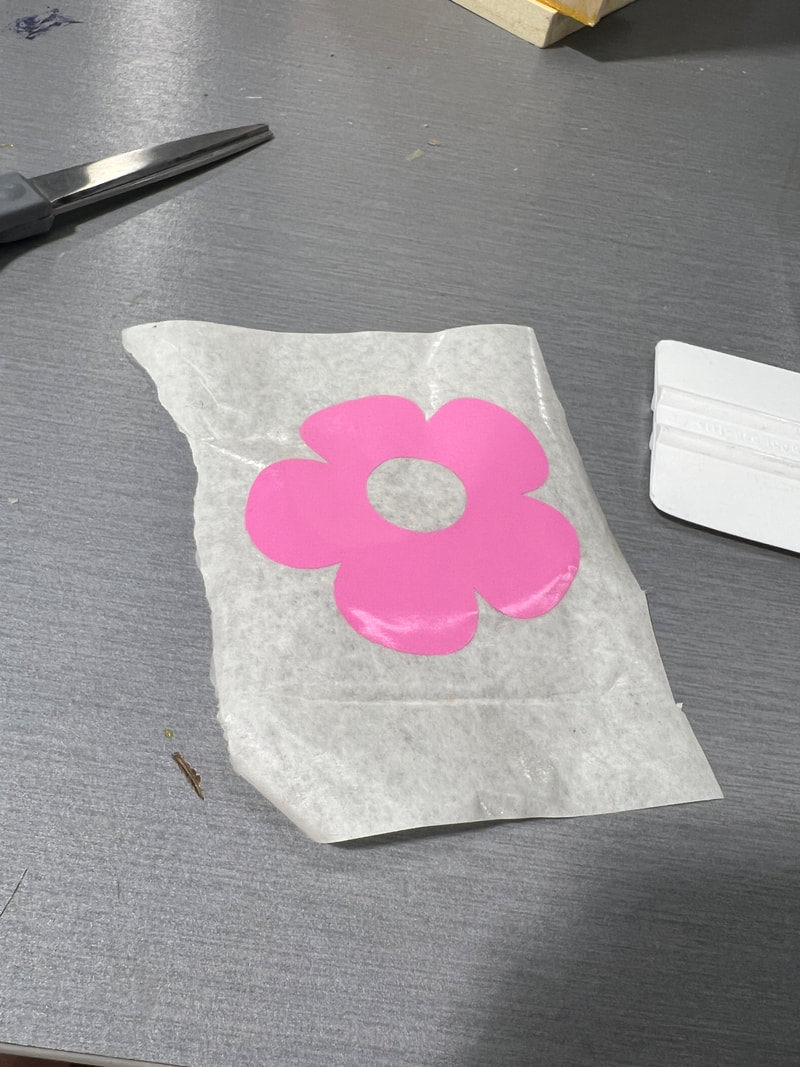
|
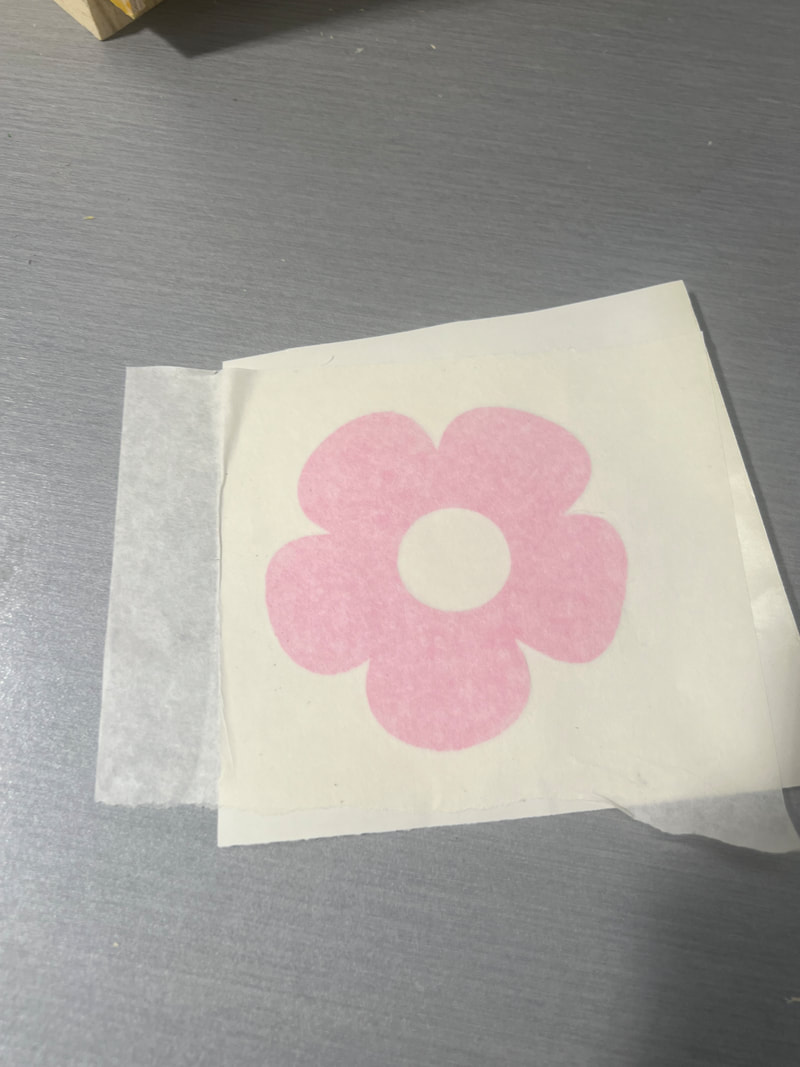
|

|
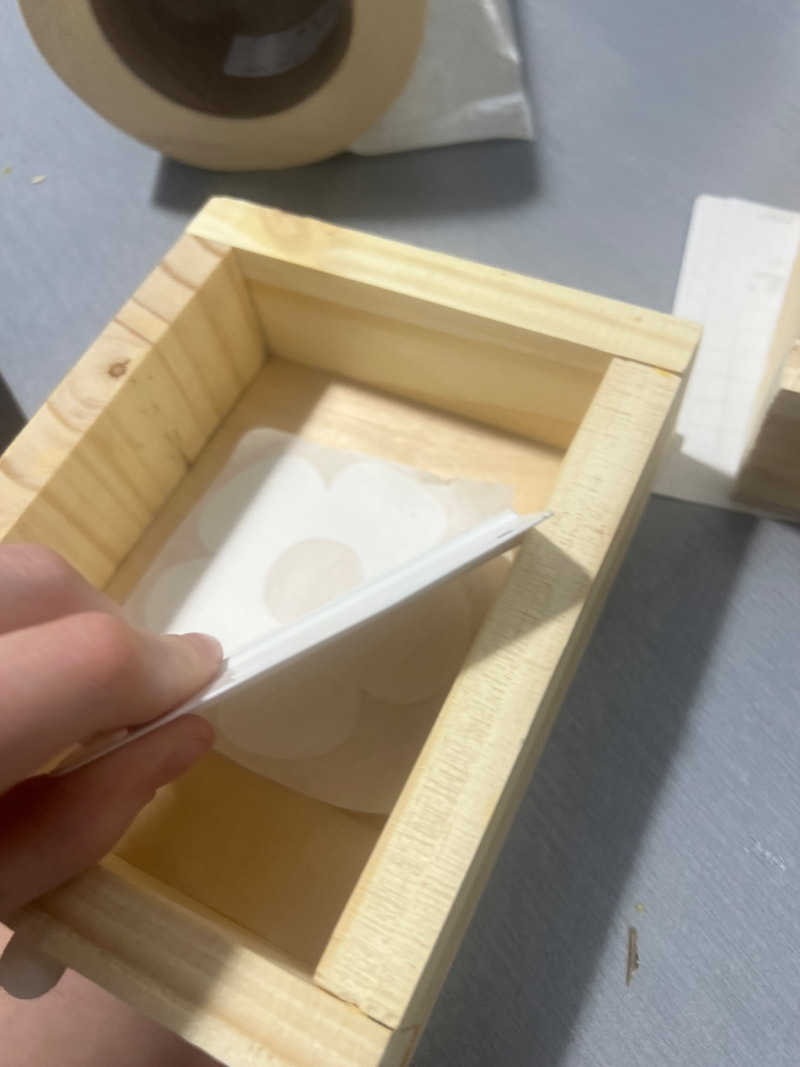
First, I cut out my design from the larger vinyl sheet into smaller squares. Then, I weeded out the designs on the squares. Using transfer tape and a squeegee, I stuck the weeded out design to the tape. Then, I repeated the process inside the drawer to stick the flower to the bottom of the drawer.

Hooks
|
|
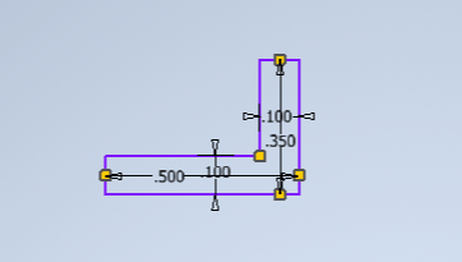
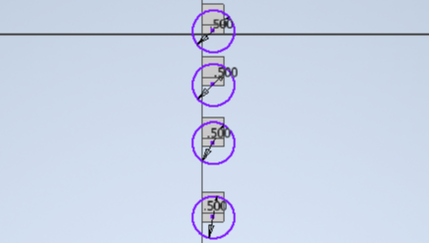
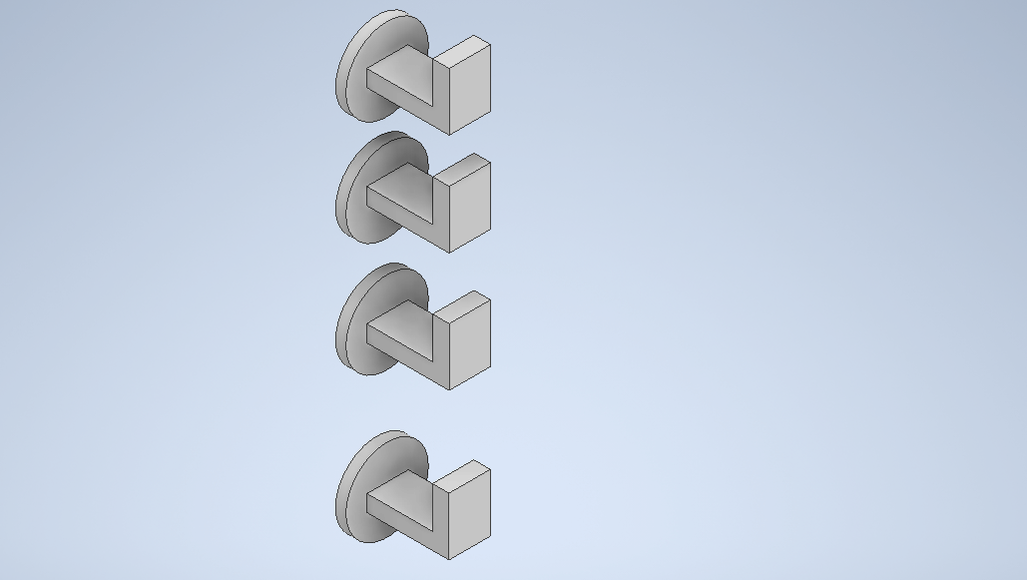
I wanted to add hooks to the doors of my jewelry box. They would act to hold my necklaces. I could've bought them online, but I thought it would be a good idea to 3D print them. I started with two rectangles with the middle trimmed out. I dimensioned them to the size I wanted, and made 8 other copies. Then, I extruded them to a quarter inch.
|
|
|
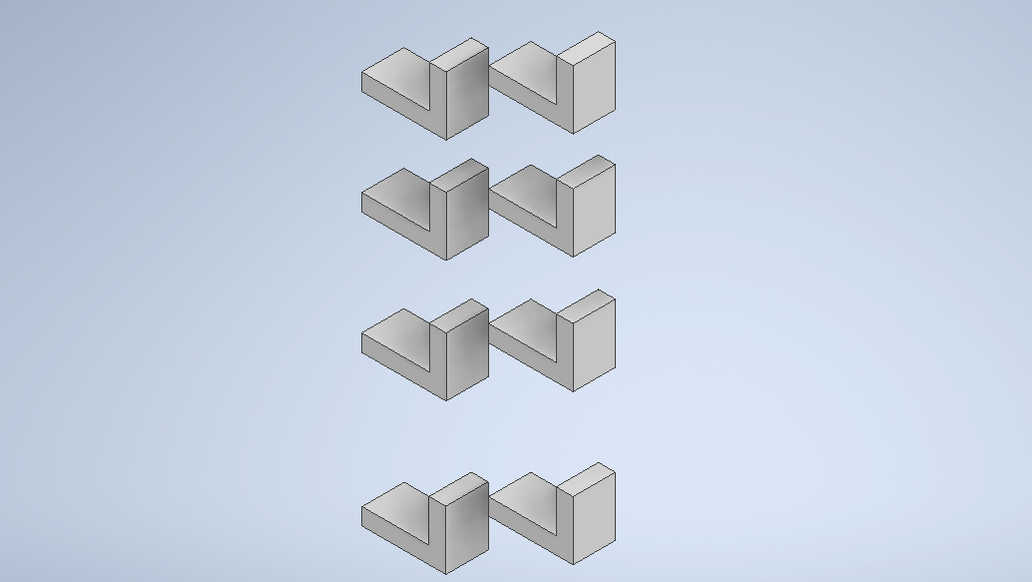
I wasn't sure how I would make these hooks stay on the doors without bottom support. I thought a circle would be best, but I wasn't sure how to incorporate it into my design. Then, I found out that if I layered my design right, I could put bottoms on sets of four. I did that and dimensioned them to half an inch. Then, I extruded to a 1/16 of an inch.
|
|
|
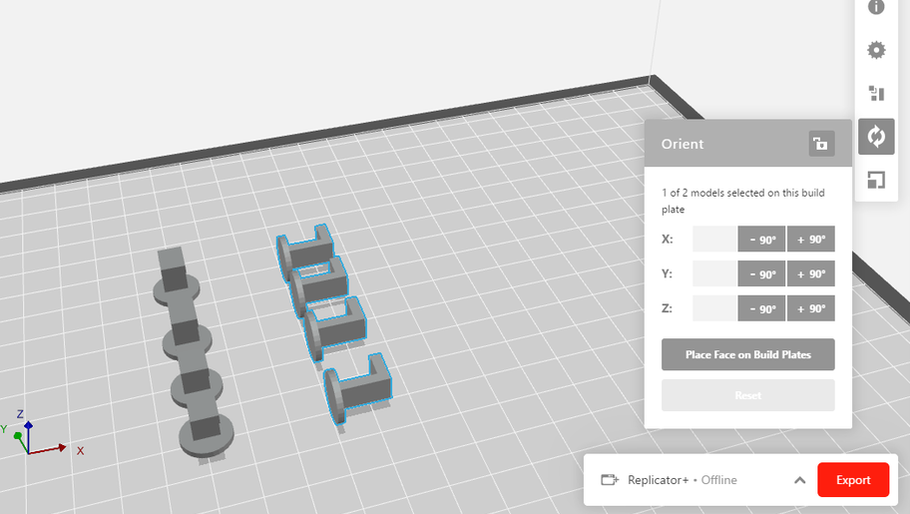
With this design of 8 hooks, I found it hard to orient them right in Makerbot. So, I deleted half of them to make a column. Then, I copy and pasted the same column into Makerbot. This gave me 8 hooks without the orientation issues. I messed around with the orientation until it was what I wanted. Then I added padded brims and increased both the insides and outsides to 10. This print was super fast and got done within the class hour.
|
|
|
First, I plugged in my flash drive and clicked on my hooks file. Then, the printer got itself ready to go. I picked grey filament because there was no white available and grey would look good with white.
Assembly
|
|
|
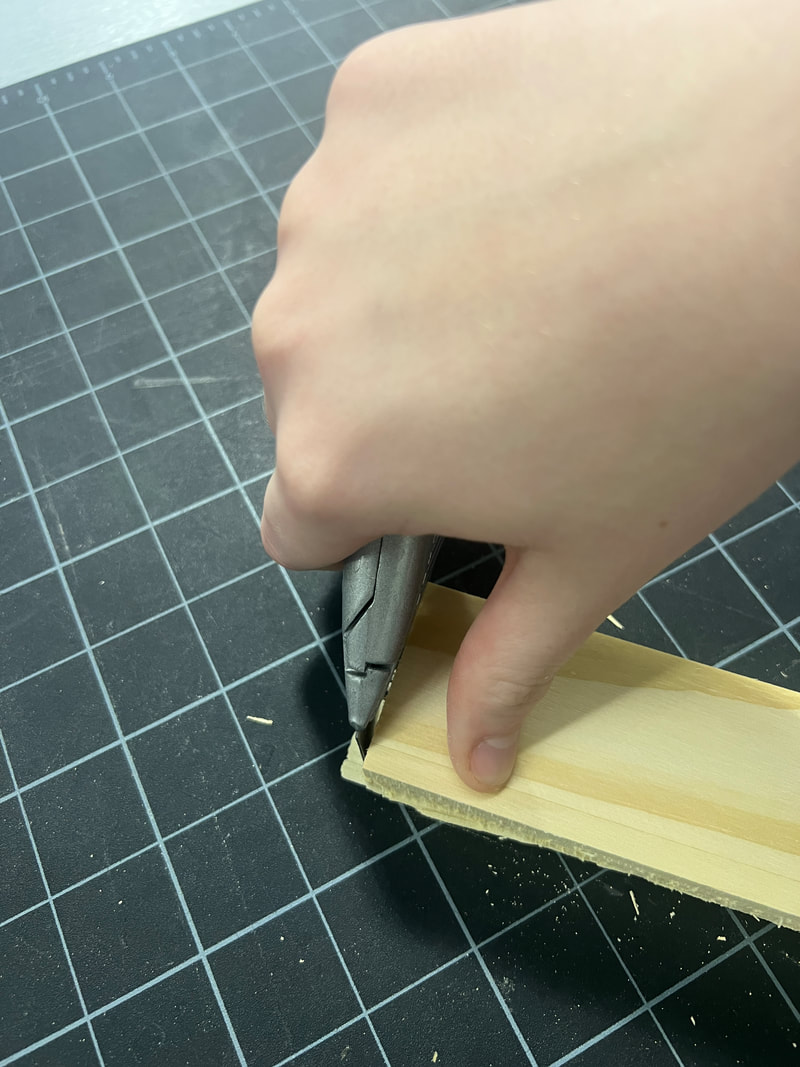
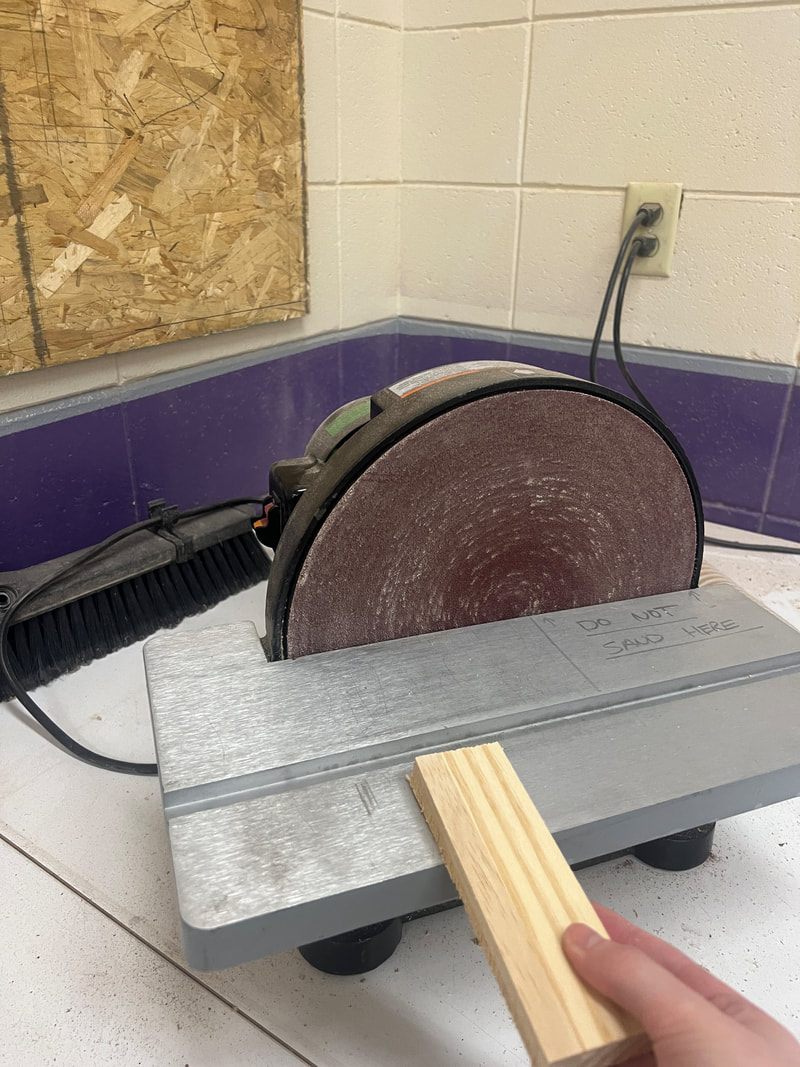
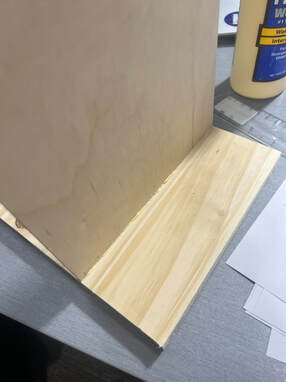
First, I sanded all of my pieces using sand paper or the sander. Sometimes, if there was a lot of excess wood, I would use an exacto knife to cut it off. I wanted all my pieces to be able to lie flat in the box.
|
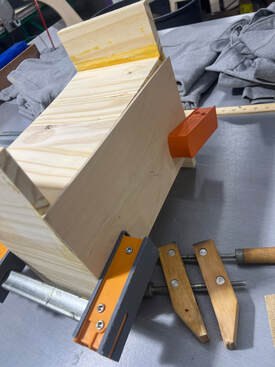
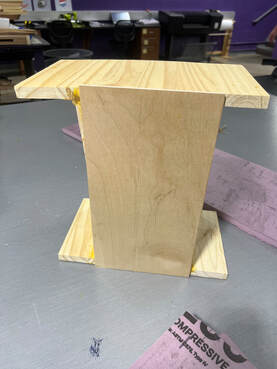
|
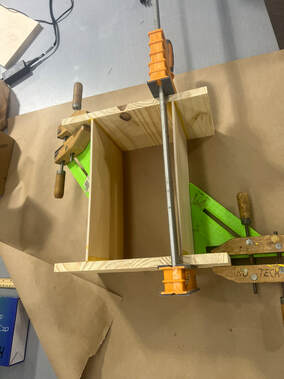
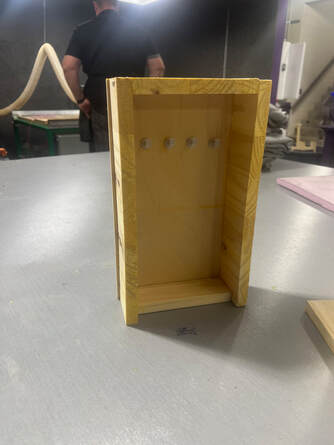
I made the base by wood gluing my tower sides to the top and bottom. Unfortunately, I used the wrong tower sides, so I had to break my box apart and start over with the correct pieces. I used clamps to hold the wood together in order for the glue to set.

|
|
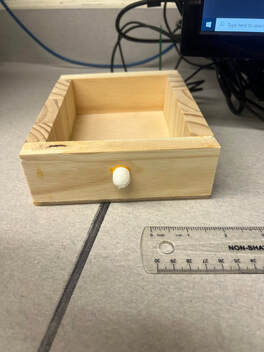
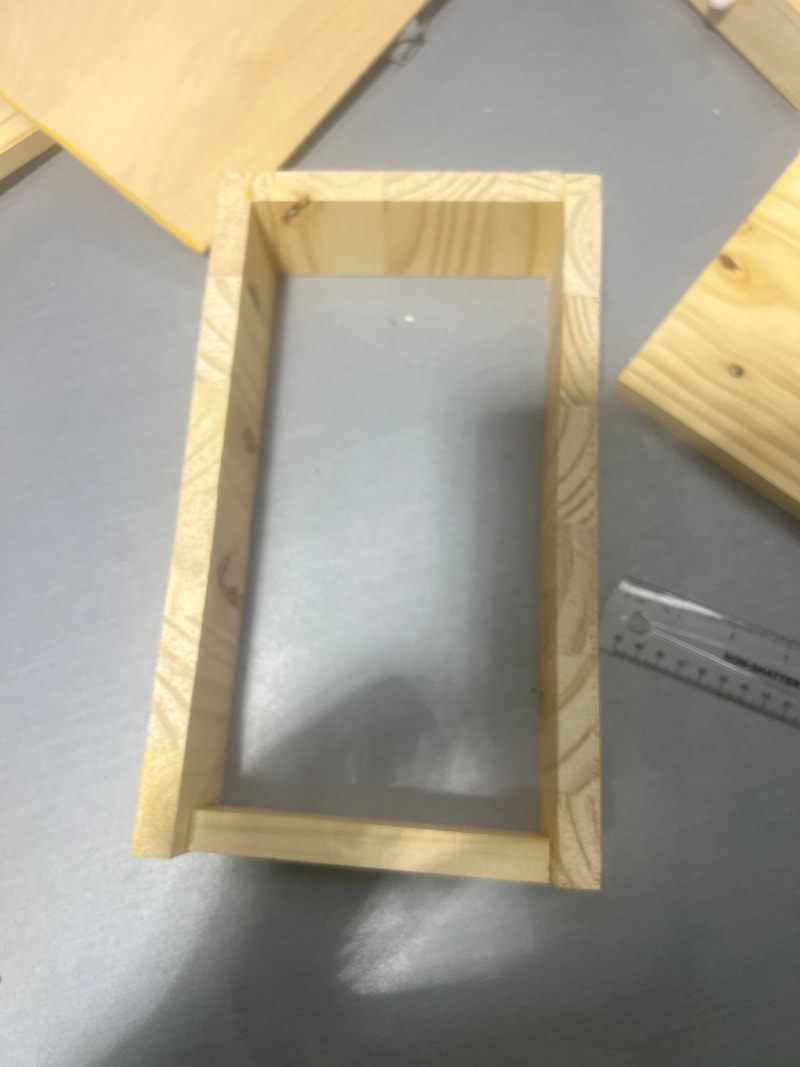
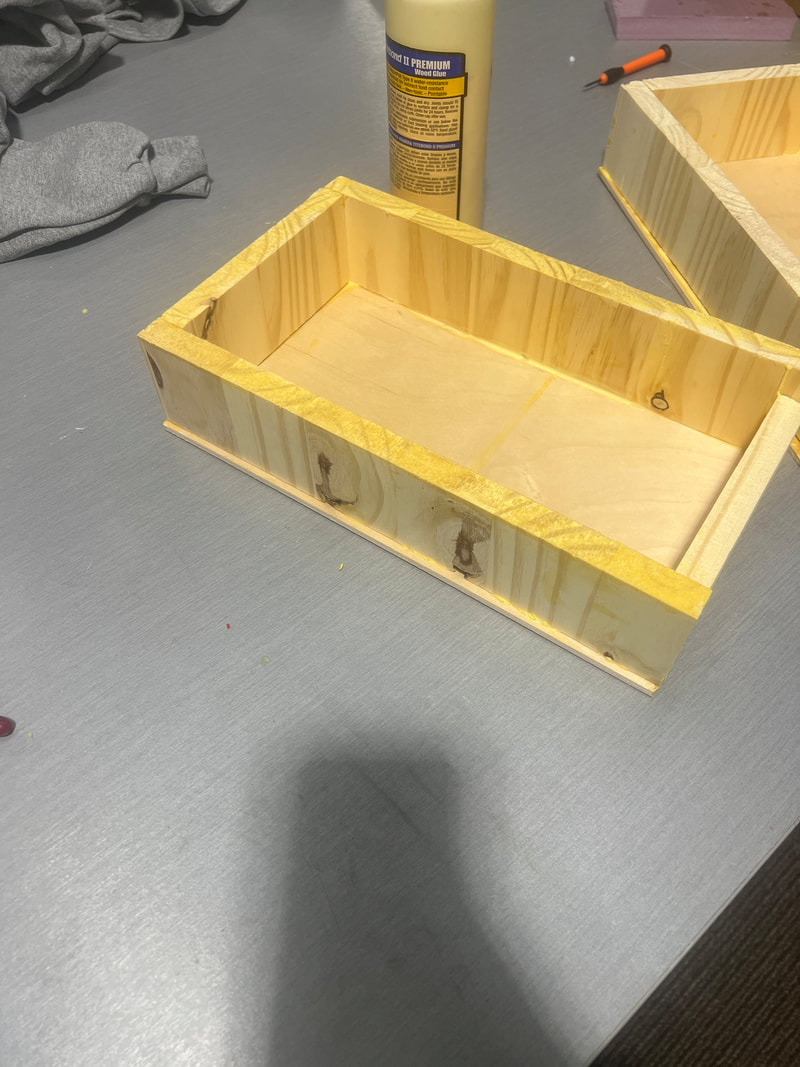
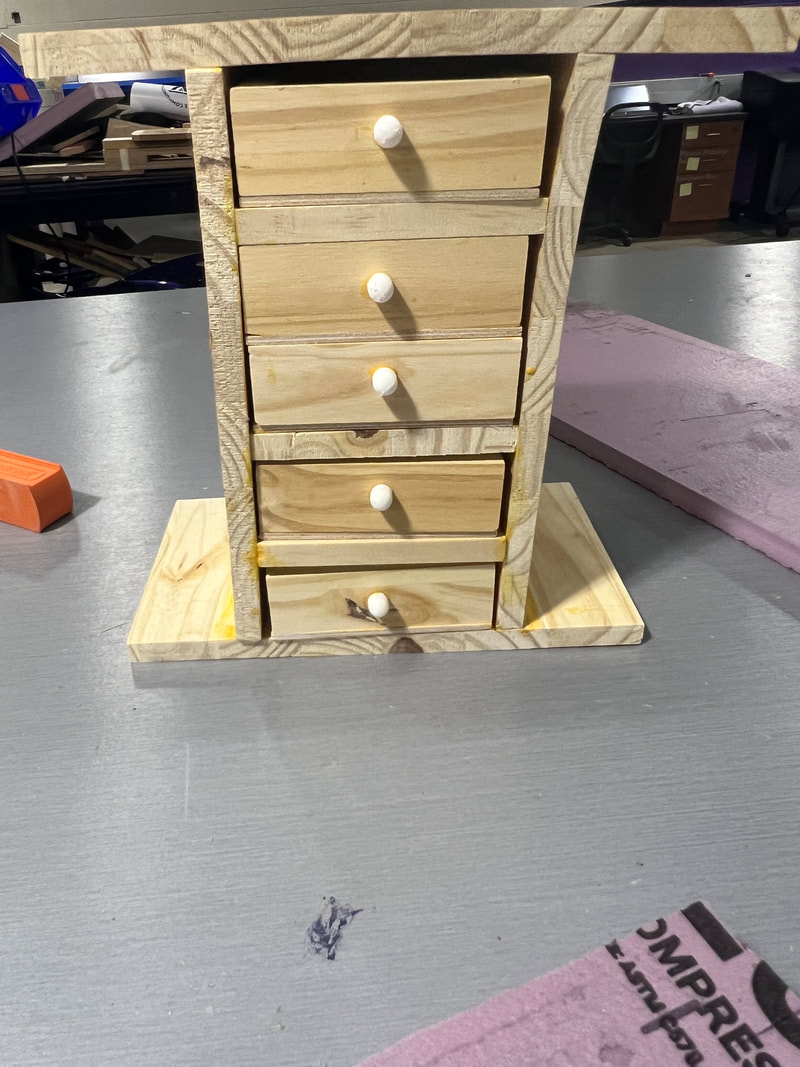
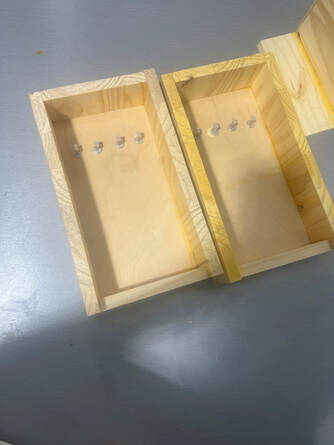
I made my drawers by using the drawer pieces and wood gluing them together. These did not need clamps because the wood fit well together and stayed in place to set. After the glue dried, I lined all the drawers in a line and centered each knob on the drawer. This way all the knobs are in line.
|
|
I made the doors by using the door pieces and wood gluing them together. I did the doors in two steps. First I made the frame. Then, I glued on the back. I used clamps to glue on the back to keep the back tight to the wood.
|
|
|
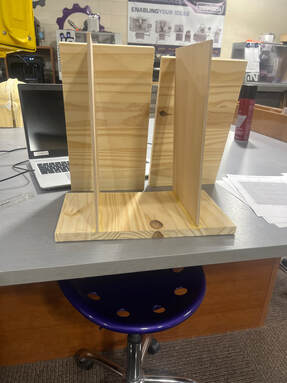
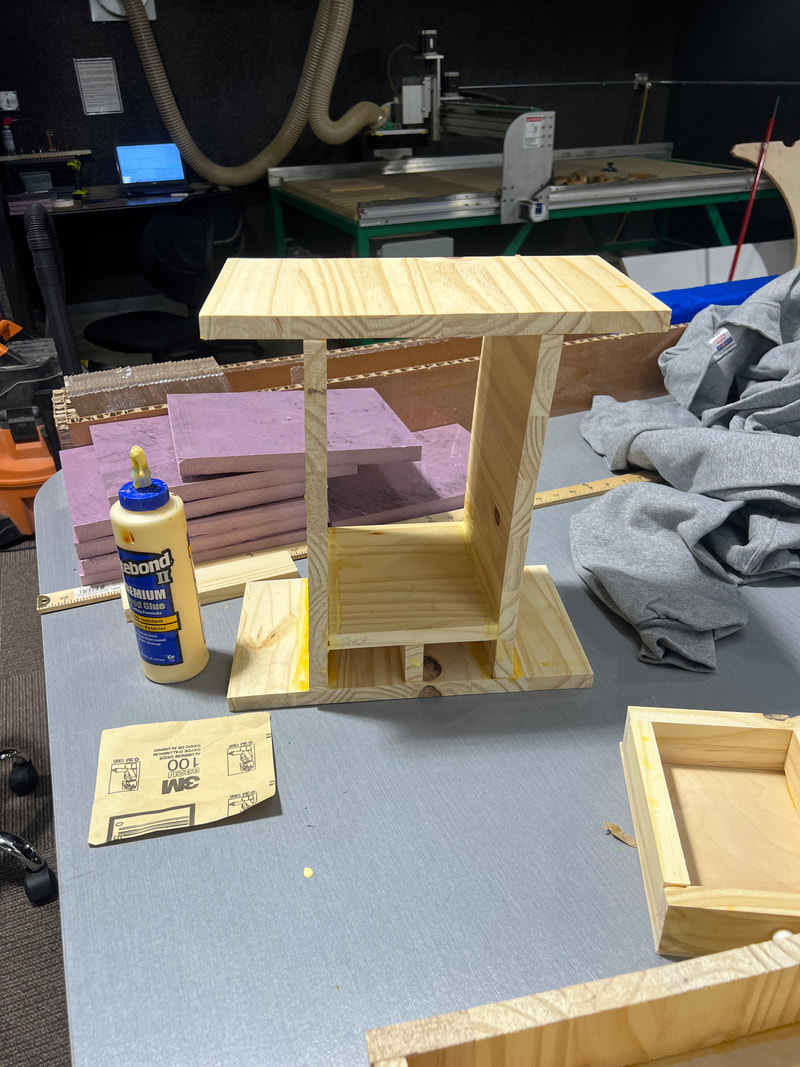
I used wood glue to put in the shelves. They were tricky to fit in and glue, so I used spacers and clamps to keep them in place.
The shelves need to be strong in order to provide support to the box and to hold the drawers. I ran out of space for all five drawers and all four shleves, so I used 3 shelves and five drawers. This solution worked great because it didn't leave a large gap in my design.
The shelves need to be strong in order to provide support to the box and to hold the drawers. I ran out of space for all five drawers and all four shleves, so I used 3 shelves and five drawers. This solution worked great because it didn't leave a large gap in my design.
|
|
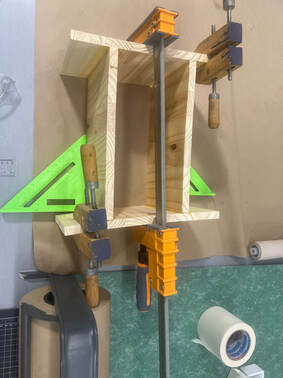
After the shelves were attached, I was able to wood glue the back in place. My box wasn't able to stay totally square, but the back still fits on and should work well. I used clamps to keep the back secure and tight to the frame.
|
|
I lined up the doors and used wood glue to glue the hooks onto the doors. It was pretty simple so the glue dried really quick.
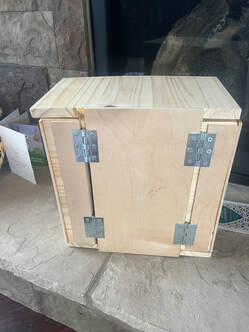
I added hinges to the backs of the doors. I had to use some of my extra wood to even out the doors. Then, I made pilot holes with a drill in order to attach the hinges with screws.
Final Project

|
|
|
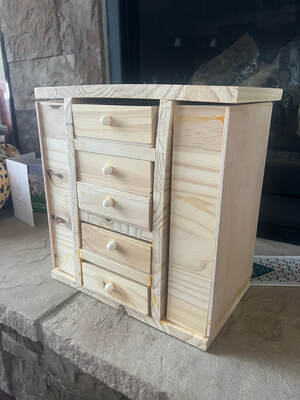
This project taught me a lot. I learned a lot about improvising fixes. Things would go wrong and off plan, and I would have to fix it. I had to come up with a fix on the spot which was really hard. I think I really improved my problem solving skills because of this. I also learned a lot about some of the tools in the wood shop. I've never taken a woods class, so that machinery was all new to me. I'm so proud of my hard work and dedication to this project. It took such a long time to build, but it looks so great in the end! I can't believe I finally finished it!
