Illustrator
Illustrator is an Adobe website. It allows you to create a 2D design to be uploaded to other software to use. I used Illustrator to create a clock. Illustrator has many helpful tools we used to accomplish this like the text tool and shape tool.
Research
Clock
|
|
|
|
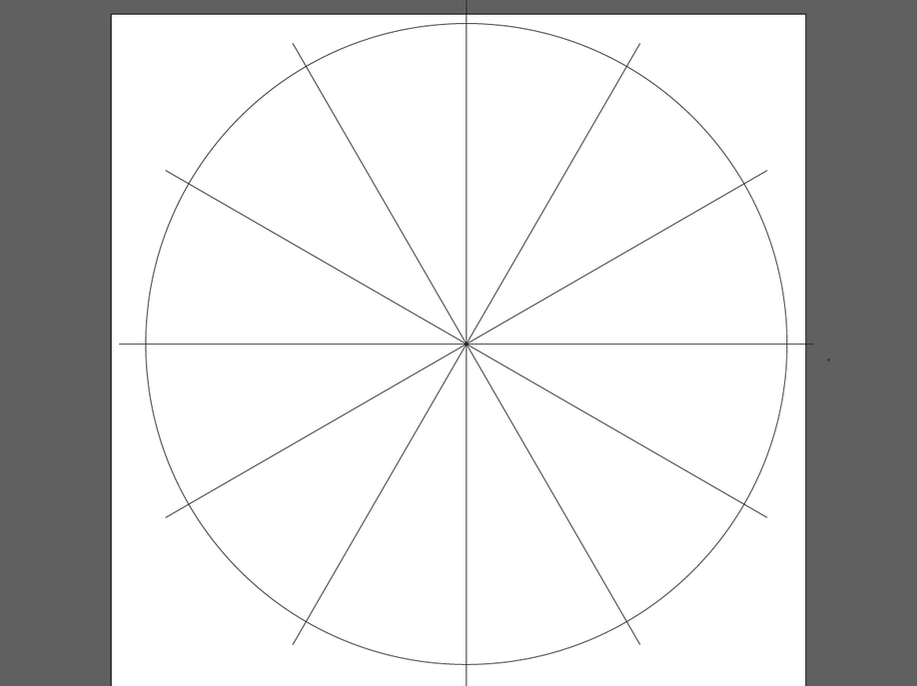
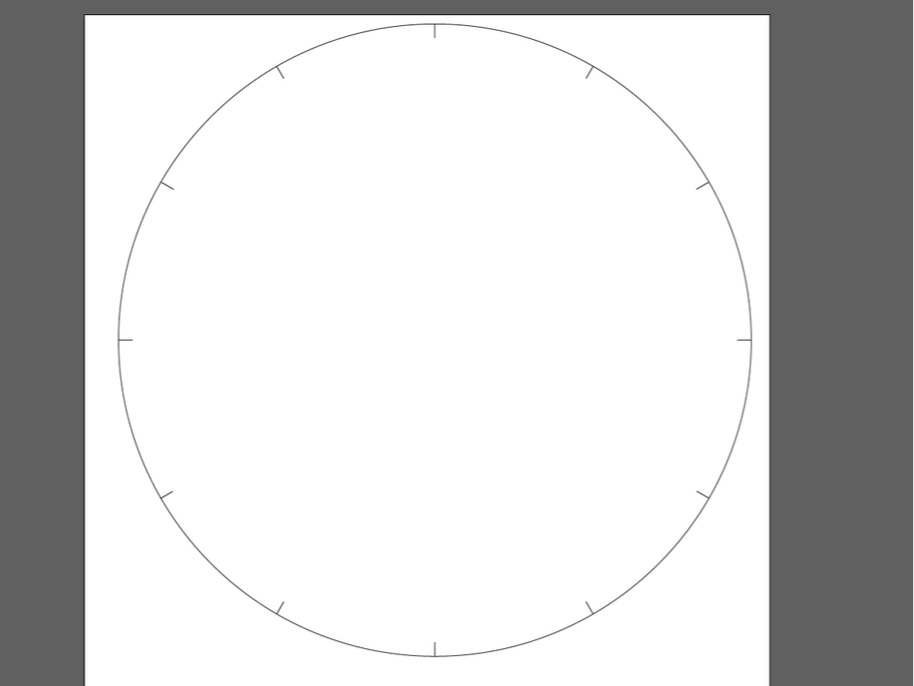
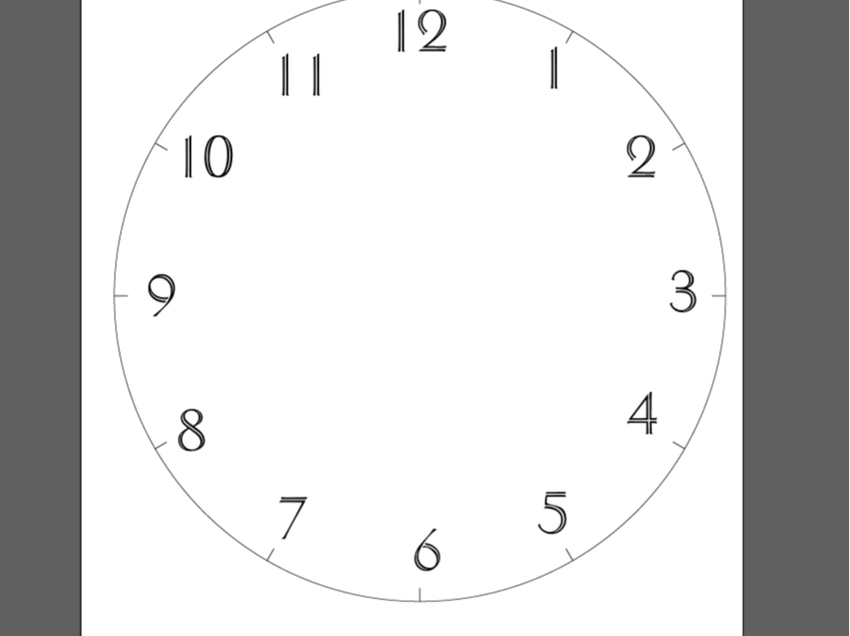
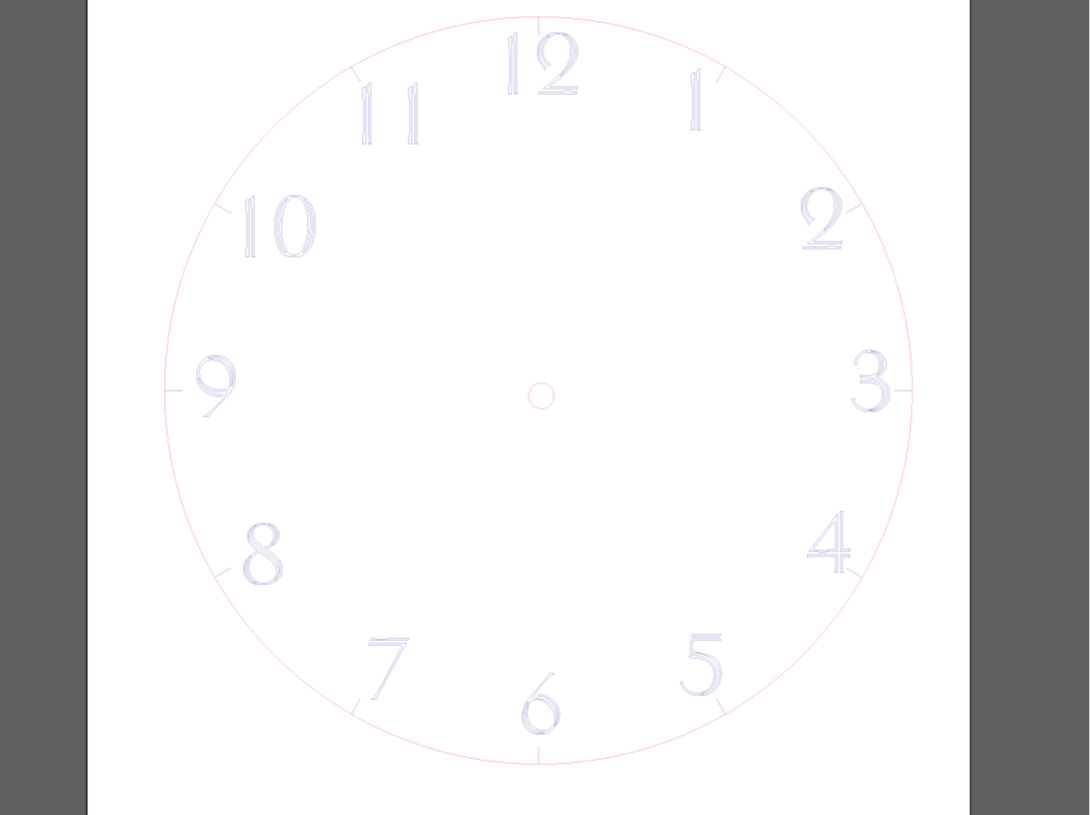
I went onto Illustrator and created a new design. I wanted the diameter of my clock to be 11 inches, so I made an 11 x 11 circle. I knew there were 360 degrees in a circle and 12 numbers on a clock. I divided 360 by 12 to get 30. I made a line through the circle and rotated it by 30 degrees and stopped at 6 lines. As shown in the first picture. Next, I made a tick mark and copied it and pasted it 12 times. I lined these tick marks up where the line and the circle intersect. Once all 12 tick marks were on my clock, I deleted the line through my clock. As seen in the second picture, Then, I added numbers around my clock. As seen in the third picture. Lastly, I made a circle in the middle with a diameter of 0.375 to fit my clock mechanism. I color coded my numbers blue for engraving and my hole and circle red for cutting out.
I went to the laser engraver and got on the computer. I plugged in my flash drive and opened my laser clock file. From there, I clicked File, Print, Setup, Preferences. This pulls up the settings for the engraver. For this project I used matboard for my material, so under the materials tab I clicked Natural, Matboard. I clicked, Apply. Then, I went over to manual control. I clicked Blue. Then, I clicked Apply, Ok and Print. From there I opened up UCP. My design popped up on the screen and I re positioned it and check that the laser wouldn't go off my material. Then I clicked the green Play button and watched the laser engrave.
Vinyl

I found my design on google. It is a picture of Mickey Mouse hands because Disney is a favorite family vacation spot for me and my family. I copied the image and pasted it in Illustrator. From there, I clicked Image trace. A little drop drop menu came up and I clicked black and white. The button you click depends on the amount of colors in your image. This made my image into a vector, Vinyl machines use vectors to print, so this step is necessary. After this, I clicked expand. I know it expanded because blue lines outlined the image. I right clicked on the image and clicked 'ungroup'. This allows me to separate the colors. I moved the white away from the black and clicked the backspace key. This deleted the white from my design as I didn't want any white area in my decal. I uploaded just the black outline onto my flashdrive.
|
|
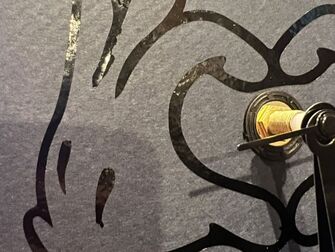
I went to the vinyl machine and got a piece of black vinyl. Then, I loaded the piece onto the machine and got the area of the piece. I made sure the screen said ready before going to the computer. I plugged in my flash drive and opened my clock vinyl file. From there I clicked, File, Cut Master 4. This opened up Cut Master. I went to the place to plug in the area of my vinyl sheet and clicked the box with a question mark. This put the measurements of the area the vinyl machine took before into Cut Master. I then made sure my design fit and clicked print. I then used a dentist tool to weed out my design. I got my clock and put it one.
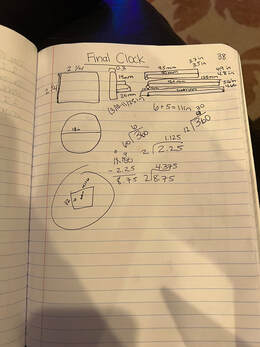
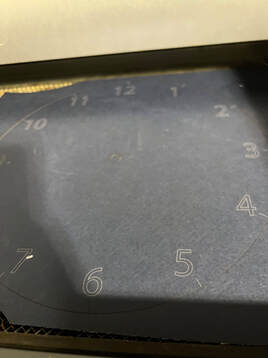
Final Clock
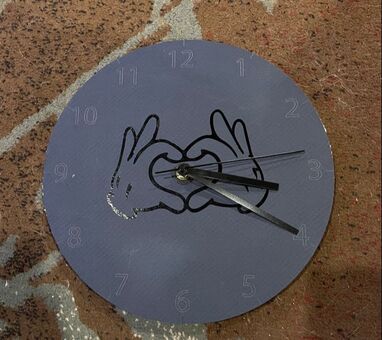
This is a picture of my final clock.
What I Learned
I got sick and was absent for a couple classes during this project. I learned how to manage my time. It was a struggle only having one class period to make my clock, but I got it done and am very proud of myself. This project was so fun and I enjoyed this class so much!
