Illustrator
Illustrator is an Adobe website. It allows you to create a 2D sketch to be uploaded to other software to use. We used Illustrator to create a notebook design, water bottle design and 3D cutout design to laser engrave. Illustrator has many helpful tools we used to accomplish this like the text tool and shape tool.
Research
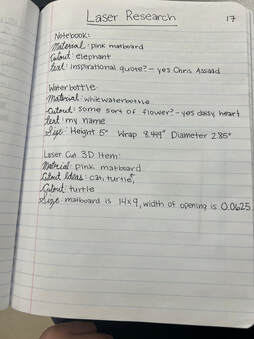
This is some research I did while complete all three of these projects.
Step-By-Step Notebook
|
|
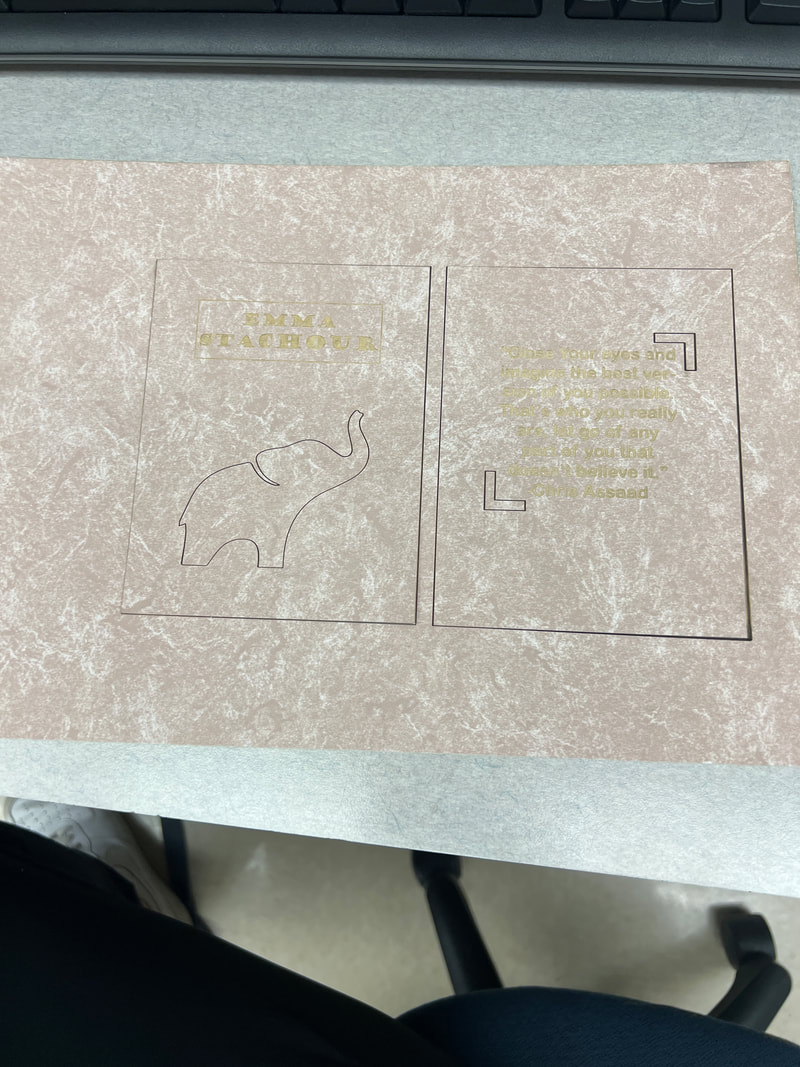
I created my notebook in Illustrator. I changed the size of my workspace when I started to 6x9. The workspace was also landscape not portrait. I created to rectangles that were 4.25x5.5. With stroke, I adjusted the color of the outline to red. On the laser engraver, reads red as a cut all the way through. I also adjusted the size to 0.0001.
|
|
|
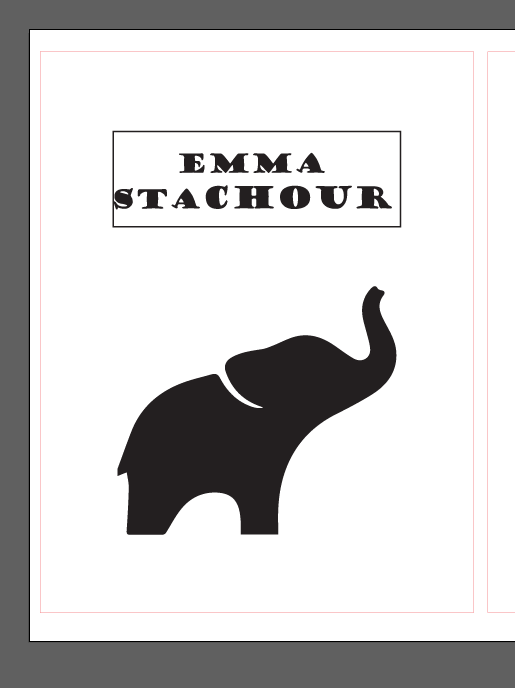
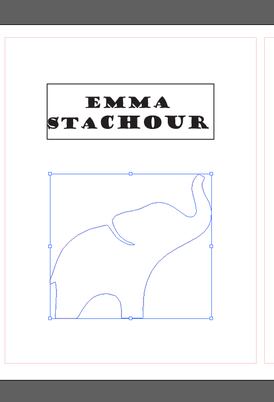
I wanted my name on the cover, so I typed my name. I found a font I liked and created a box around my name. I made sure that the box and name were black because black tells the laser I want my name only to be engraved. I went onto Google Images and found a cute black and white elephant that I wanted to use. I copied the image in my Google browser and pasted it in Illustrator. I clicked image trace and black and white. This made my image a vector, which is the only kind of image the laser engraver can process. From there I adjusted the stroke and background, so the background was transparent and the stroke was red .0001. This again tells the laser that I want it cut all the way through. After I did all of this I clicked on each the text, box and elephant separately and clicked expand. This brought up a blue outline, so I was sure it worked. Expand makes the design ready for the laser engraver.
|
|
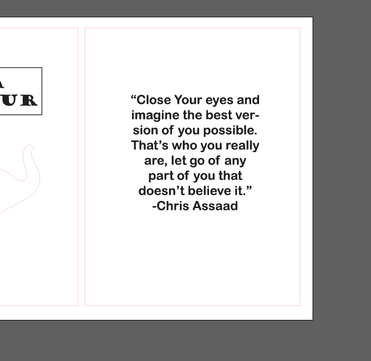
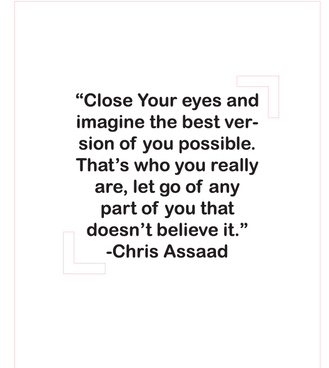
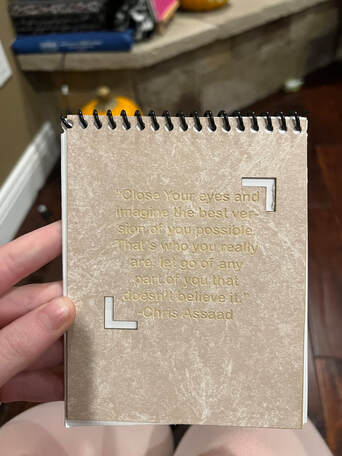
For the back cover, I wanted an inspirational quote. I went on Google and found a quote to my liking and tyoed it into Illustrator using the text tool. I found the font I liked and kept the text black because I wanted this part engraved. To make the quote a little more fancy I made some corners for two of the corners of the quote. I made the stroke of these red .0001, so the laser will cut them out.
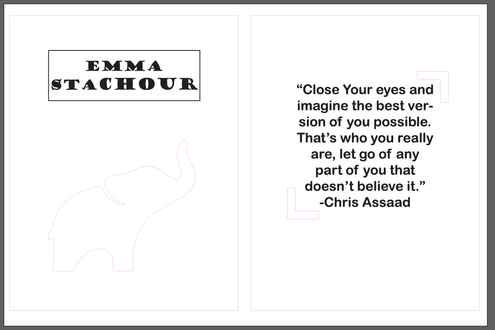
This is my final notebook design on Illustrator. I uploaded this design onto my flashdrive.
|
|
|
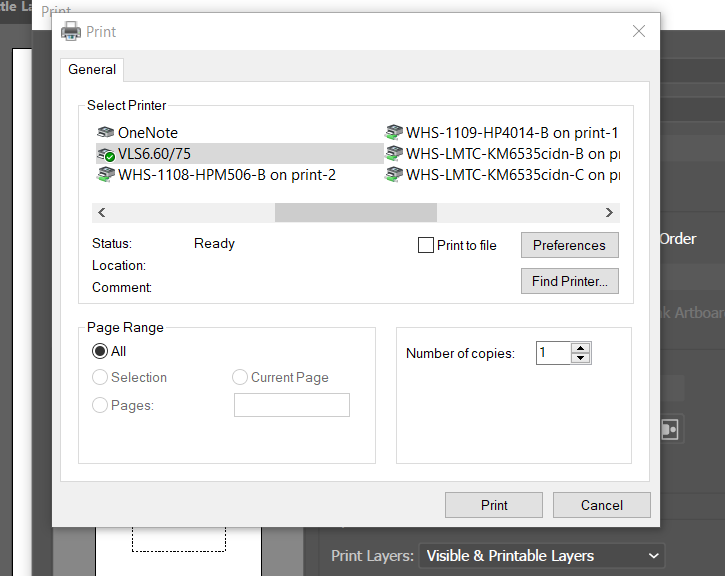
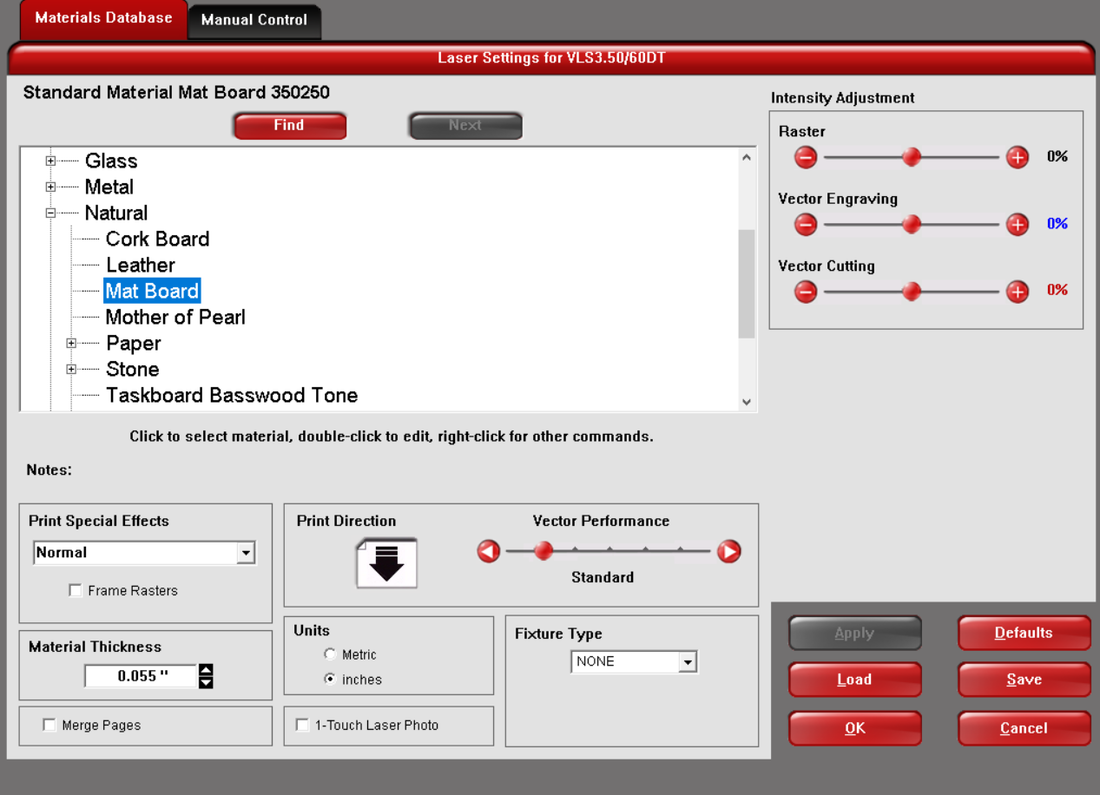
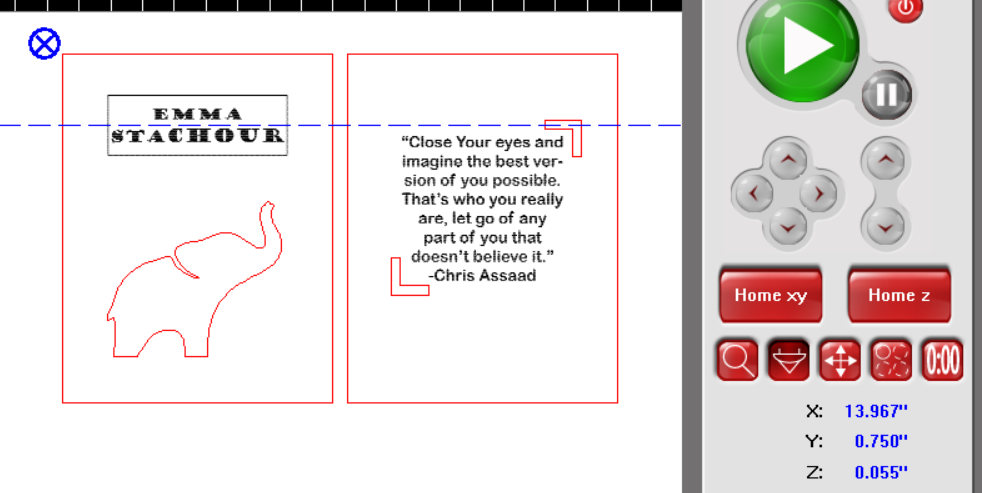
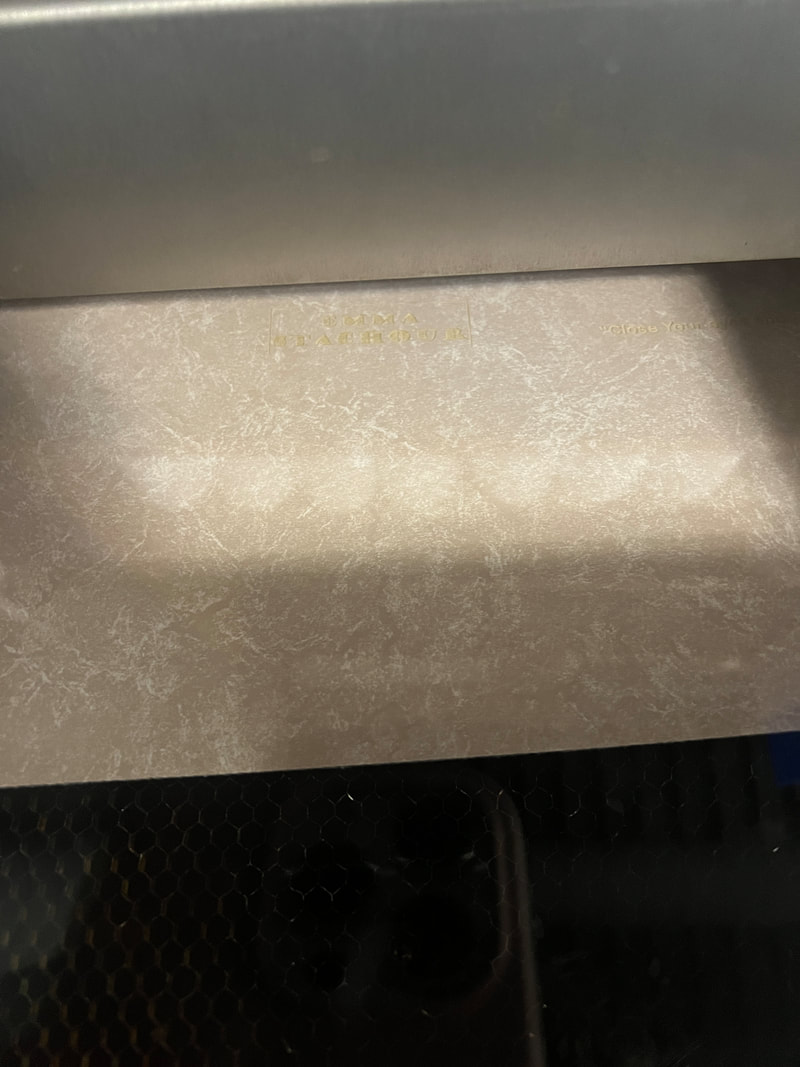
I went to the laser engraver and got on the computer. I plugged in my flash drive and opened my notebook design. From there, I clicked File, Print, Setup, Preferences. This pulls up the settings for the engraver. For this project I used mat board for my material, so under the materials tab I clicked Natural, Mat board. I clicked, Apply, Ok and Print. From there I opened up UCP. My design popped up on the screen and I re positioned it and check that the laser wouldn't go off my material. Then I clicked the green Play button and watched the laser engrave.
|
|
|
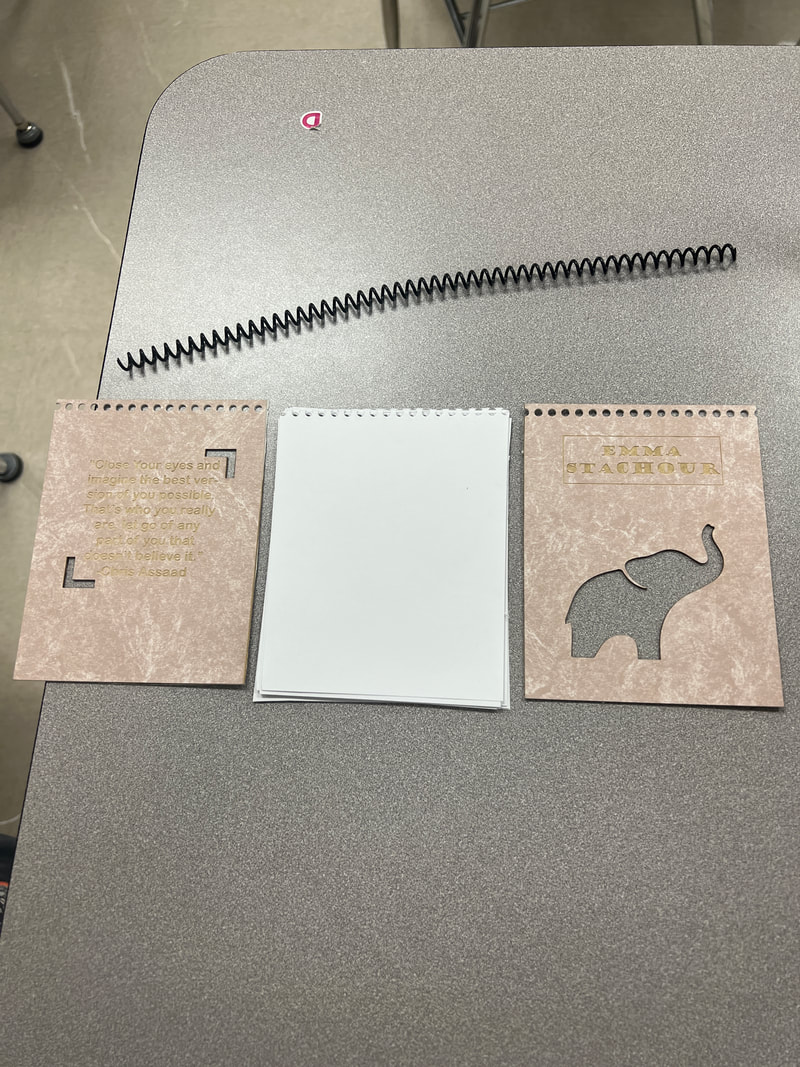
The first picture is of my notebook in the laser engraver. The second is of the notebook after it was printed. I popped all the pieces out, and the third picture is off all the pieces I used to make the notebook.
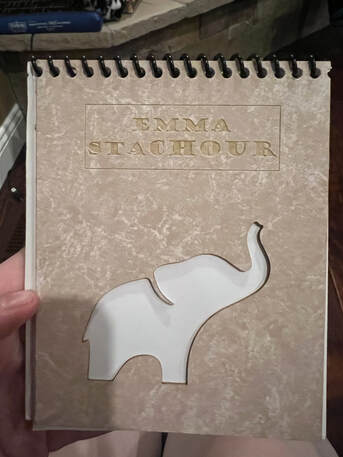
Final Notebook
|
|
Step-By-Step Waterbottle
|
|
|
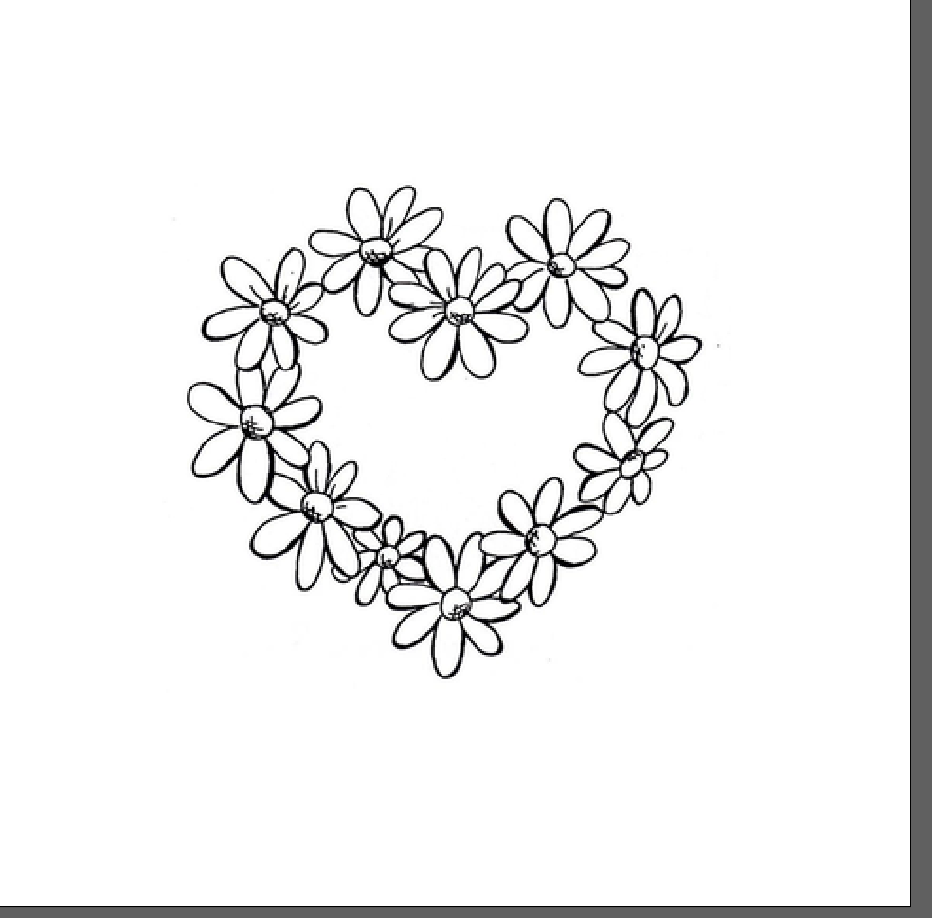
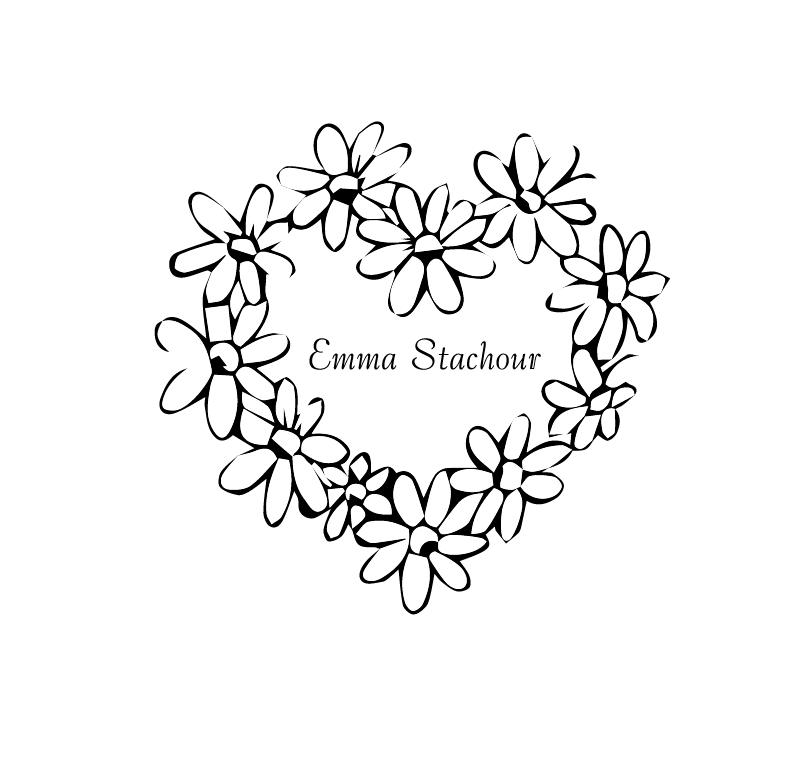
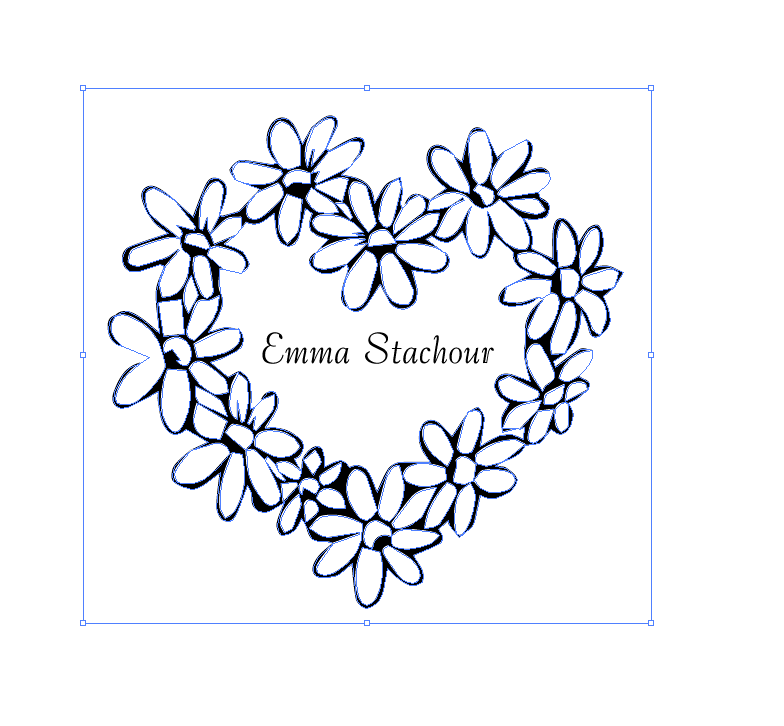
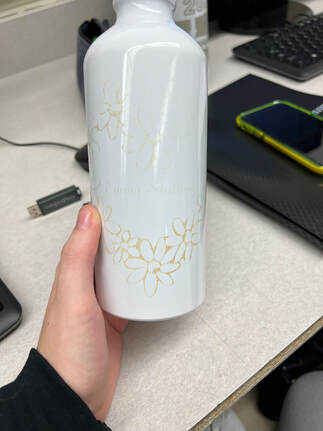
I made a new file and re sized it to 8.5x5. 8.5" is the maximum wrap around the bottle my design can do and the 5" is the maximum height my design can have. I went on Google Images and found a nice daisy heart and copied it. I pasted the image in Illustrator. From there, I did Image Trace and black and white to make it a vector. I left the design black and white because I am only engraving the water bottle. I also typed my name in the middle of the heart and found a nice font.
|

|
I expanded both the flowers and my name, so the design is ready for the laser. Then, I rotated my design 270 degrees. This is my final design on Illustrator that I uploaded to my flash drive.
|
|
|
|
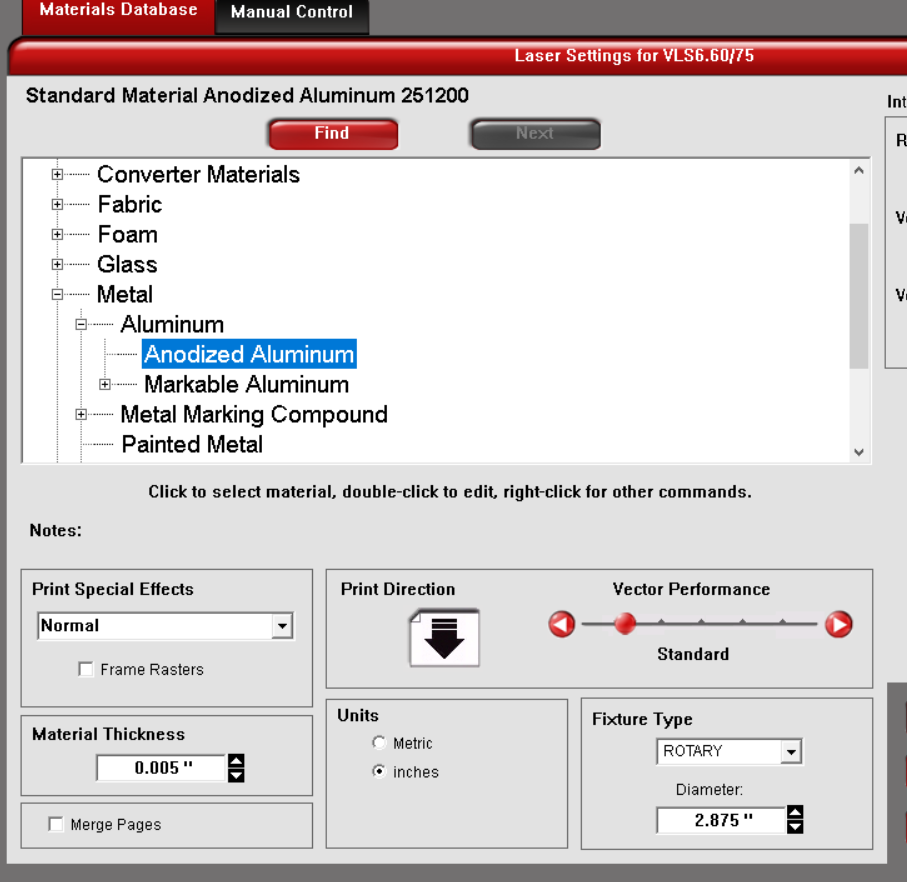
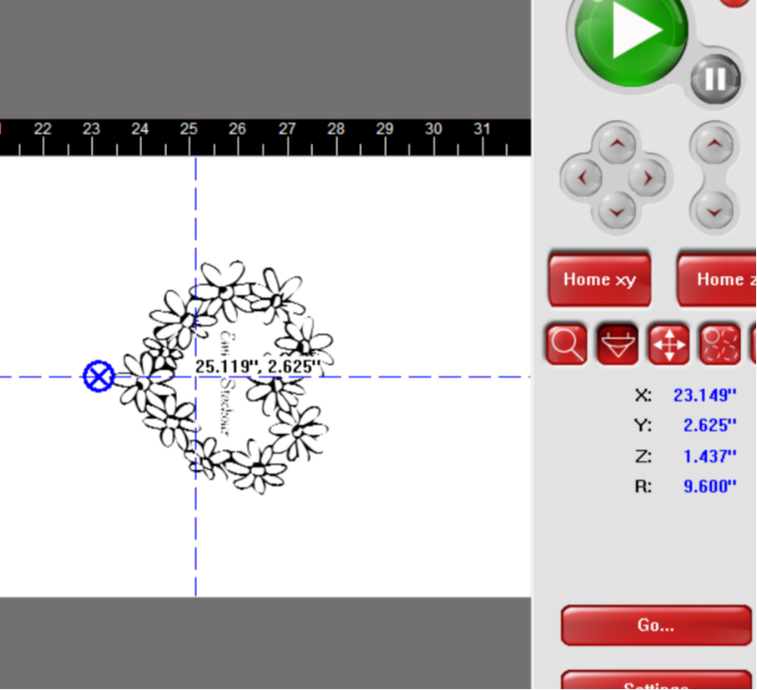
I went to the laser engraver and got on the computer. I plugged in my flash drive and opened my water bottle design. From there, I clicked File, Print, Setup, Preferences. This pulls up the settings for the engraver. For this project I used the water bottle for my material, so under the materials tab I clicked Metal, Aluminum, Anodized. I changed the fixture type to Rotary and changed the diameter. Then I clicked manual control to change the speed and power. I clicked, Apply, Ok and Print. From there I opened up UCP. My design popped up on the screen and I re positioned it and check that the laser wouldn't go off my water bottle. Then I clicked the green Play button and watched the laser engrave.
|
|
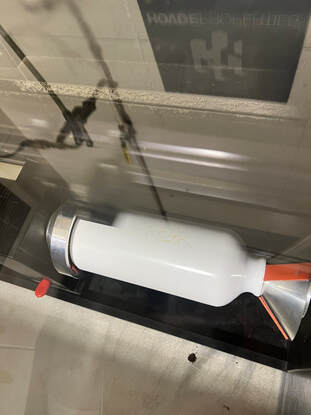
The first picture is of my water bottle being laser engraved, The second picture is my final water bottle.
Step-By-Step Cutout
|
|
|
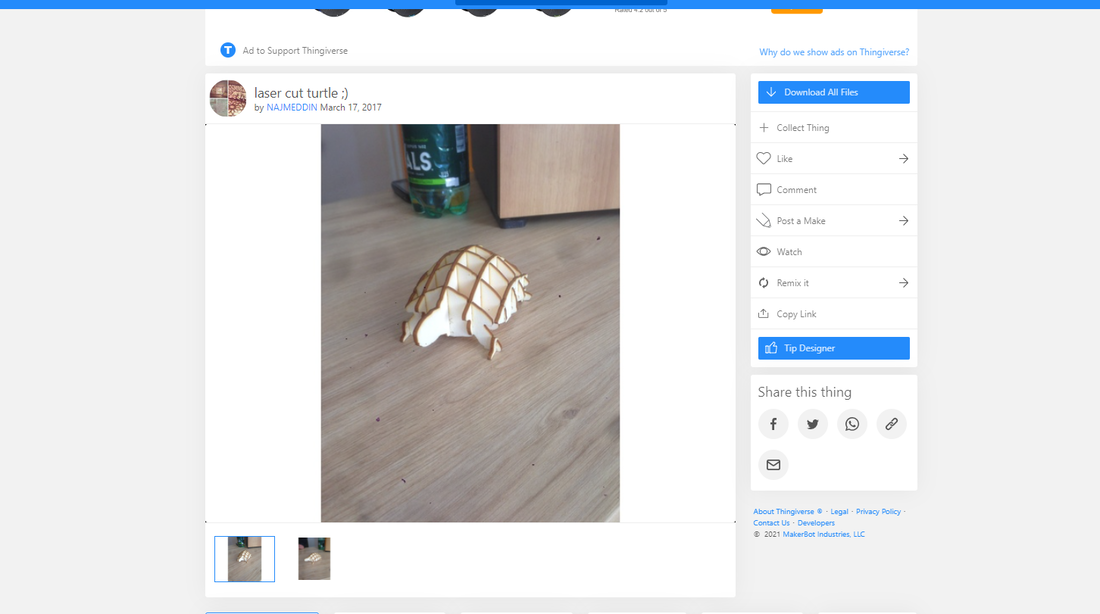
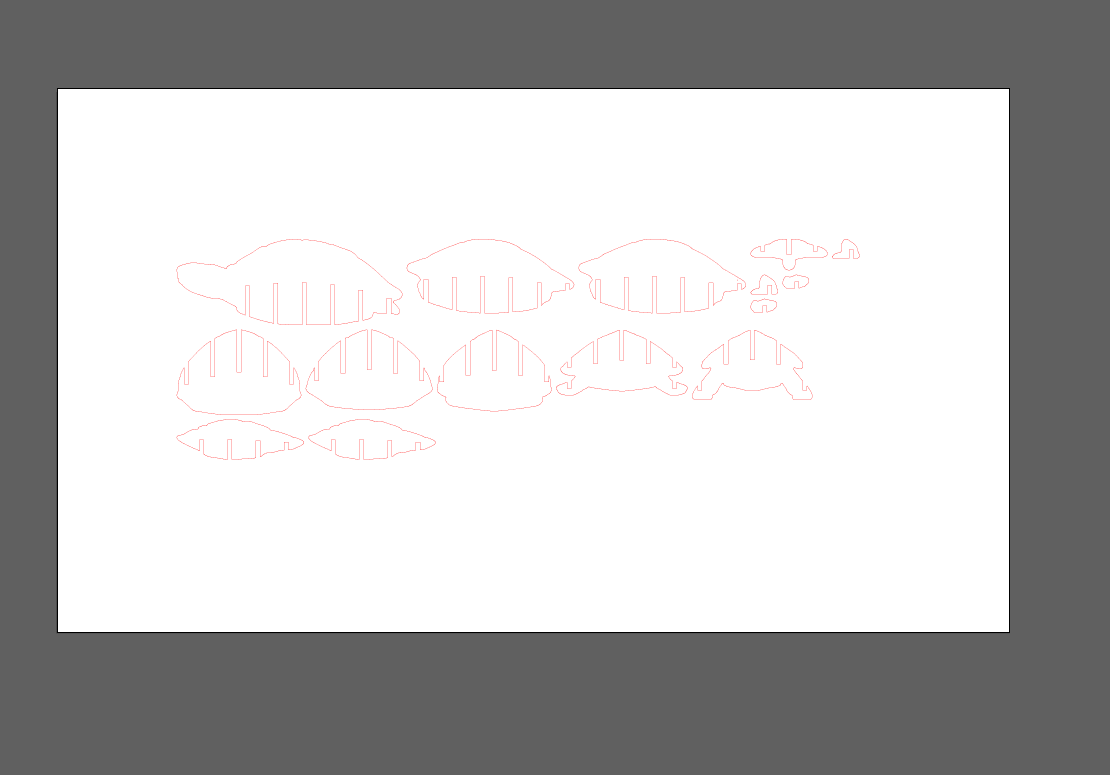
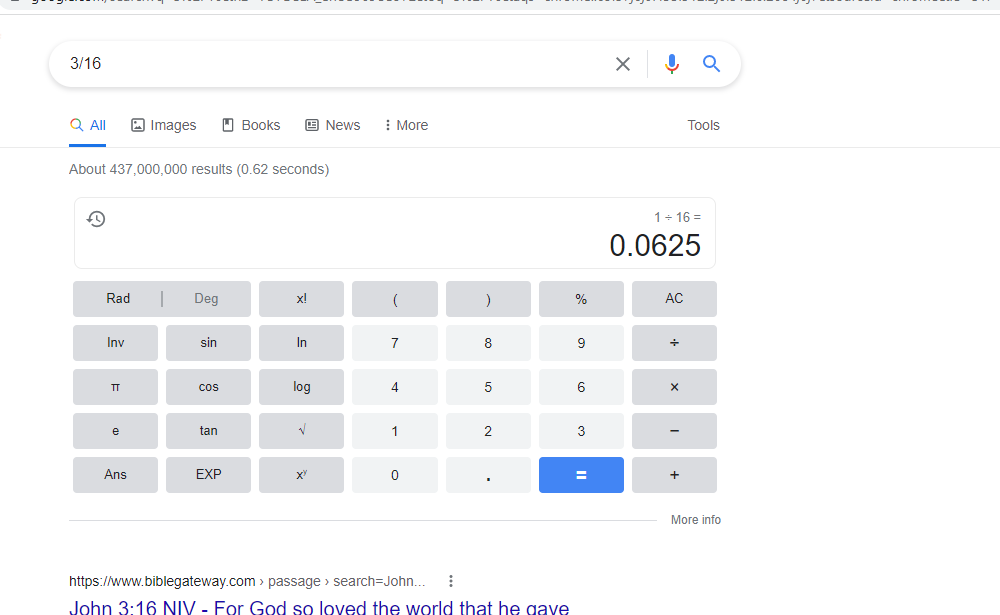
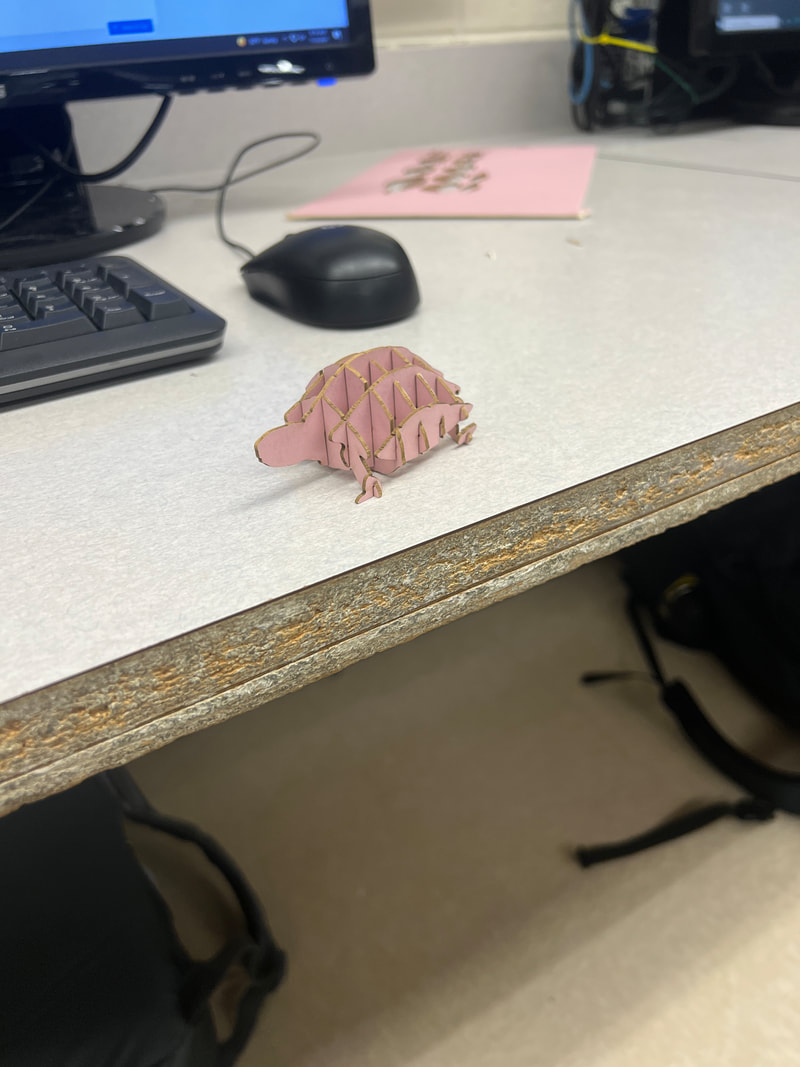
I found the cutout I wanted on Thingverse. It is a cute little turtle. I used the pre-prepared outline already in Thingverse and just opened it up in Illustrator. From there I had to do a lot of trial and error. I found a nice mat board I wanted to used, so I measured the depth and used a Google calculator to find the exact decimal in inches. From there I resized my outline to have the gaps in between be the same measure as the depth of the matboard. That middle picture is my final design that I put on my flash drive.
|
|
|
|
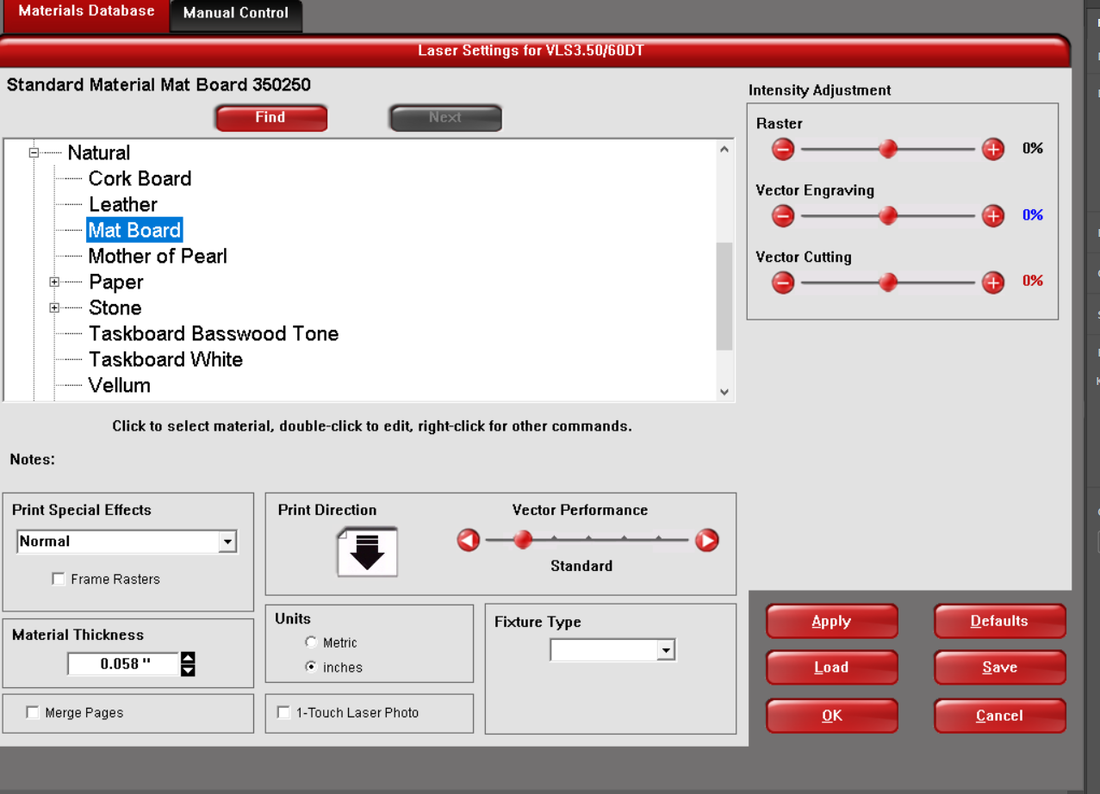
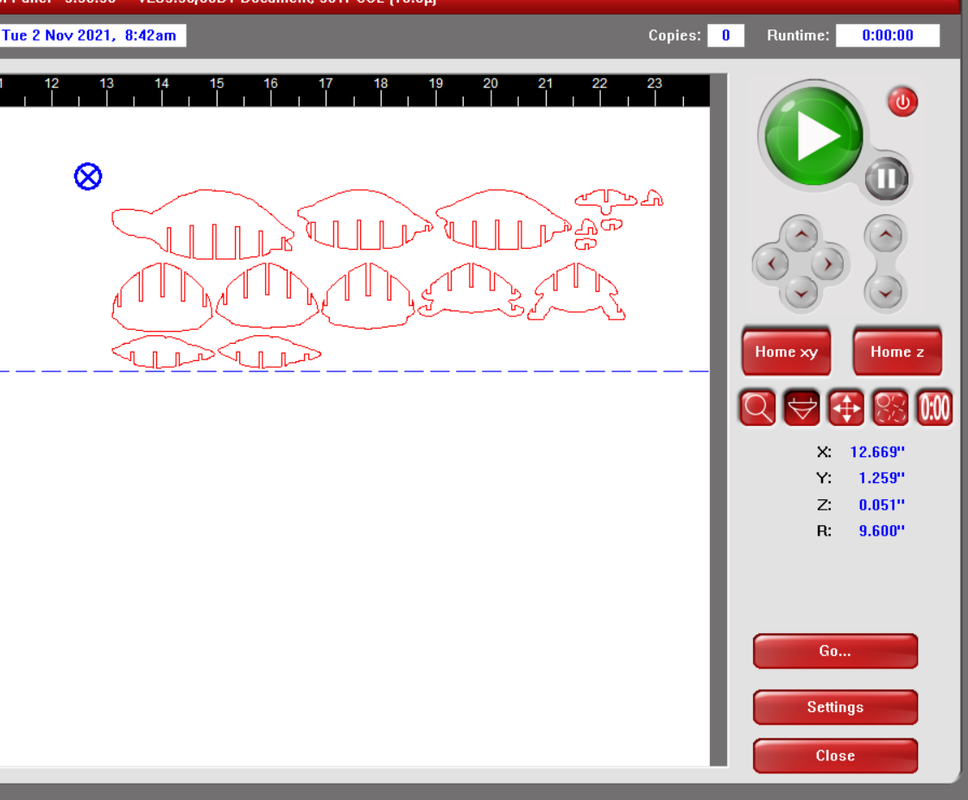
I went to the laser engraver and got on the computer. I plugged in my flash drive and opened my cutout design. From there, I clicked File, Print, Setup, Preferences. This pulls up the settings for the engraver. For this project I used mat board for my material, so under the materials tab I clicked Natural, Mat board. I clicked, Apply, Ok and Print. From there I opened up UCP. My design popped up on the screen and I re positioned it and check that the laser wouldn't go off my material. Then I clicked the green Play button and watched the laser engrave.
|
|
|
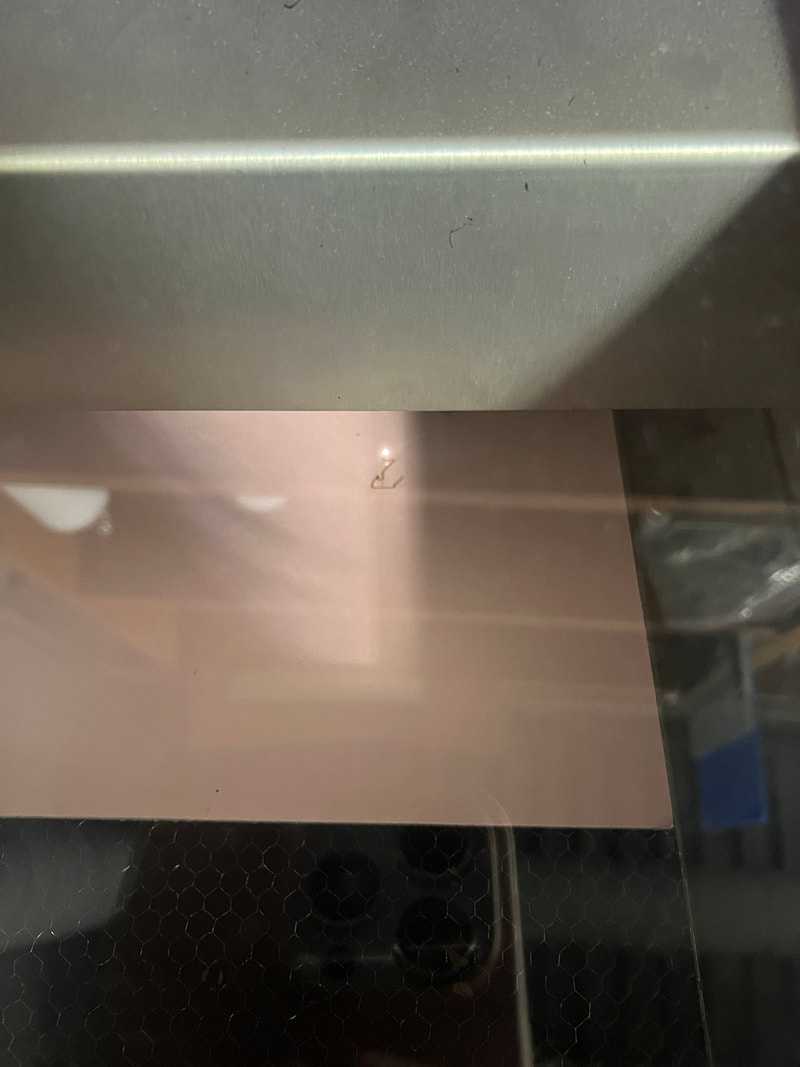
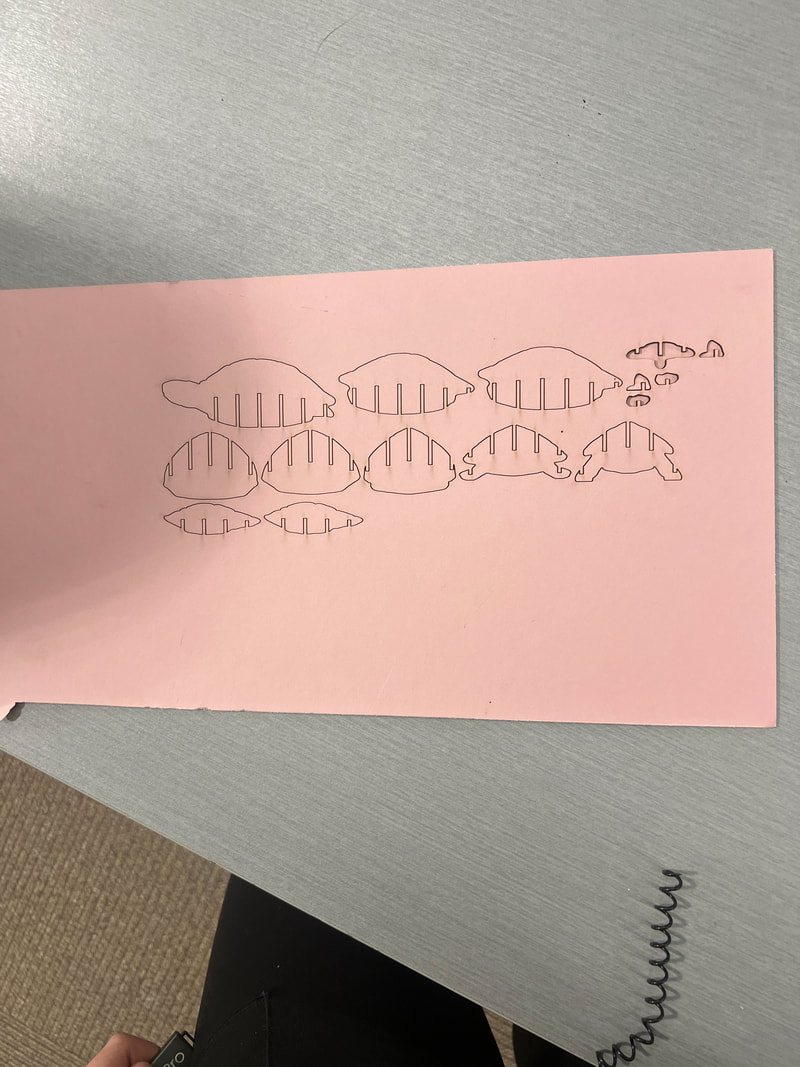
The first image is of my cutout engraving. The second image is what the cutout looked like after being fully engraved. The third image is my final turtle.
This project taught me a lot about Illustrator and the laser engraving process. I had only used the laser once before doing these projects, so after doing them I feel a lot more confident using the laser. I got pushed out of my comfort zone. It was really hard to come up with these many unique ideas for projects after doing so many prior to these. I really had to challenge my creativity. I'm glad I did. These projects turned out great!
